Homemade vanilla
Welcome to my happy place of DIY, homemade, homegrown, handmade, nourished & crafted, whole hearted living. Finding magic in the mundane & growing some roots in the process.
This post may contain affiliate links. If you click on a link and purchase an item, I will receive a small commission. For more info, please see my disclosure on my Connect page.
A couple weeks ago, my sweet June had a terrible case of the stomach flu. I didn’t leave the house for days and was getting cabin fever in a big, big way. If you can’t leave the house and you’ve sanitized ALL the things plus spent hours on Pinterest, checked Facebook 37 times, done all the laundry, read all the books, and made 14 different treats, you get bored… and desperate. During this time, the basement flooded and I had to move my entire wood/trim pile to higher ground. In the process, I found a random piece of leftover crown molding from the FIREPLACE PROJECT and that got the wheels turning.
A few hours later, I had a knife and a crowbar in hand headed towards our mudroom.
{First off, let’s just have a little giggle at my old photo and DIY watermark. Thank you online photography and blogging tutorials for helping me become a little more proficient than I was! Kind of embarrassing!}
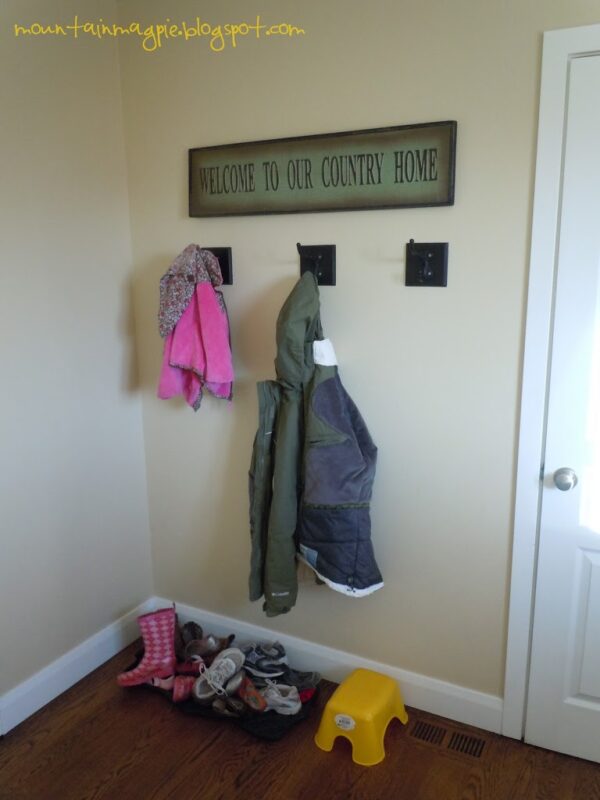
I had never totally loved our ORIGINAL MUDROOM DESIGN. I had compromised with the hubby on how many hooks and keeping it inexpensive. Our youngest was just a little one when we did the build, so she had a Command Hook placed down at her level on the adjacent wall for her tiny coat and I had a beautiful plant that I was given when my grandpa passed away that I wanted to live on top of the cubbies. Since that time, our not quite so little one has turned four and that beautiful plant has completed the “Circle of Life” as Rafiki would say. I was also getting really annoyed by the piles of homework and papers EVERYWHERE and with that, the constant feeling like I had forgotten something when I sent them to school. Then, the trim on the bench started to come loose.
I took it as a sign.
It was time to make the old design work for our new life.
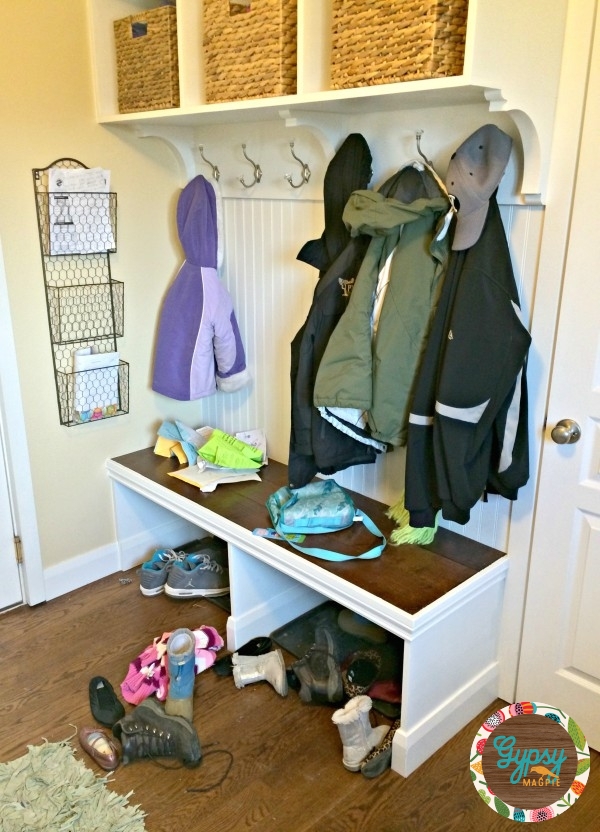
If you remember, this is what our mudroom looked like before…
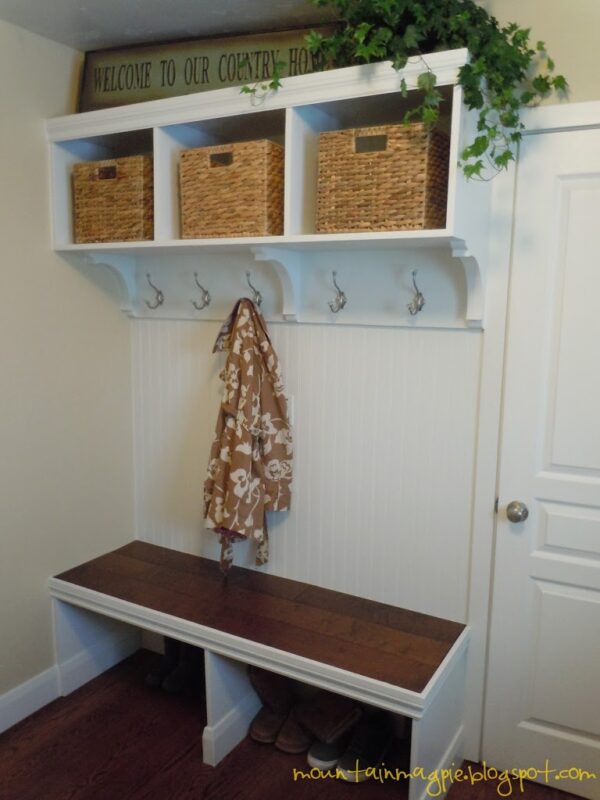
And, here is a photo of the original AFTER…
Because this was a spontaneous little update, I forgot to take pictures. Bad blogger. Oopsies.
So, hold tight and use your imaginations while I describe what I changed.
I began by re-nailing the trim back onto the bench. So simple. My reno’s usually start like that then spontaneously snowball into something bigger and more complicated. Hmm, wonder who I got that from? Next, I removed the 2 hooks on the right side of the piece. {This is where my husband walked in, shook his head, then walked out.}
Next, I scored the caulking on the trim up on the cubbies and pulled it right off. Tip: If you ever need to remove old trim, always score the old caulking first. To do this, you simply take a sharp knife, or razor blade, and cut the caulking between the trim and the main piece you are working on. Trust me, it’ll give you the least amount of damage to fix later, which is always a good thing.
After removing the trim, came mass quantities of sanding. When I had originally done the project, I had added a top coat of finish for protection. That was stupid. The better option would have been to leave it painted for easy touch ups! Duh. Oh well, hindsight is 20/20, right?
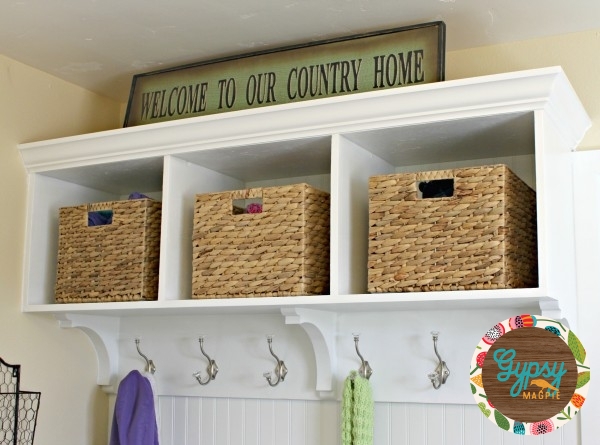
After sanding, hubby and I cut and attached the random piece of crown molding that I had found in the basement then adhered it to the cubbies with our brad nailer. Unless you are Wonder Woman, hanging crown requires 2 people. Crown is my DIY nemesis. But, oh is it worth it!
Next, I spackled all the holes and got to work caulking. Make sure to cut your tube of caulk small, have a wet rag to wipe your hands, and for the love! WORK SLOWLY! It is so much better to do it right the first time then to slap on a bunch of caulk and have it dry all wonky. Wonky is a word, I swear.
After the spackle had dried, I hit the holes with a fine grit sandpaper then wiped down the whole piece and started painting. I applied several coats of paint, letting it dry between coats. When I had my last coat complete, I let it dry overnight.
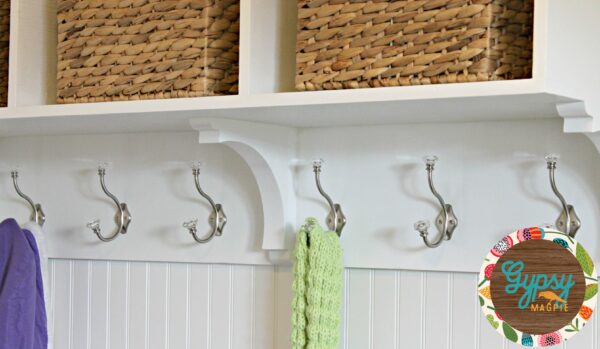
The next day, I measured the the right side of the piece for 3 hooks. It isn’t perfectly even because that middle corbel wasn’t originally centered. Looking back, we probably went a little overboard reinforcing that top cubby section. We really could have not worried so much about that corbel being attached to a stud, but it’s all good. At least we know that when our kids go ape and hang on the thing, that they are safe from it all crashing down on them.
So, there’s that.
I screwed in the 3 hooks and let out a little squeal!
It was starting to come together.
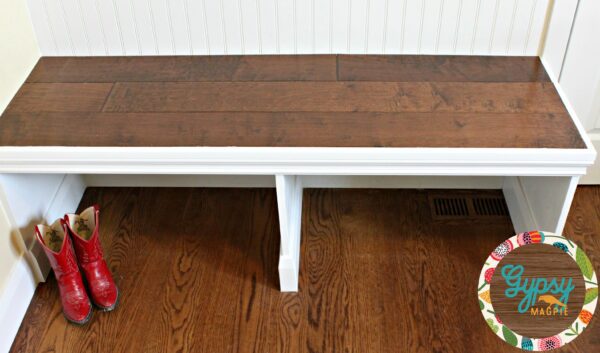
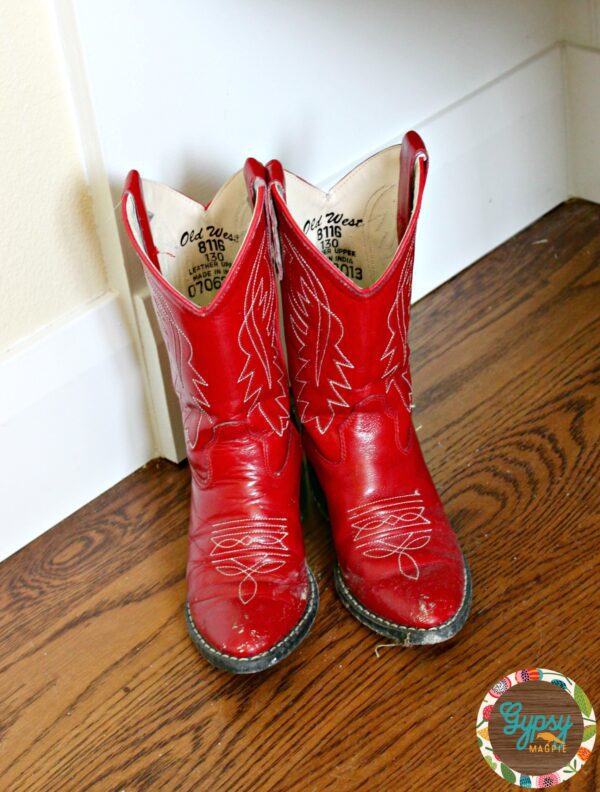
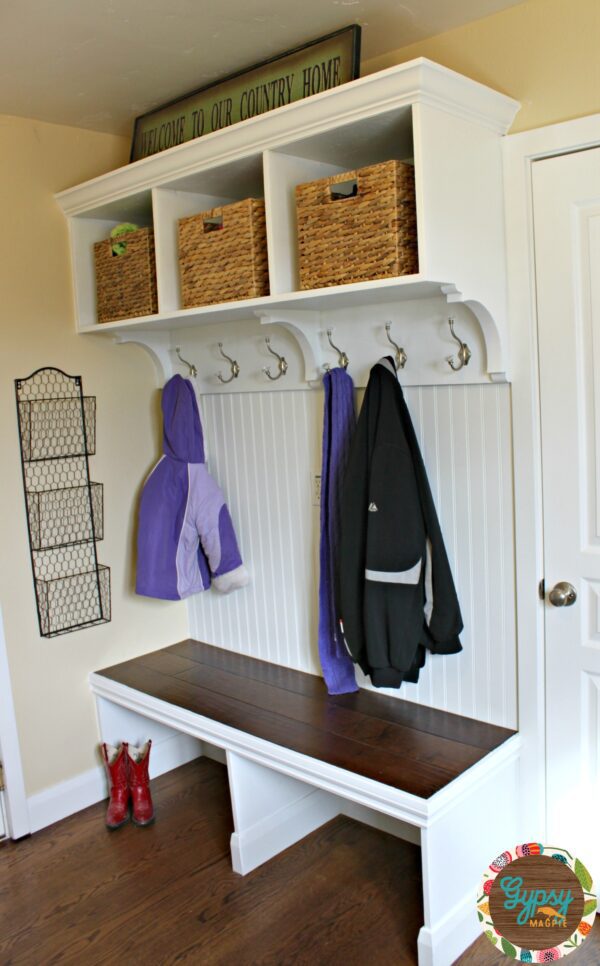
Here’s the bench with the trim reattached and a shiny new coat of paint…oh, and Miss June’s fancy red boots just for fun.
They say that little girls are made of sugar, spice, and everything nice. I think Miss June is made of sunshine, giggles, and muddy red boots.
Ain’t nothing better to be made of, folks!
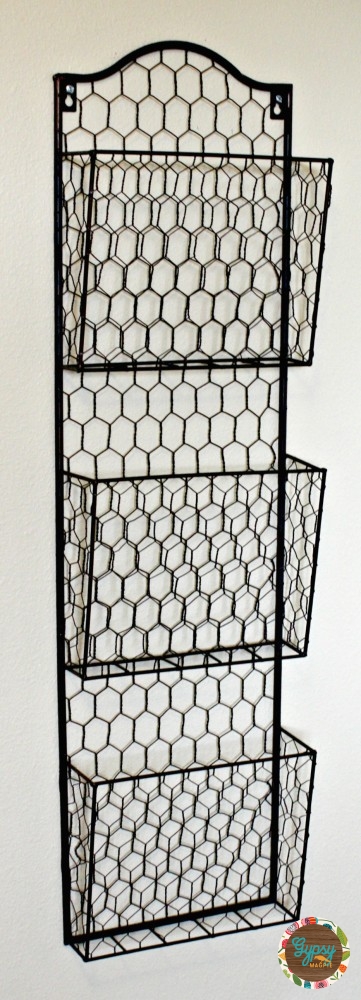
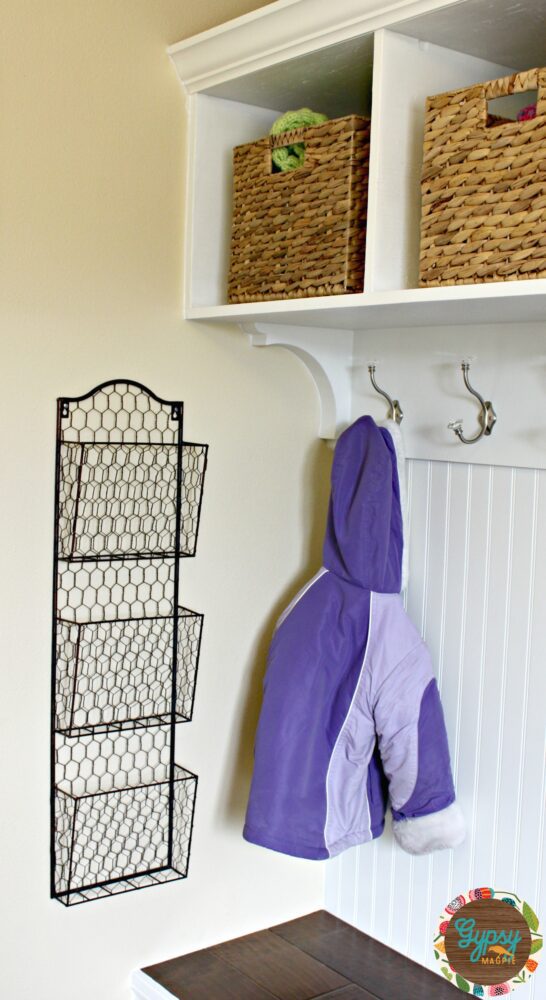
To corral the mass of papers, I found this cute little paper sorter at Home Goods.
It fits the little adjacent wall perfectly and was only $20.00!
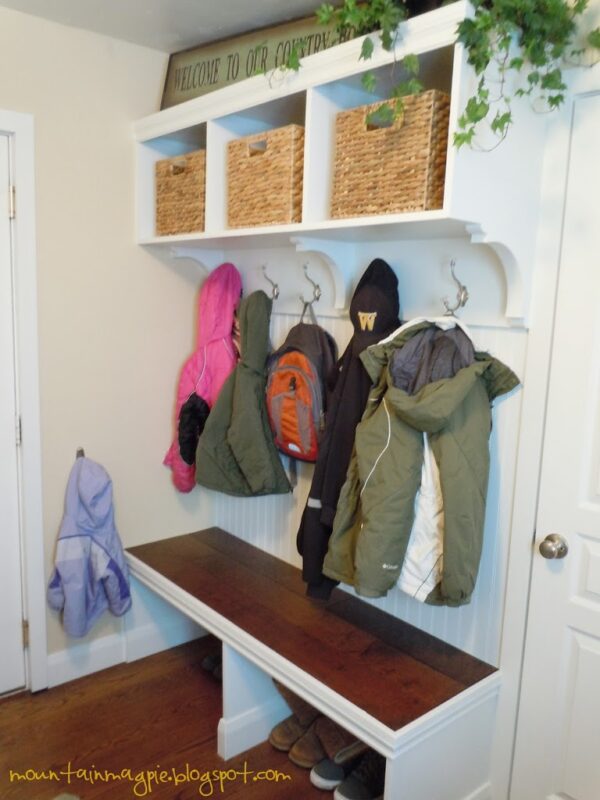
Baby Girl is feeling very proud these days. Her coat now has a place up on the “diamond” hooks with the family.
She is a big girl now!
Dang babies grow too fast.
But, I’m not bitter.
The crown molding makes me happy! I still don’t know what I want to stick on top, but I’m sure one day something will jump out at me.
Here it is all together.
I am absolutely loving the whole thing and wish I had done it this way from the beginning.
Maybe I should get stuck in the house and do a little more of this spontaneous update business more often! Or, for the sake of my husband… maybe not.
Ok, one more time, here is the BEFORE:
And, the AFTER:
Hey, wait!
One more thing…
*What spontaneous rad-ness have you tackled lately?*
Love it!! I think you mentioned your plate wall was done? Pictures soon please??
I’ve been waiting for a sunny day to take pics but it’s just not happening! My dining room faces north and is super dark. There is only one dinky light in the whole room {something I plan to change! Baaahahaha! Don’t tell you know who yet.} so I just can’t seem to get the photos decent. I may just post them anyway, so don’t judge if they are super dark and screwy! 😉
[…] youngest munchkin growing like a weed, this project needed a little update. You can find that HERE. […]
[…] can find that HERE. […]