Homemade vanilla
Welcome to my happy place of DIY, homemade, homegrown, handmade, nourished & crafted, whole hearted living. Finding magic in the mundane & growing some roots in the process.
Simple & Sweet Paper Heart Valentine’s Day Garland
February 26, 2024
This post may contain affiliate links. If you click on a link and purchase an item, I will receive a small commission. For more info, please see my disclosure on my Connect page.
This post is coming in a little late for Valentine’s Day, but I wanted to share it anyway. That way it’ll be ready to go next February, when the Valentine’s decorating starts. (We both know if I don’t post it now, I’m going to forget by next year.) You might recognize this paper heart garland from the reel I made on Instagram. Since some people find video super helpful and others like things broken down step by step in a blog post, why not cover both bases, right?
It really is the sweetest little garland!
And, once you get the hang of it, it’s crazy simple to make too!
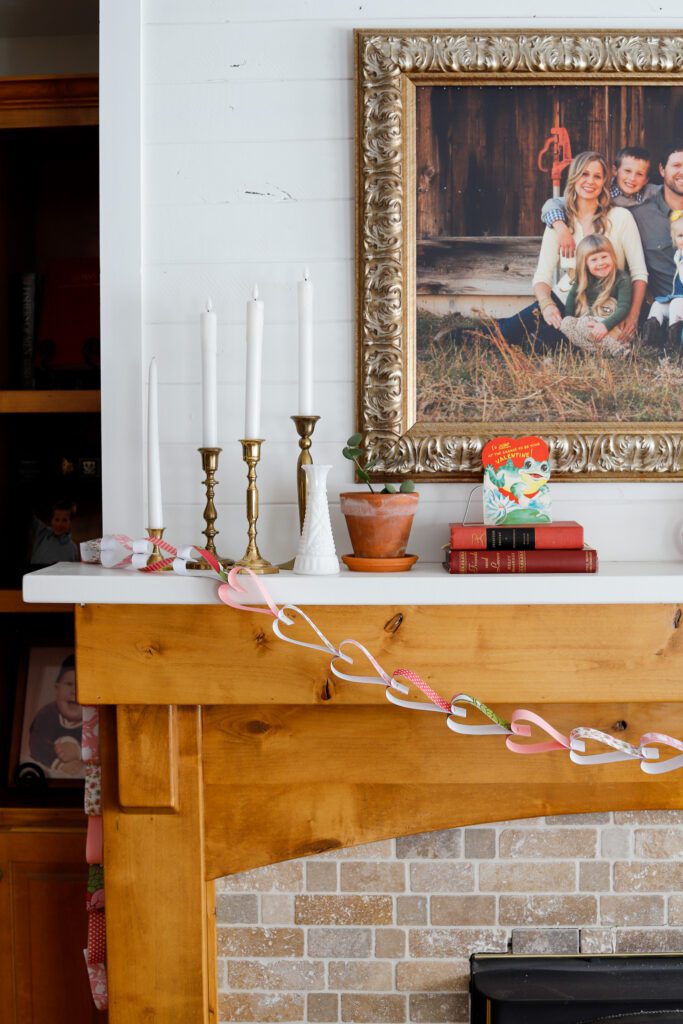
Paper Heart Garland
Not only is this DIY garland quick to make, it’s a kid-friendly project, and also very inexpensive.
All that is required to create one is half an hour and some office supplies that you probably already have hanging around your house.
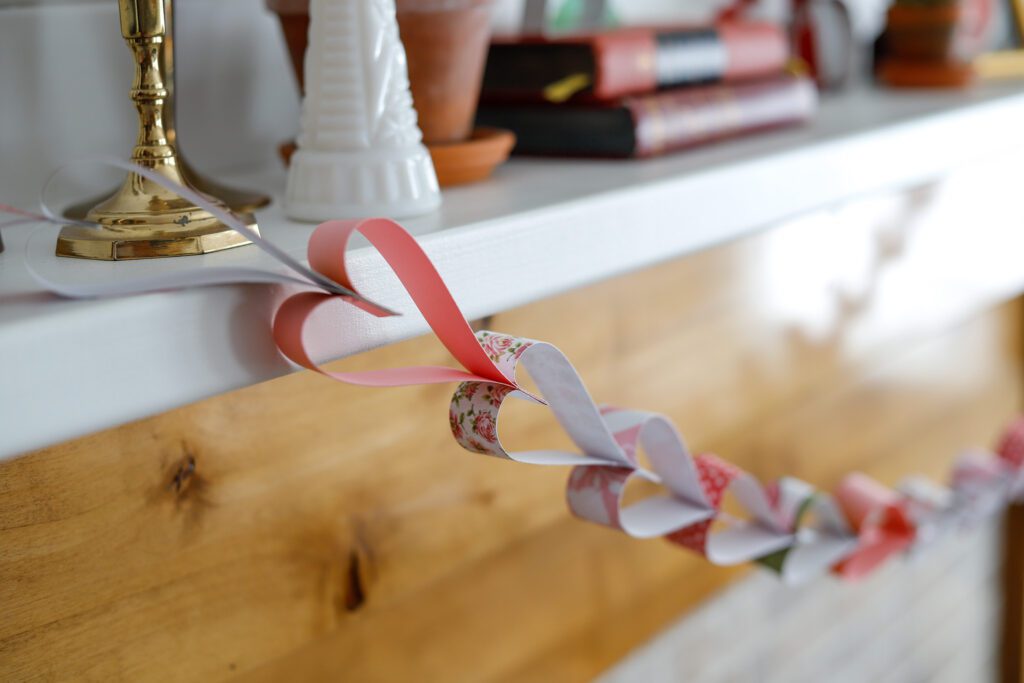
Supplies:
- pretty paper
- stapler & staples
- scissors or papercutter
I used a stapler here, but you could totally create the same thing using glue, scrapbook adhesive, double sided tape, or even hot glue. If using glue, just be aware that you’ll need to allow each glued section to dry before you move on to the next step. I went with the stapler because it was quick and sitting right there in front of me.
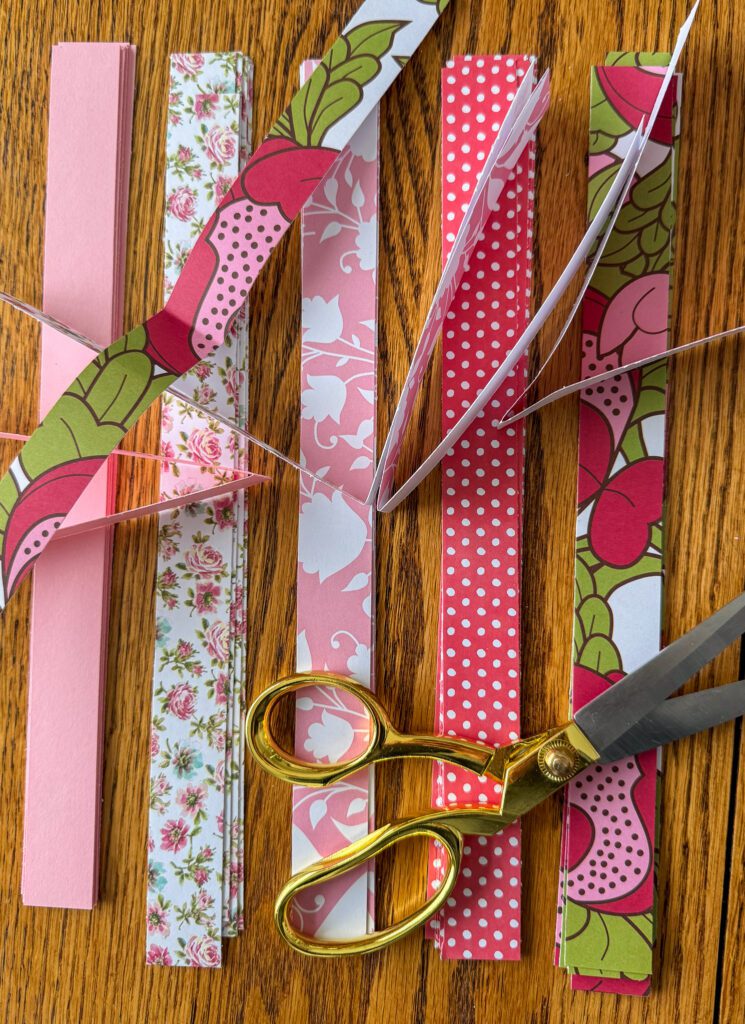
Back in my early 20s, I was big into scrapbooking so I have a large box of scrapbook paper in the basement. I scrounged through it and found some patterns I thought complimented each other. My paper was 12×12 but you could use whatever you’ve got. Just keep in mind that the shorter the strips, the smaller your hearts will end up.
How to Make a Paper Heart Garland
Step 1:
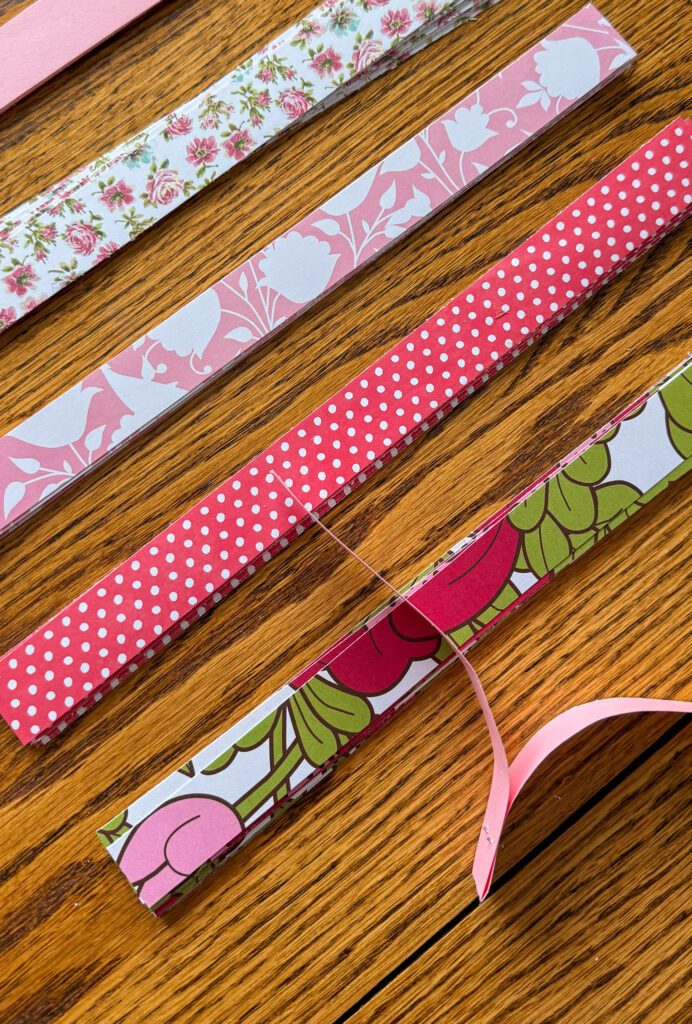
Cut paper into strips of desired size. I used 12×12 sheets of paper and cut 1″ x 12″ strips.
Step 2:
Fold one strip in half, so that the right sides (printed side) of the paper are touching/facing inside.
Side note- I found it easier to fold my strips all at one time so they were prepped and ready, instead of folding as I went. So I guess the 2nd step is really to fold all your strips in half, with the print side/right side of the paper facing in.
Step 3:
Take one of your folded strips and staple the FOLDED END. It’s really personal preference, so you do you, but I put the staple about 3/4″ or so in from the folded end.
Step 4:
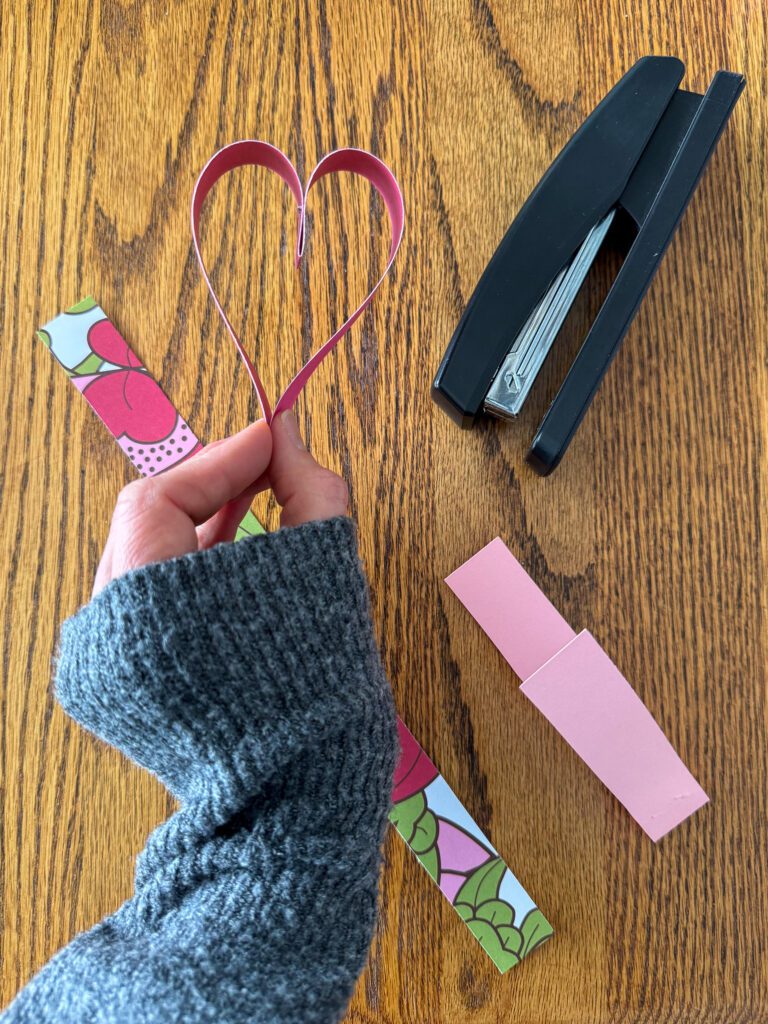
Hold the folded/stapled side with one hand and use your other hand to gently pull back the open ends towards the folded end.
This will create a heart shape.
Step 5:
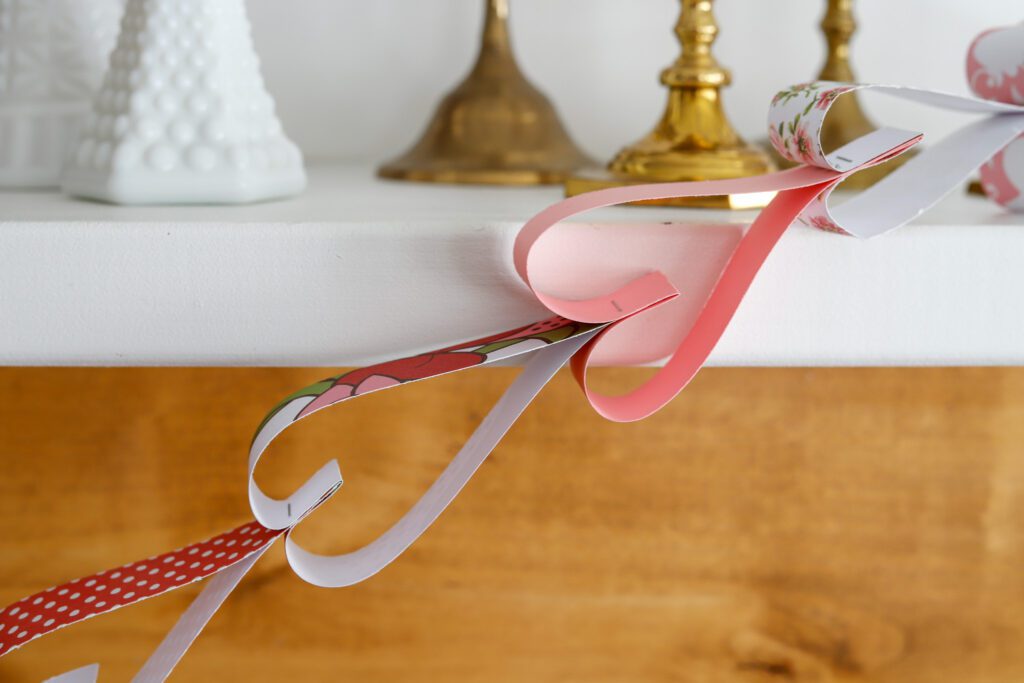
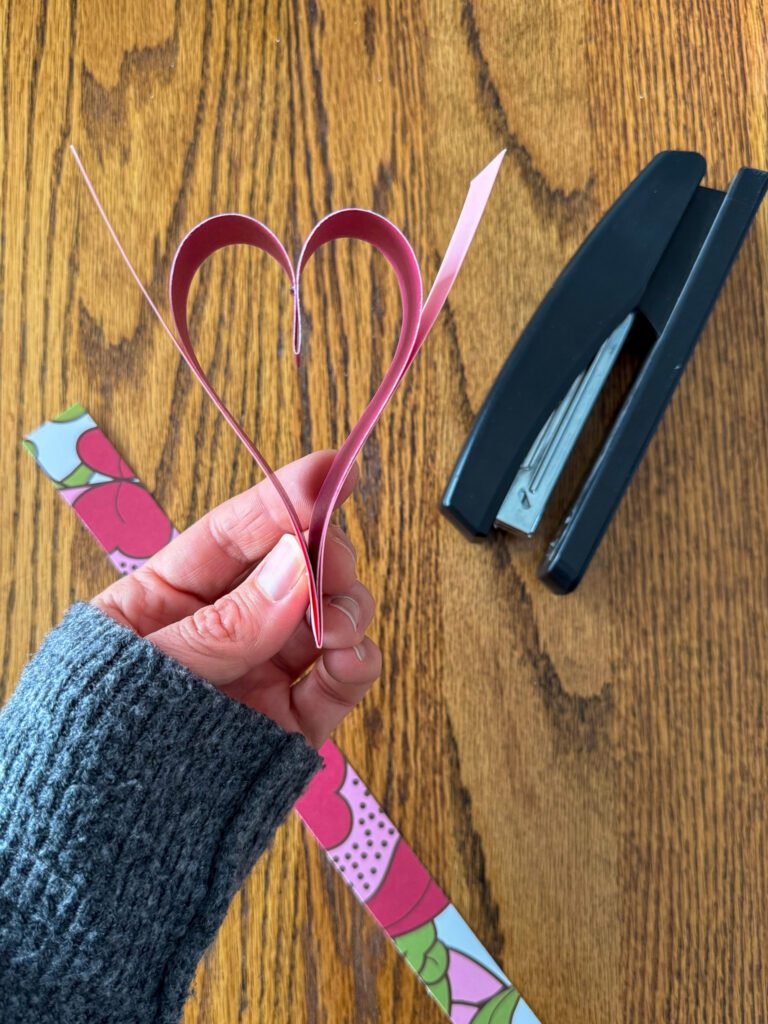
Take another folded strip of paper and “pac-man” it onto the end of the heart so it is eating the small end. Yup, I just used pac-man as a verb. But that’s the best verbal visual I could think of! Ha! I totally just dated myself, didn’t I?
See the photo below if I’ve completely confused you.
Step 6:
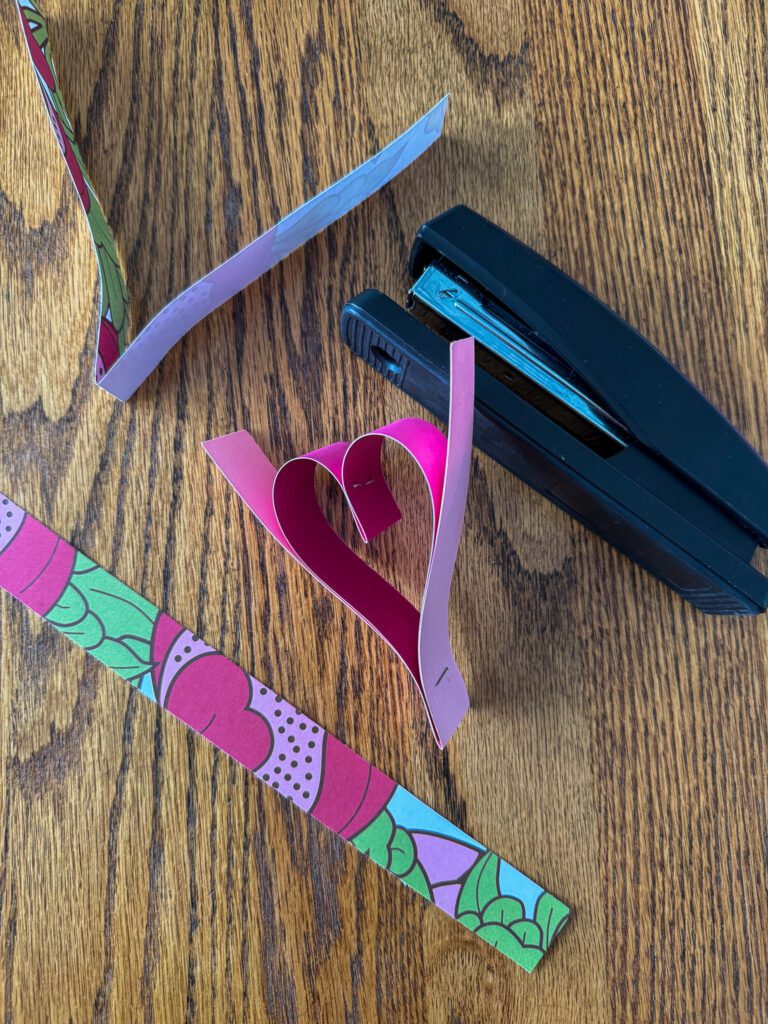
Staple the folded end, just like before.
Step 7:
Continue steps until your garland reaches desired length.
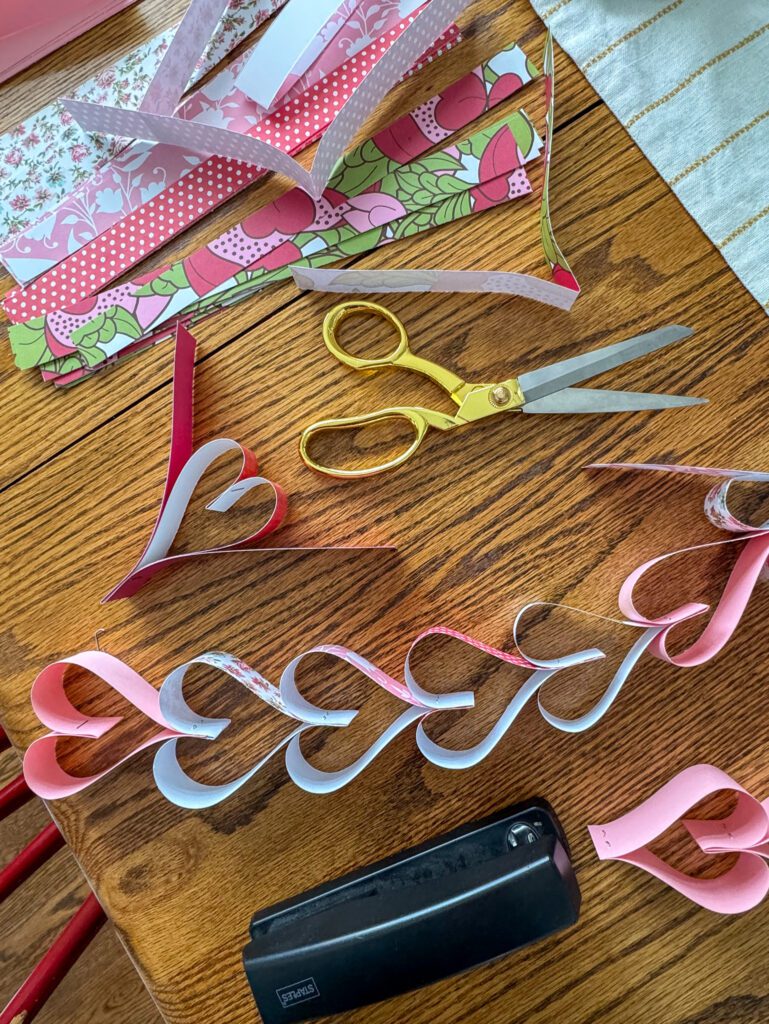
That’s it!
It sounds way more complicated then it actually is, I swear. Once you get going, you’ll catch your rhythm and it’ll be done in a flash!
So easy and cute too!
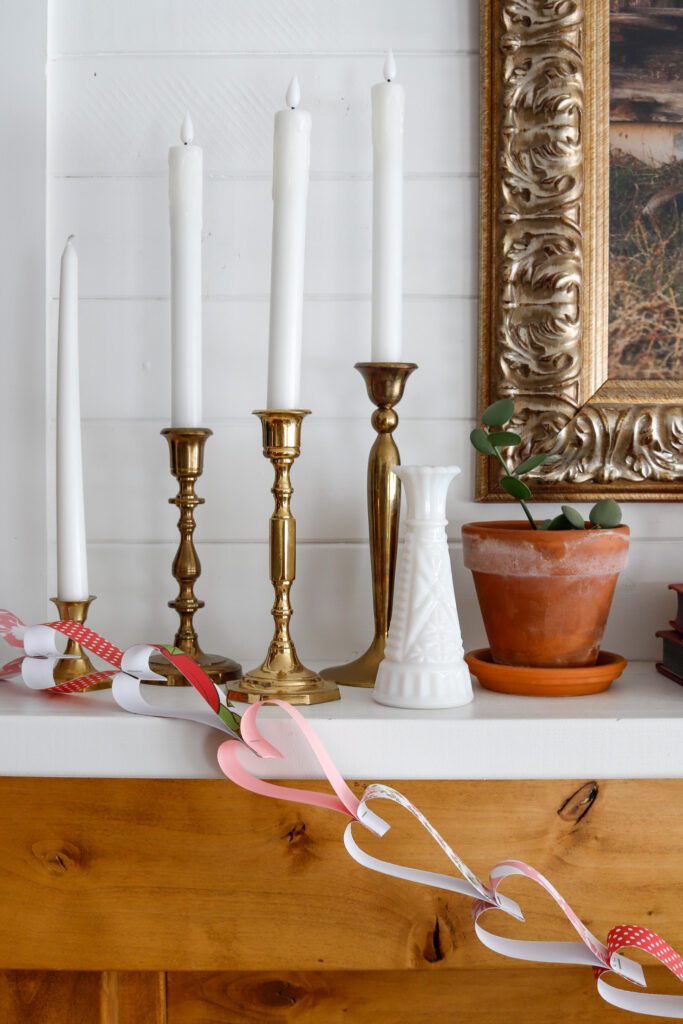
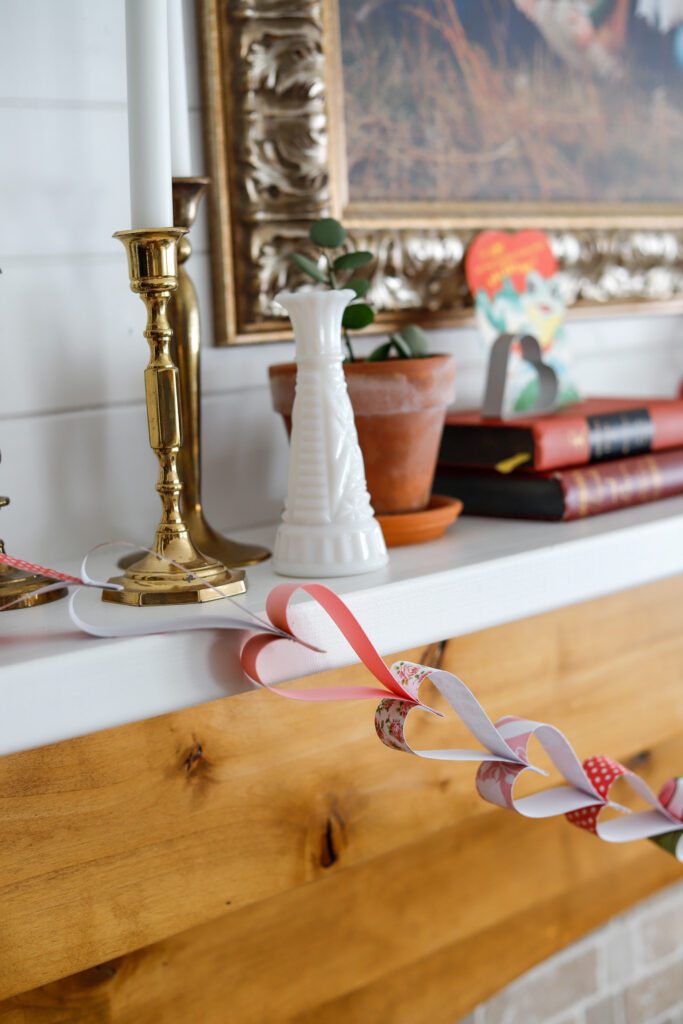
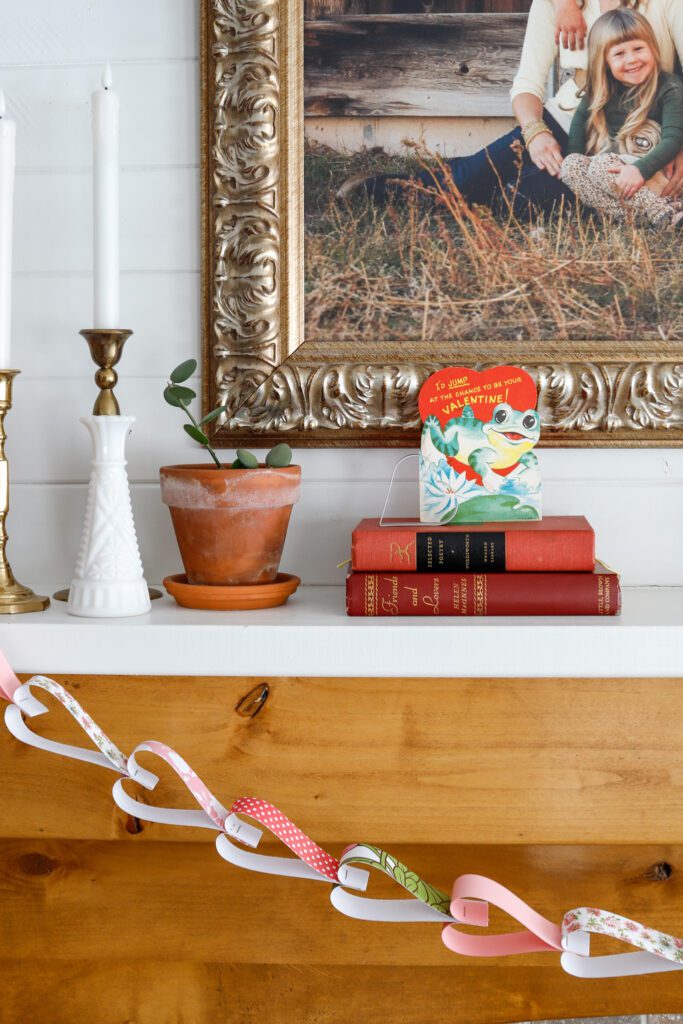
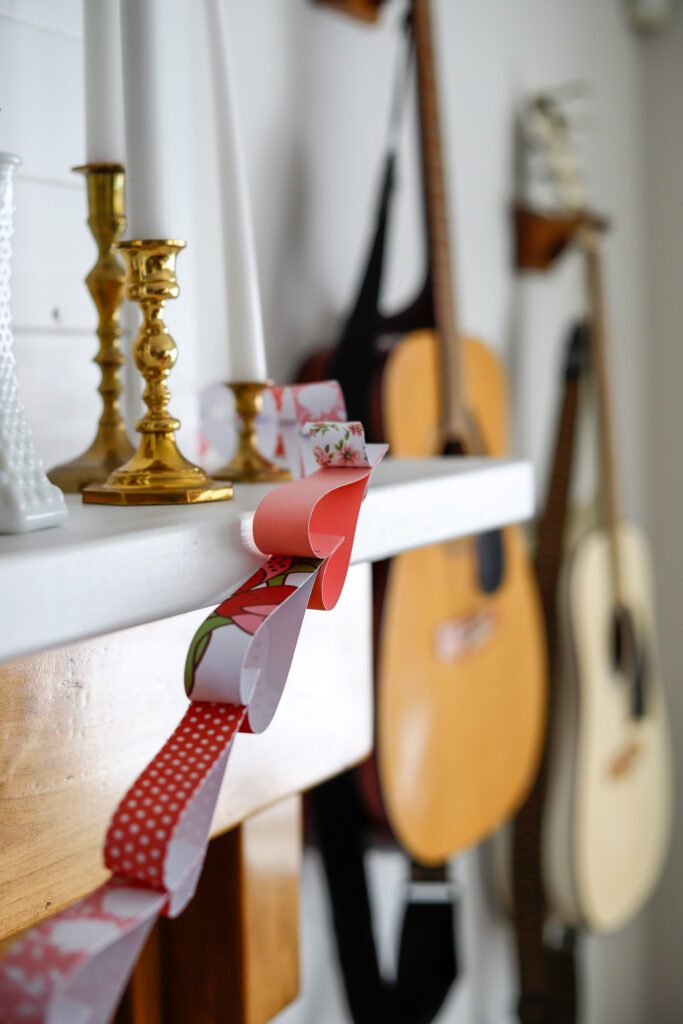
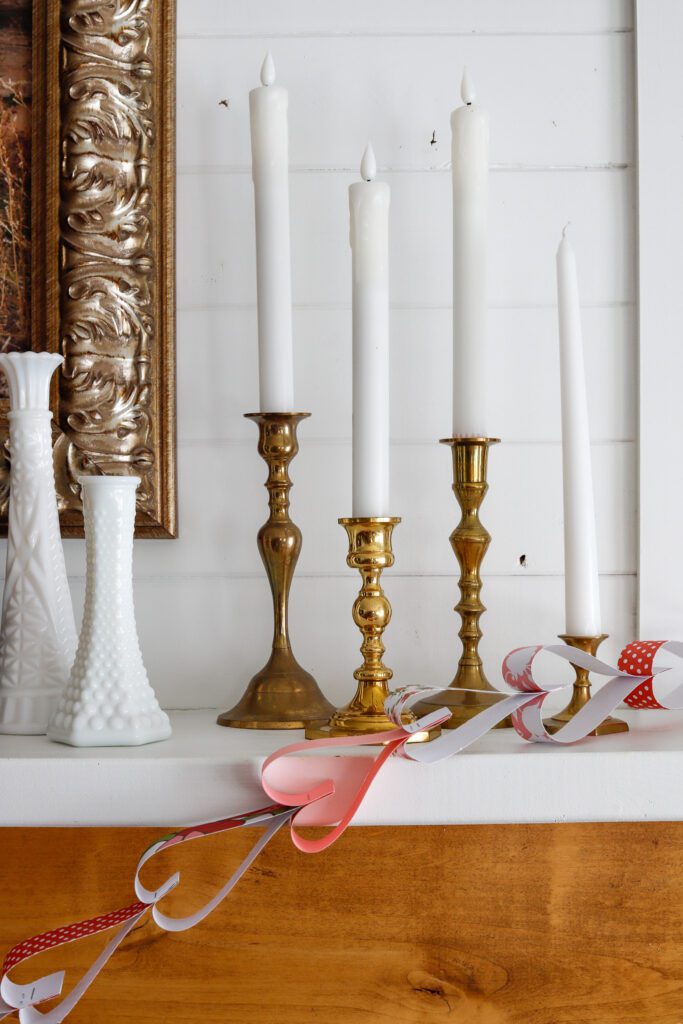
Bonus- you can customize it to be any size, width, or color. Totally up to you!
Hearts aren’t just for Valentines!
Valentine’s Day may be over, but there’s always time for creating something that makes you smile. Craft a purple paper heart garland to drape on your daughter’s bedroom curtains. Or, make one to use as a paper chain to count down to your family vacation. That would be so fun!
Think outside heart month.
Love isn’t confined to February anyway!
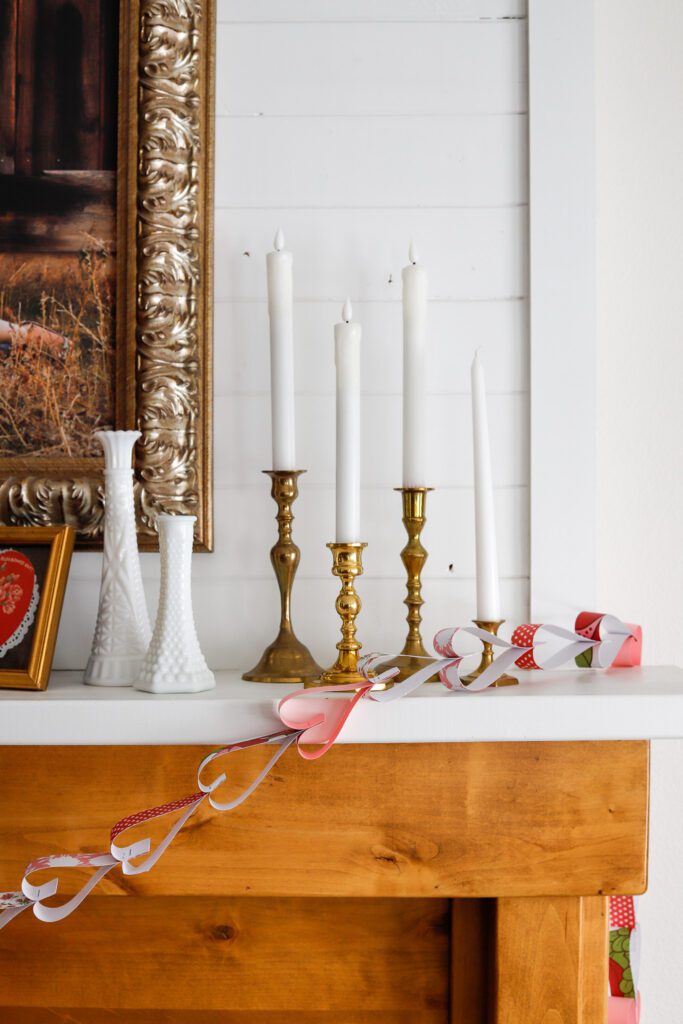
I got so into making little hearts that I ended up with an 8 foot garland. My girls got a good laugh at me as I tried to hang it on our mantle! There was so much that I ended up taking a section off the end and hanging it from our hutch in the dining room to spread the love around a bit. So sweet!
Hidden perk of this garland?
When you’re done with it, pop out the staples and toss it in the recycle.
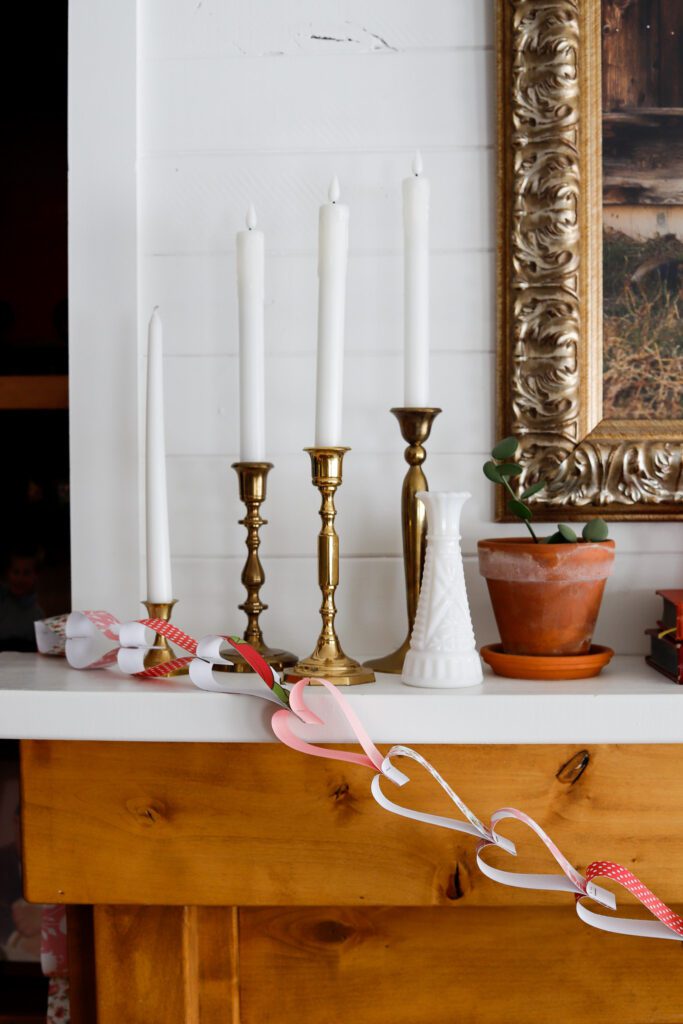
I hope this simple little project brings you some joy, for Valentine’s or any day! I crafted mine as part of Makeuary and I’m so glad! It’s been giving me some much needed life the last couple of weeks. Every time I look at it hanging on the mantle, I’m reminded to stop complicating things and just create.
Creativity really can be incredibly simple, and still so rewarding.
And for that, I am thankful.