Homemade vanilla
Welcome to my happy place of DIY, homemade, homegrown, handmade, nourished & crafted, whole hearted living. Finding magic in the mundane & growing some roots in the process.
This post may contain affiliate links. If you click on a link and purchase an item, I will receive a small commission. For more info, please see my disclosure on my Connect page.
Christmas is coming and I am determined to not put everything off until the last minute this year. I don’t know about you, but I find myself stressed out while I put together gifts on Christmas Eve every single year. Why do I do that to myself? For some reason, I always think I have so much more time than I actually do. It’s ridiculous! This year I’m starting early so I can actually breathe and enjoy the week of Christmas.
My first gift project?
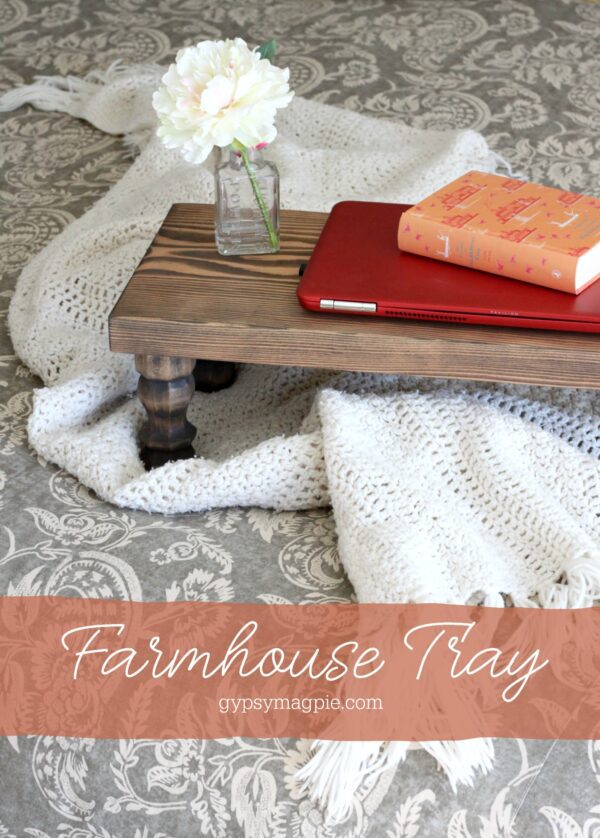
This darling farmhouse bed tray.
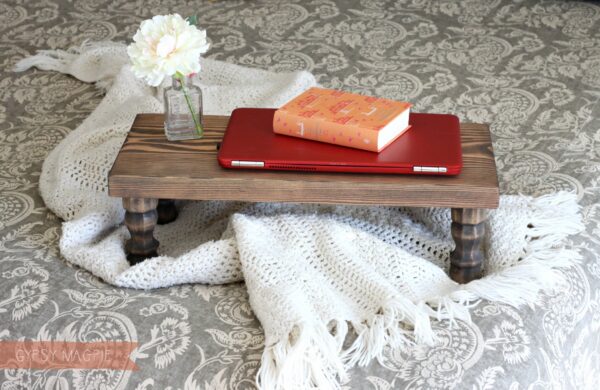
Do you ever sit in bed while you work on your laptop and then get in trouble with your hubs for blocking the air to the motor with all your fluffy cozy covers? Yeah, happens here too. I’ve tried to use books underneath but it’s just not all that comfy. The last few months on Insta I have seen some of my maker friends creating risers for their counters. I figured why not widen one a bit and make it a bed tray? So that’s what I did. I grabbed a piece of lumber and some wood feet from the big box store and set to work.
This post contains affiliate links which help me keep this creative little happy place going
See my Disclosure page HERE.
Now back to the post…
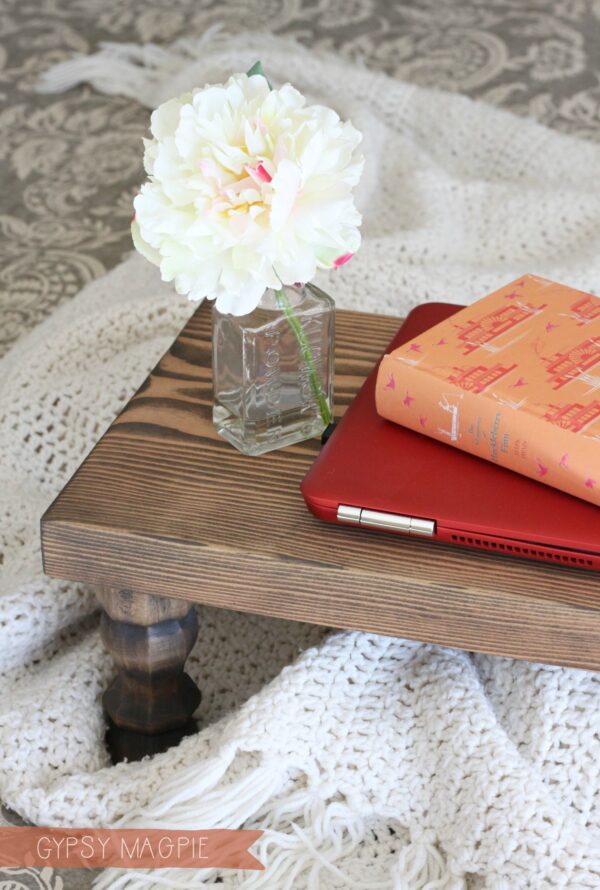
Supplies:
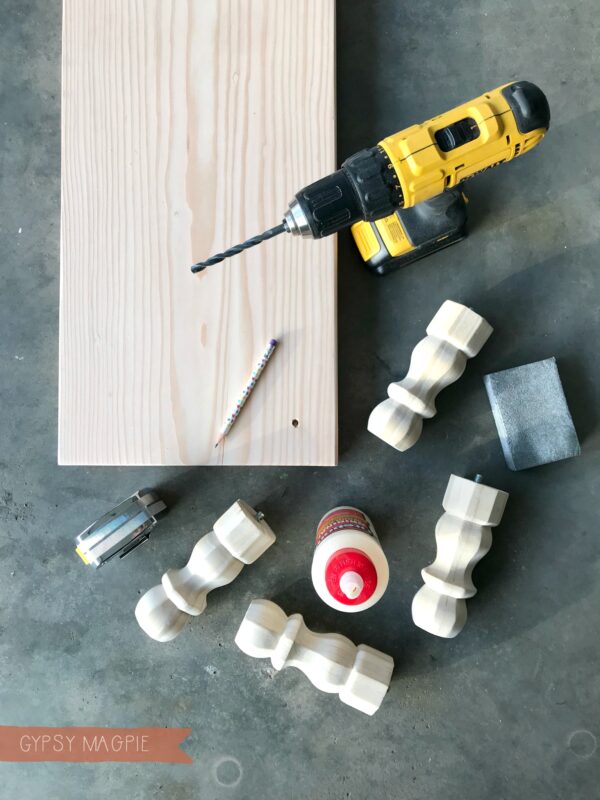
- 2×12 board– cut to 24 inches
- 4 wood table legs or furniture finials
- stain– I used this one by Homestead House. It’s a stain + finish in one. Expensive but quick and easy.
- miter saw– this is my dream saw. Sigh, someday.
- drill and 1/4 drill bit
- sandpaper
- wood glue
Directions:
- Cut 2×12 wood plank to 24″ long. You will be able to get several trays from one 2×12 board or save the rest of the board for another project later. If you don’t have access to a saw, ask the guys at the big box store (where you are buying the wood) if they’d be willing to cut it for you. Tell them to cut you a 24-inch length. Most of the time they are totally cool with that and love to help.
- Sand the board and the table legs. This takes forever, so turn on a movie or listen to a podcast to keep your brain from going numb. I rounded the corners on the main board so there were no sharp edges. If you have a router, you could do something cool with the edges, but I don’t have one so plain it is. You can make this as simple or as fancy as your heart desires.

- Measure and mark the spots for attaching the table legs/finials. I think I measured in about 1 3/4″. Once you’ve got your placement, drill a small hole. Make sure not to go all the way through your board. You just need the hole deep enough to screw in the table legs.
- Put a dot of glue down into the screw hole and also on the top of the table leg. Screw leg into the hole until tight. Wipe off any glue that may have seeped out with a damp rag then set aside to dry. Once it’s dry, if there was glue seepage that you may have missed, sand it off so you’re stain will take.

- Stain and seal tray and let dry. You could also paint the tray, totally up to you.
Alright friends, that’s it!
You’ve just made a killer DIY Christmas gift. You rock.
Tips:
Making a farmhouse bed tray is a very simple DIY and the perfect beginner project. Just remember to allocate enough time for sanding all those table legs because, seriously, it takes the major brunt of the effort. Repeat after me, “sand, sand, and sand some more!” Nobody wants a sliver.
Don’t skip the glue when attaching the table legs. Those tiny screws will hold, but not securely and not for the long run. If you are going to do it, do it right so it’s not falling apart in a few months.
If you are planning to make several of these, set up an assembly line. Make all your cuts at once, then do all your drilling, stain all the legs, etc. It’ll go much smoother that way. Or you can do them all one at a time, I’m not your mom and can’t tell you what to do.
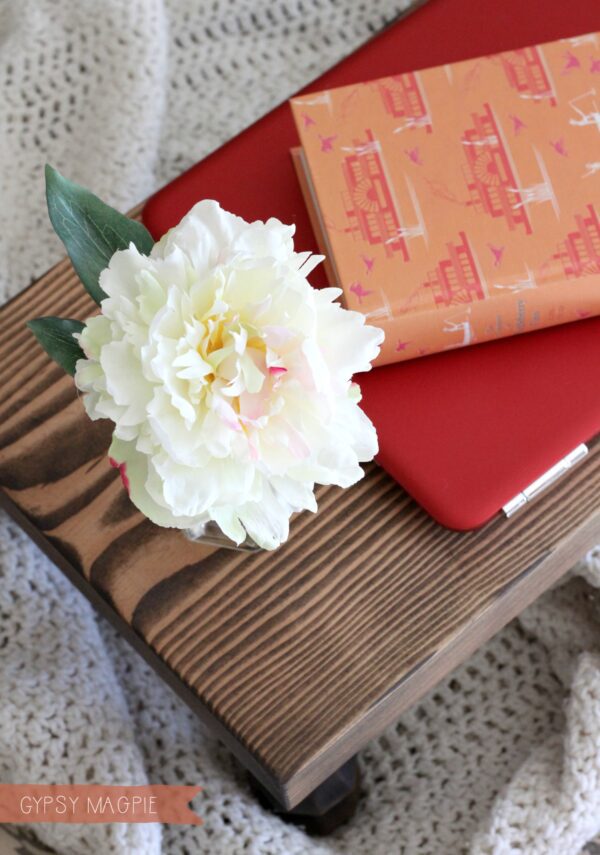


Including sandpaper and stain, you’re looking at roughly $20 per farmhouse bed tray. If you can find legs/finials cheaper, that would be where you’d save the most. They sure added up quickly. But if you think about it, $20 for a custom tray is pretty darn reasonable.
I’ve got a few of these cuties to make before Christmas, including one for myself. I mean come on, who really wants to freeze her fanny off in the office when she can work from the comfort of her nice warm bed? Speaking of beds, think the man will let me buy new bedding for Christmas too? I’m thinking a subtle ticking striped duvet. Hmmm. Seen any pretty ones? If so, please tell me in the comments!
Inspire My Creativity
Guess what time it is?
Yep, it’s Inspire My Creativity Link Party day!

The Inspire My Creativity hostesses are sharing some fabulous DIY gift ideas this week!
Pop by each of their sites for lots of inspiration.
Make sure to stop back next month…


Such a great idea! I love those legs!!
Thanks, Emy! I’ve seen them made with some really fun finials but I live in a more rural area so finding fancy stuff is a bit tough. At first, I wasn’t thrilled with these legs but once it was done I really liked it! Funny how that happens sometimes, isn’t it? At 6″ they are a good height for a bed tray.
What a darling tray! I absolutely love it! I love the legs you chose – so cute! I think I’m going to have to make one!
You totally should, Christine!
Hey Missy, I just made a set of these tables from some barley twist legs I found at the curb! Love yours, and that wood stain!
You found them on the curb? What a great find! I’ll bet they turned out cute! Thanks for stopping by!
I am terrified of power tools (wish I wasn’t), but I just showed the husband your beautiful post and he said he will help me make some for Christmas! Yay! Thank you!
Oh good, Kirsten! That makes me happy that he’s going to help you. Post a pic of what you make!
Woow,
What a nice post. I am very impressed. I fall in love with your post. It,s too good post.
I think your tips are very essential for the homemade beginner.
Thanks for share
This is such a cute idea for a Mother’s Day gift for a mom that’s so hard to buy for and I’m also in the same boat with you with not having so many pretty things in my area as well. I think I’ll be making a trip to our home depot for lunch.. I just love this idea and maybe I’ll make me one as well for Mother’s Day..
I hope you make it, Christy! It’s simple to make and turns out so cute!