Homemade vanilla
Welcome to my happy place of DIY, homemade, homegrown, handmade, nourished & crafted, whole hearted living. Finding magic in the mundane & growing some roots in the process.
This post may contain affiliate links. If you click on a link and purchase an item, I will receive a small commission. For more info, please see my disclosure on my Connect page.
When I get frustrated, the best way for me to find peace in my head is when I put myself to work. Gardening has become one of my favorite things to do because I don’t have to think. It’s one of those times when I can let go of my mind and just use my senses. Touching the dirt, listening to nothing but the earth around me, it is tranquil and for a split second my freight-train of a brain is still. Living in the high mountains of Utah doesn’t allow for much gardening during the winter months. But, this week I craved the peace that comes with getting my hands dirty. As I finished the last of the dinner dishes, I absentmindedly gazed out my window and then my eyes fell on the sad little cups of herbs sitting on my windowsill. There I stood with a wet mason jar in my hand and I realized that I had never given these little seeds a proper home! Yay for finding a little bit of summer tranquility in the bleakness of January!
The next day I rounded up 4 wide mouthed mason jars, a can of Krylon Dual, potting soil, some seeds and went to work.
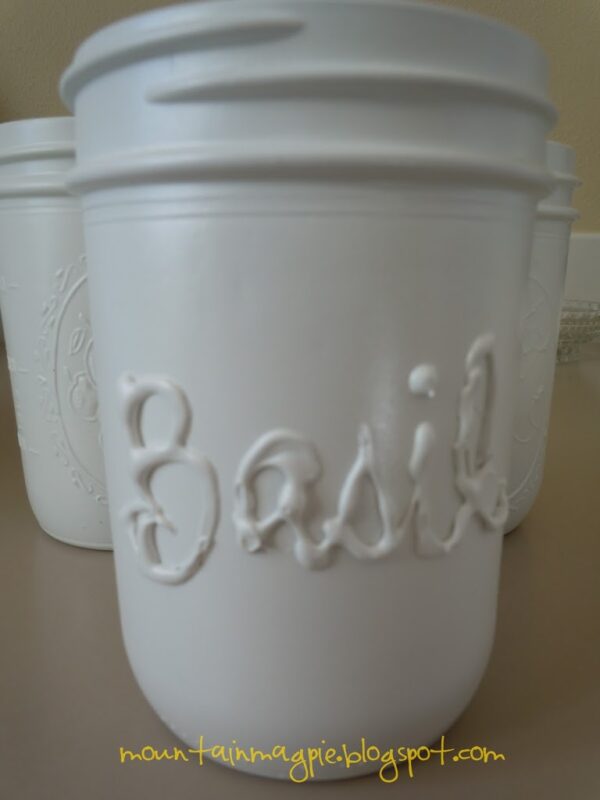
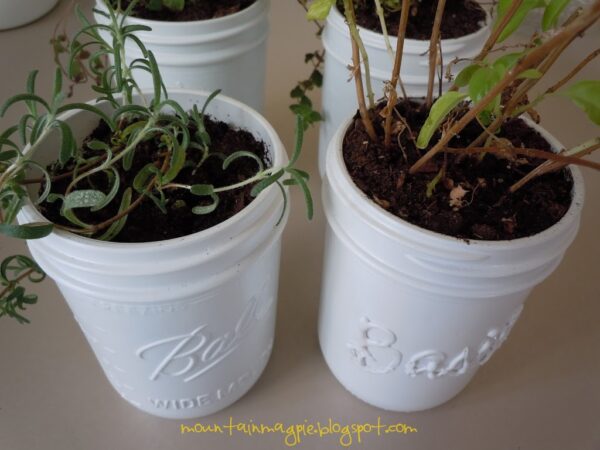
I started by spray painting my mason jars. I used Krylon Dual Paint + Primer in White Gloss. I tried to get uber crafty and use my glue gun to write the name of the herb on the jar, but it just wasn’t working out cleanly {straight fail} so I quit after Basil. I probably should have used good old Elmer’s but that takes a while to dry and I didn’t want to wait. So, Basil is the ugly duckling of the group, but I use her the most. It all evens out.
After the jars dried, I got to the fun stuff…planting.
People stress WAY to much about plants. They are scared of hurting them so they just don’t grow anything. Sad. Most plants, especially windowsill herbs, only want some sun and a drink every so often. Don’t make it harder than it has to be.
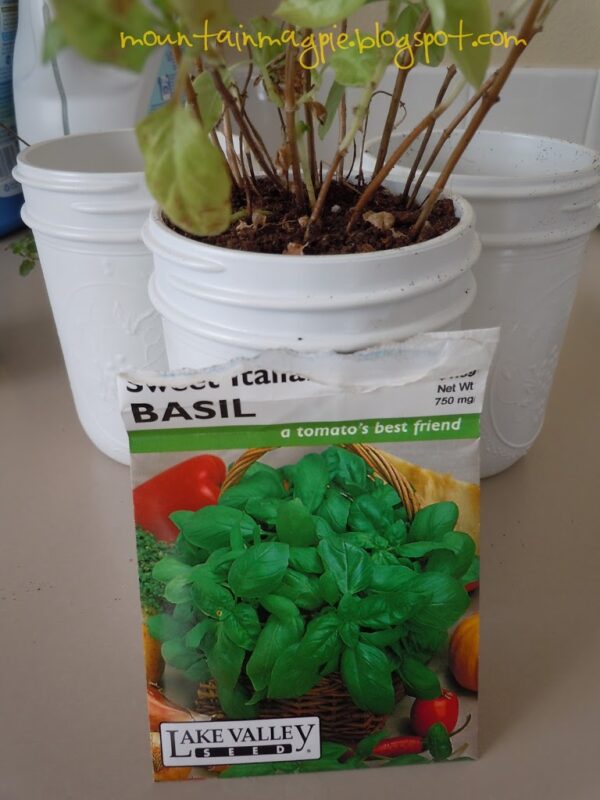
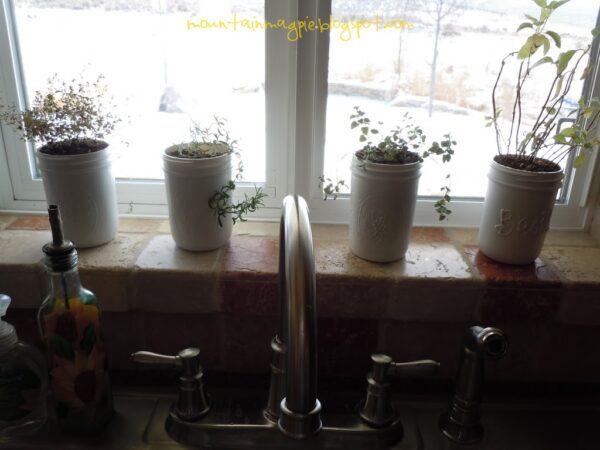
A while ago, I started these little guys and stuck them on my kitchen windowsill so I could have herbs any time of year. Basil is probably the easiest to grow. If you are nervous using seeds, go get yourself a little pot of herbs from the local nursery. You’ll pay a lot more compared to that cheap packet of seeds, but the patience part is taken care of for you.
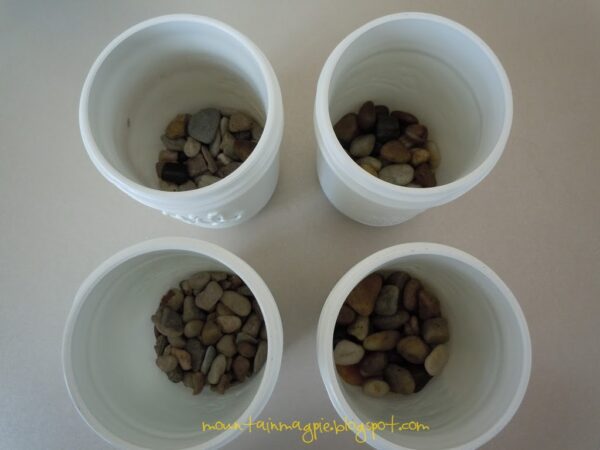
Put about an inch {ish} of pebbles in the bottom of your jars for drainage then put in some potting soil. I like the potting soil that has Miracle Grow in it because I forget to fertilize.
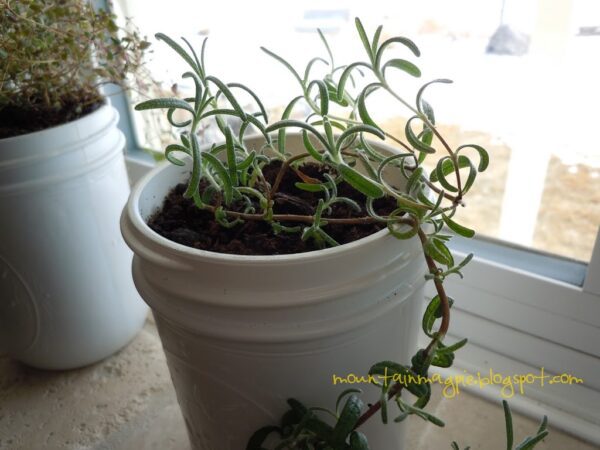
Just FYI: Basil is one of those that you want to replant every few months because after a while it starts to get woody, as you can see from my plant above. I sprinkled in some seeds around the bottom of the plant and topped it off with some fresh potting soil. I should have little sprouts in a couple weeks.
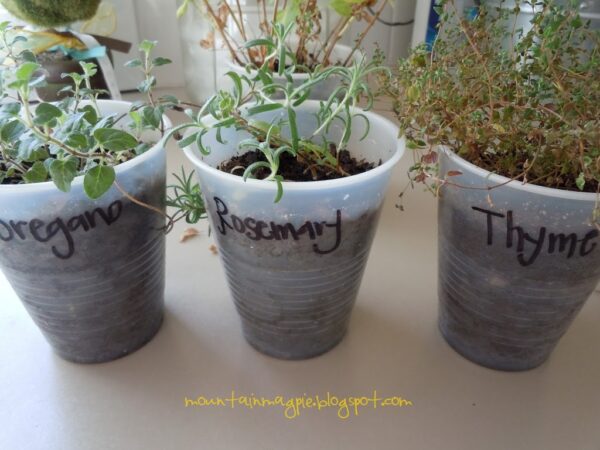
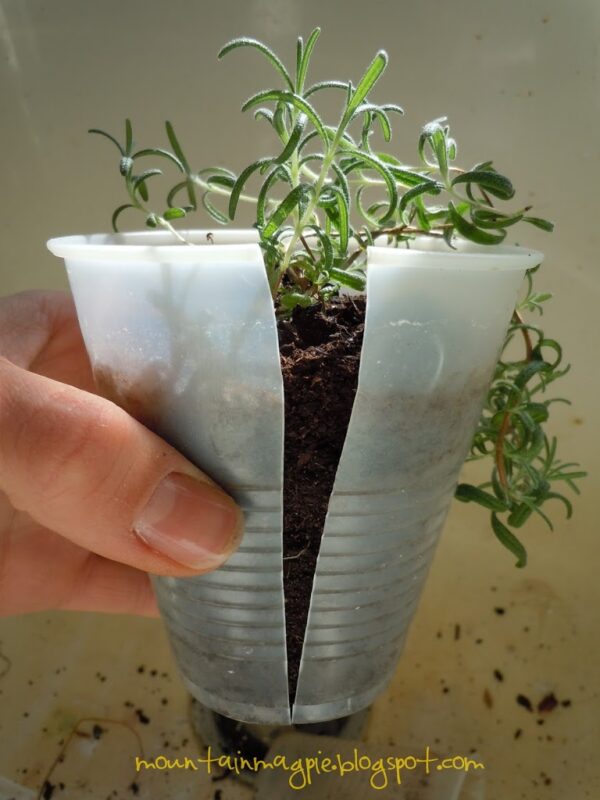
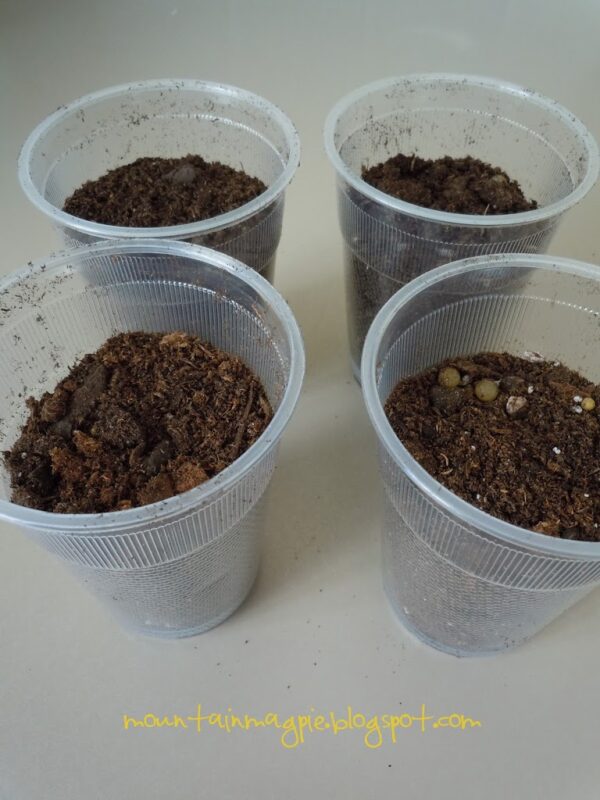
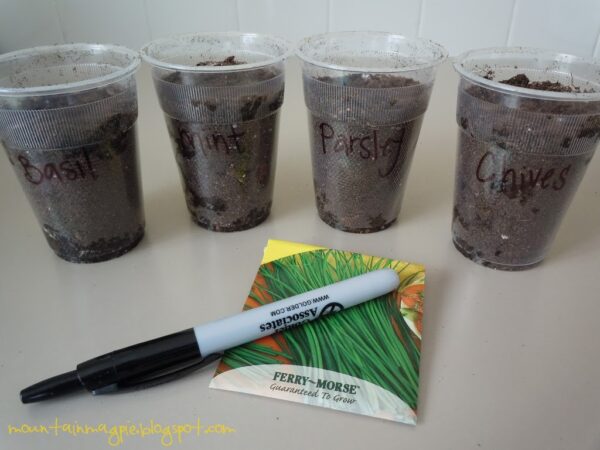
I like to start my seeds in cheap plastic cups because it’s free. I usually have a few laying around and you really don’t need a fancy seed starting kit. Any cup with dirt will do. After it sprouts and becomes a plant, you’ll tear the side of the cup and pop out your plant. Easy, messy, and fun.
See the Rosemary on the left? That is how you want your plant to look when you are done. See that plant on the right? Yeah, the dirt is way high and is going to be a pain in the fanny to water until the dirt tamps down a little. Do yourself a favor and leave a nice lip of pot around the top to keep the water in!
Kind of cute for nearly free, right? I didn’t buy anything for this project, just used old jars, leftover paint, and soil and seeds I’ve had sitting in my garage. Remember, Basil is the ugly duckling right now, but give her a few weeks and the shiny new leaves will take the old ones place. She’ll be gorgeous, just wait.
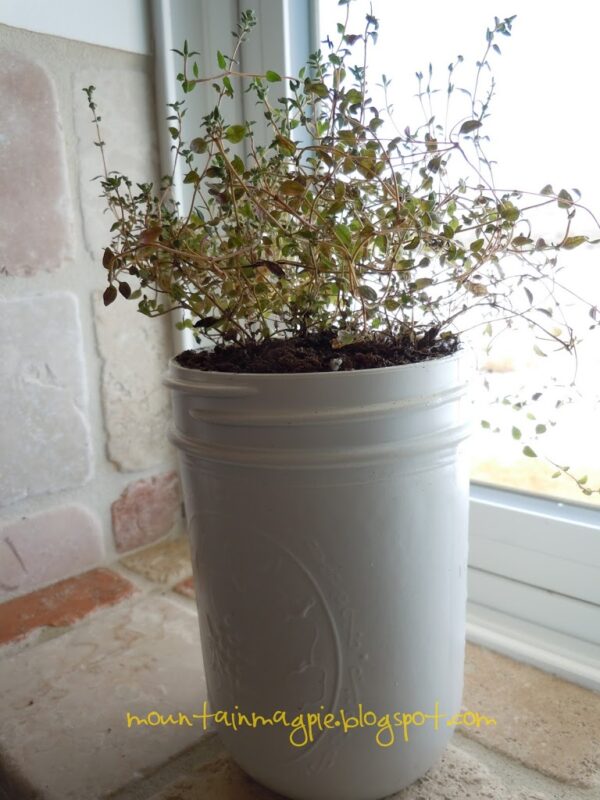
My 7 year old likes Miss Thyme because she thinks she is all frilly and lacy. It’s kind of neat to have an little impromptu botany lesson right in your kitchen. Show them what that herb looked like before they dried it all up and shoved it in a McCormick bottle!
This one is Rosemary. She smells so good.
If you are wondering how to start your own seeds…
…stick some dirt in a cup, sprinkle on some seeds, top with a little more potting soil, place in a sunny spot, and keep moist until your little seedlings pop up. It’s that easy. If you are scared, read the back of your seed packet. Oh, and don’t forget to label your cups! But, most importantly, have patience. Some of those tiny seeds take a lot longer to germinate than the others. They are definitely worth the wait. Just think of yourself back in middle school.
So, get to it!
Get your hands dirty and find a little peace while you are at it.
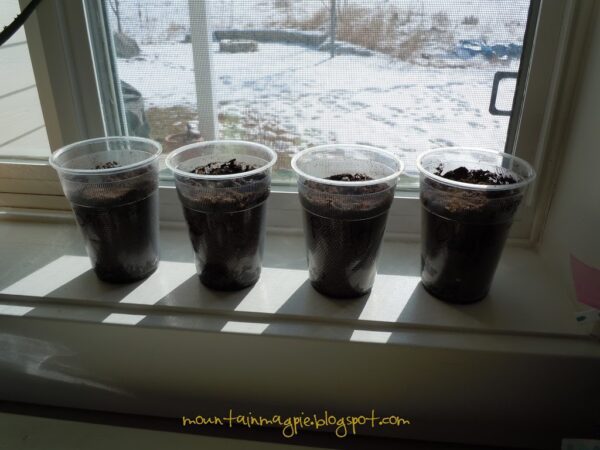
I’m thinking these are a lot easier to do in cups on the windowsill than outside (believe me I tried), except parsley, it grows anywhere 🙂
[…] can customize your jar to any space you want to use it in! You could spray paint the jar like I did HERE with my windowsill herbs. You could leave the glass clear and spray paint the lid/dispenser with […]
[…] HERBS that I started a few weeks ago have pushed through the dirt and are cute little […]