Homemade vanilla
Welcome to my happy place of DIY, homemade, homegrown, handmade, nourished & crafted, whole hearted living. Finding magic in the mundane & growing some roots in the process.
This post may contain affiliate links. If you click on a link and purchase an item, I will receive a small commission. For more info, please see my disclosure on my Connect page.
When my brother and sister-in-law moved into their new house, they found a bunch of discarded treasures left in the backyard. The former owners must have loved western decor because there were whiskey barrel planters, barn-wood, a cowboy boot fountain, and a broken windmill, among other things. Wanting their backyard clean and knowing I have a weird love of pickin’, they invited me down to go through their new inheritance.
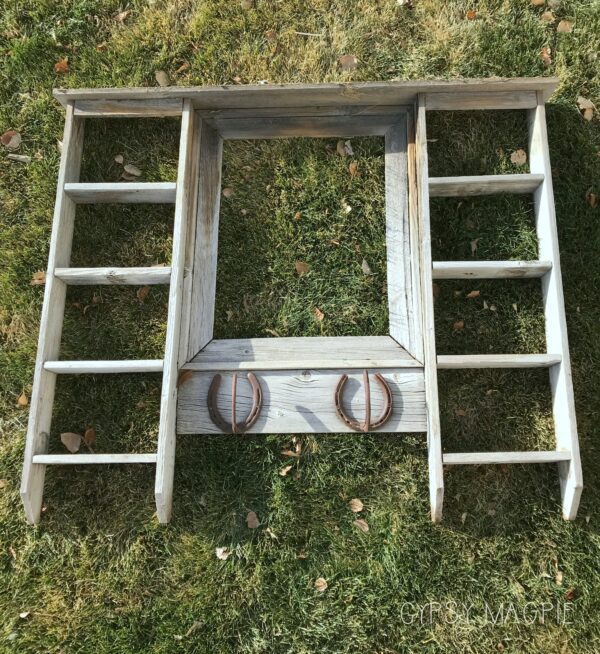
We live about an hour and a half away from this sibling, so we packed up the kids and drove down to spend the day at their house. While the kids played in the sprinklers, we worked on cleaning up the backyard. Tucked in the flower bed on the side of the house was a barn-wood shelf with a filthy glass window. Who knows what the window was originally meant for, but the horseshoes were cool and the aged wood had become the coolest color. I had no idea what I was going to do with it, but I loaded it into the back of the truck anyway. That shelf then sat on the side of my house for several months until I walked past the other day and had an idea.

I cleaned off the cobwebs and grass clippings from the old barn-wood frame, then scrubbed the nasty water stained glass. Once it was clean, I pulled out the chalkboard paint and set to work.
Chalkboard paint is pretty inexpensive, easy to use, and so versatile. You can turn just about anything into a chalkboard! In my experience, I have found that if you give the paint the proper drying time between coats, it sticks great to most surfaces. That being said, if you’re working with a really slick surface, you may want to use a primer first before you start painting just to be on the safe side.
Chalkboard Tips
1. Clean surface.
2. Prime, if needed.
3. Apply thin coats of chalkboard paint & allow to dry well in between coats.
4. Sand lightly with a fine grit sandpaper to smooth out each coat after it is dry.
5. Let dry for a day or two to cure a bit before using.

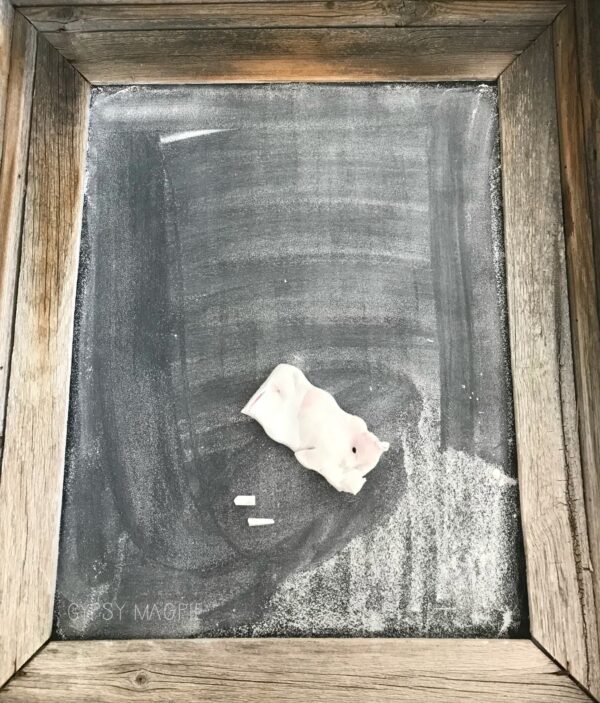
6. Season the chalkboard by rubbing a piece of chalk all over the surface, then wipe off with a dry rag, paper towel, or magic eraser. Repeat this several times until your chalkboard has a nice chalky chalkboard appearance. Yeah, that’s some technical verbiage right there. Shush. You know what I mean. Seasoning the chalkboard helps to prevent ghostwriting. Ghostwriting is what happens when you erase a chalkboard but it doesn’t fully erase so you are left with shadows of the what was written.
Just a heads up, sometimes you’ll get ghostwriting no matter what you do. If this happens, just wipe off the chalkboard with some water, let dry, and give it another coat of chalkboard paint. Season it like before and you’re ready to go.
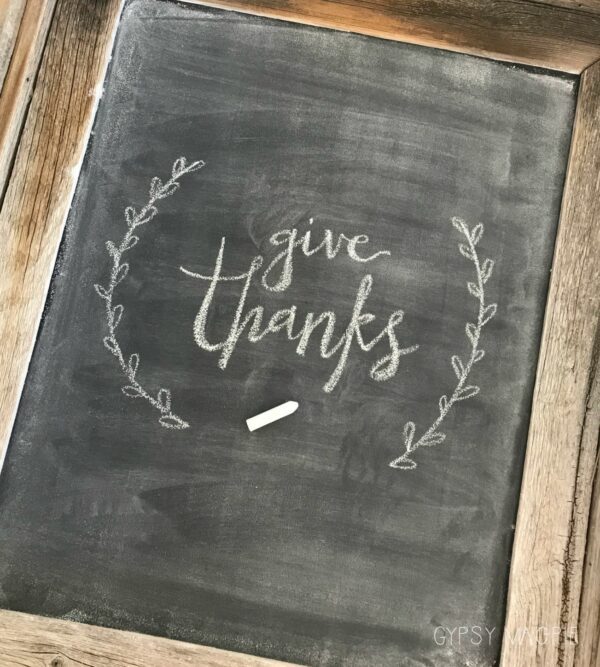
Since it’s November, I played around with a little Thanksgiving chalk art.

This post contains affiliate links which help me keep this creative little happy place going
See my Disclosure page HERE.
Now back to the post…
Supplies:
- chalkboard paint
- small foam roller
- chalk
- magic eraser
Western Barn-wood Chalkboard
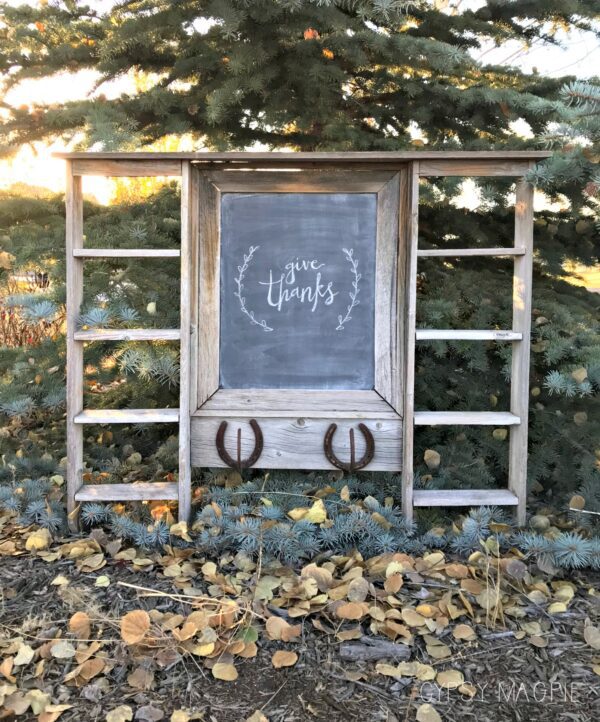
I’ve made several chalkboards over the years… spice jars, a globe, platters for my plate wall, and even the prettiest pantry door among other projects. Who knew that a chalkboard was all that forgotten old shelf needed to be cool again? I can’t believe it took me 4 months to do something with it. But, that’s kind of how my mind works.
Sometimes inspiration takes a while to lightning bolt me into action.

This barn-wood chalkboard would be so cute for a rustic wedding! You could put photos and mementos of the bride and groom on all the little shelves. It would also be super fun in a cowboy-themed teen’s room where it could be used for messages or country song quotes. I can also see it in a western styled dining room holding coffee mugs and enameled plates.
Whatever someone uses it for, I’m just glad it was pulled out of that backyard and given new life outside of a landfill. It makes my hippie, mother-earth lovin’ heart happy.
You are so creative!!!
This is a great inspiring article.I am pretty much pleased with your good work.You put really very helpful information..