Homemade vanilla
Welcome to my happy place of DIY, homemade, homegrown, handmade, nourished & crafted, whole hearted living. Finding magic in the mundane & growing some roots in the process.
Roasted Chickpeas: Quick, Easy, and Oh, So Good
February 2, 2024
This post may contain affiliate links. If you click on a link and purchase an item, I will receive a small commission. For more info, please see my disclosure on my Connect page.
Let’s get real. Being on an AIP protocol or having to eat a restricted diet for autoimmunity can get pretty boring very quickly. When you don’t have a huge variety of choices, you have to either get creative or lose the will to eat. Seeing how food is kind of a big deal, I guess creativity it is!
Looking for a simple recipe to add a little something something to salads, protein bowls, and soups? Give these crunchy roasted chickpeas a try!
Why Chickpeas?
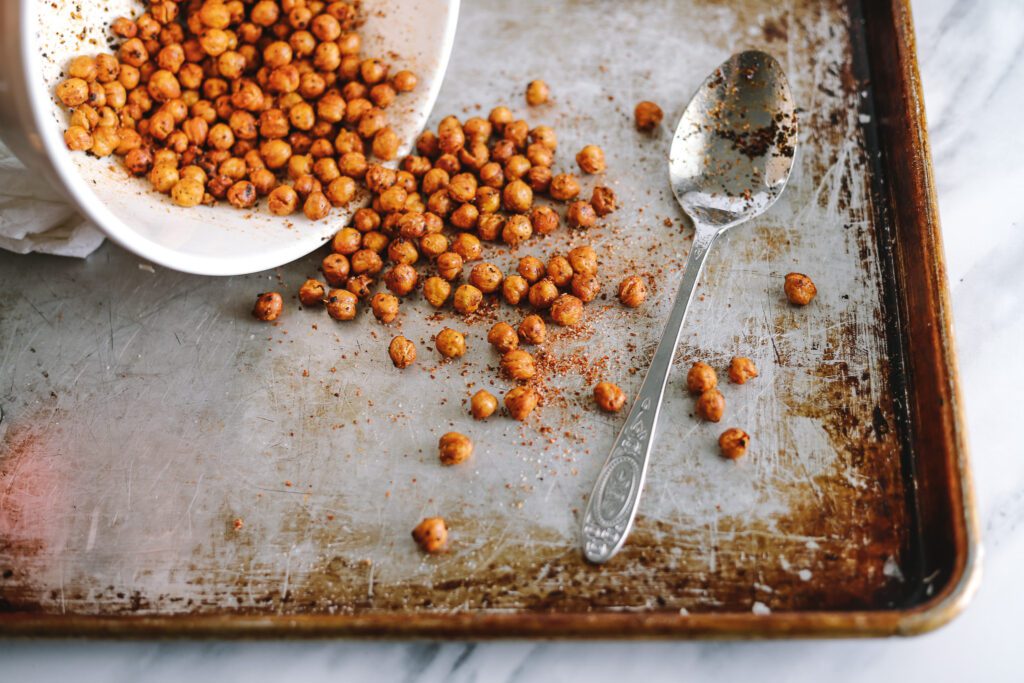
Chickpeas, aka garbanzo beans, are super nutritious. They are packed full of fiber and protein, which helps us feel fuller longer. They are also lower on the glycemic index which means they may help balance blood sugar. Add on to that the wide array of nutrients, like manganese and folate, and you can feel pretty good about munching away!
Not only are they good for you, but they are also, incredibly cheap, easy to make, and super versatile! If you’ve been here for a bit, you know how much I love that! Versatility is key to staying out of a food rut! Chickpeas can be made in the oven, in a frying pan, or in the air fryer. Plus, they can be seasoned any way you want, to fit the flavor of the dish you’re putting together.
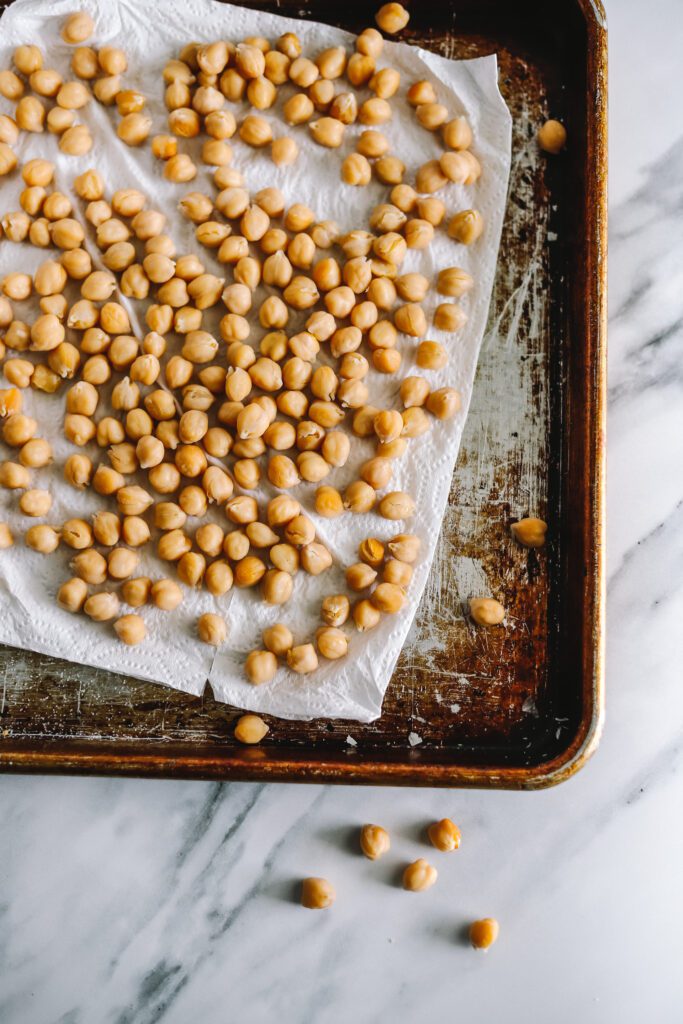
These ones I’m sharing today are sprinkled with chili lime, but if you don’t like a spicy kick you aren’t stuck with it. Sub out the chili lime seasoning for granulated garlic and thyme. Try Italian seasoning. Rosemary and cracked black pepper. Sprinkle with ranch powder or dill. Taco seasoning. Oooh, Pesto would be delicious!
Experiment with any of your favorite flavor pairings.
There are so many possibilities!
Here’s What You’ll Need:
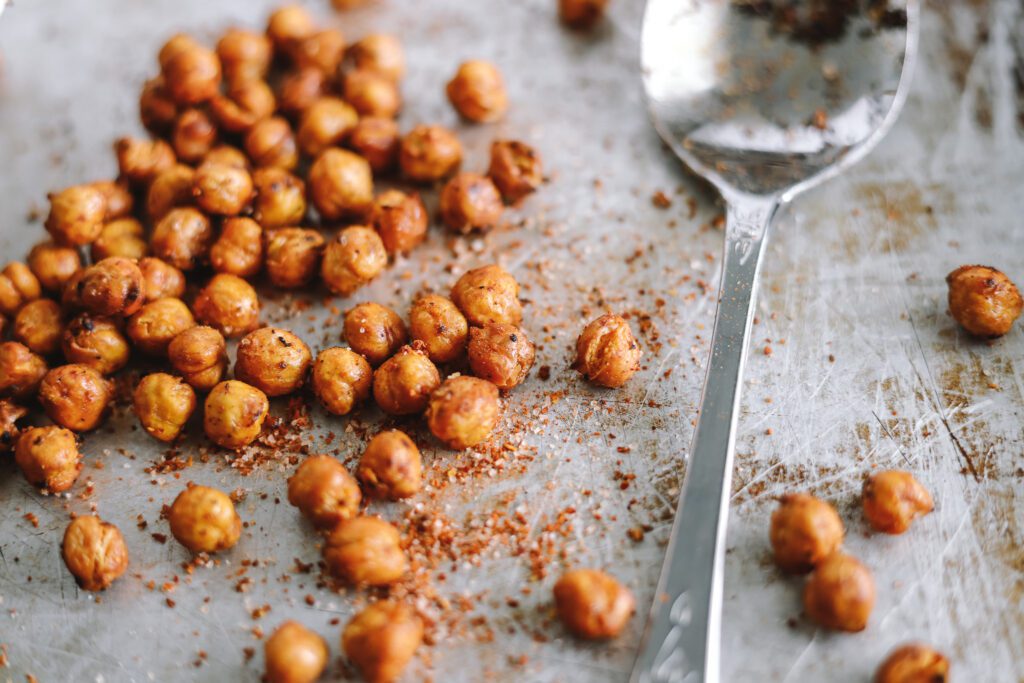
- Canned or Cooked Chickpeas, rinsed, drained, and dried off
- Olive Oil or Avocado Oil
- Sea Salt
- Seasoning
Alright, this is crazy simple…
Rinse, drain, dry, oil, season, and roast.
Roasted Chickpea Prep
Rinse a can of chickpeas (or the equivalent of home cooked chickpeas) in a colander under cool water. Give them a good shake then spread out on a clean dish towel or some paper towels to dry. Don’t skip this step! You want the chickpeas to be dry when you start so they crisp up and cook properly. My first time making them, I didn’t dry them and the insides turned out mushy while the outside was overcooked. The 2nd time, I dried them before cooking and magic happened!
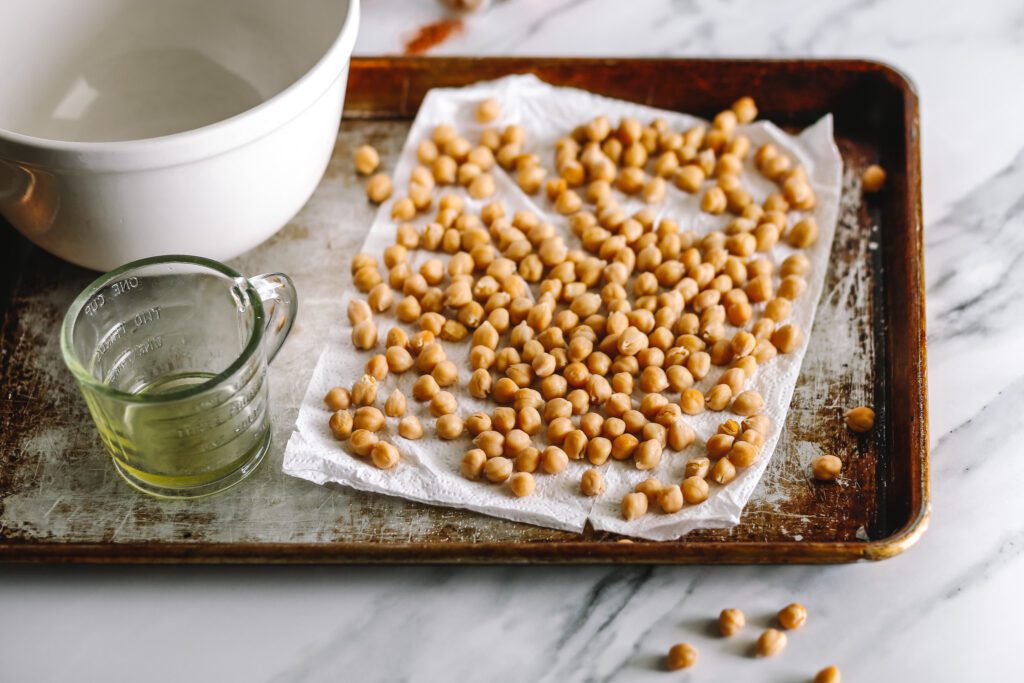
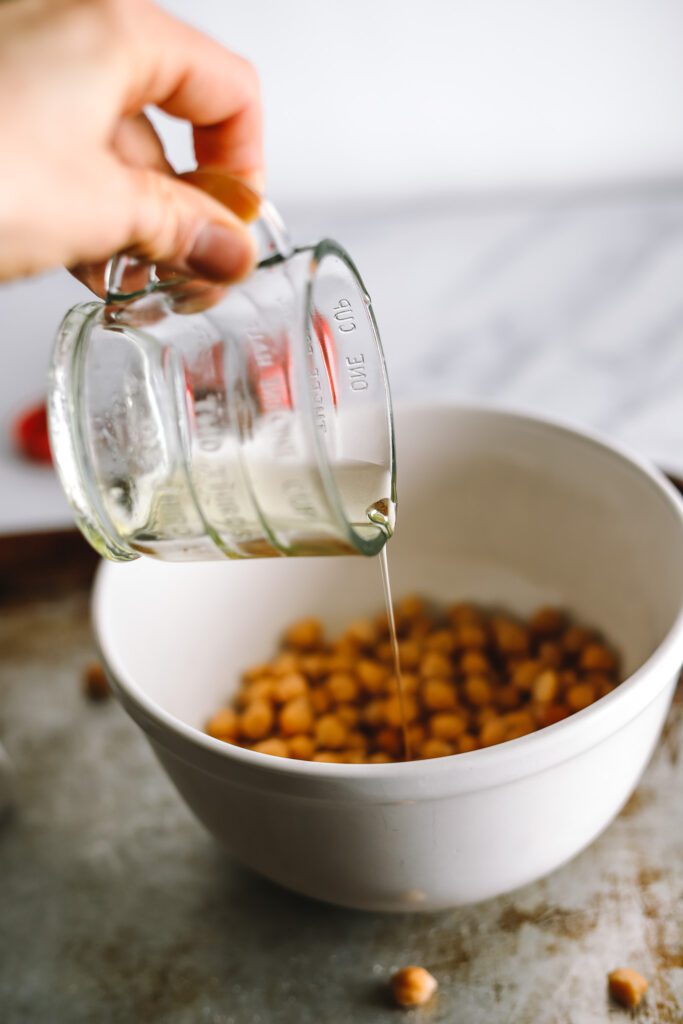
Once dry, toss them in a bowl with some oil. I prefer olive or avocado for their health benefits and flavor. If you’ve got autoimmune or gut issues, do yourself a favor and cut out the seed oils. I had no idea that they were making me physically ill until I removed them from my diet. Seriously wild!
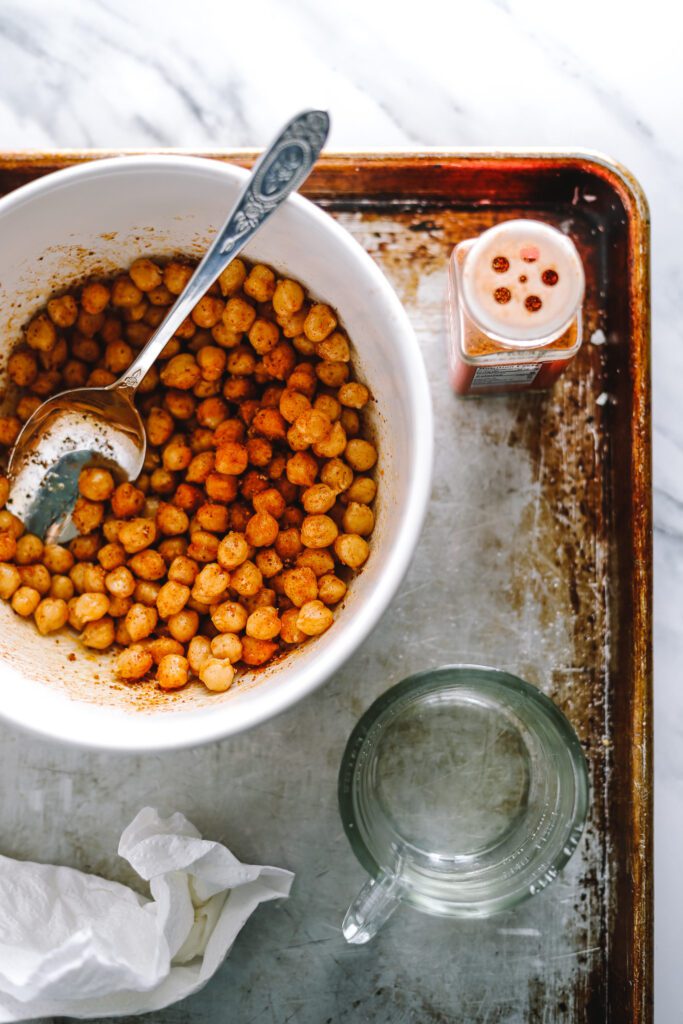
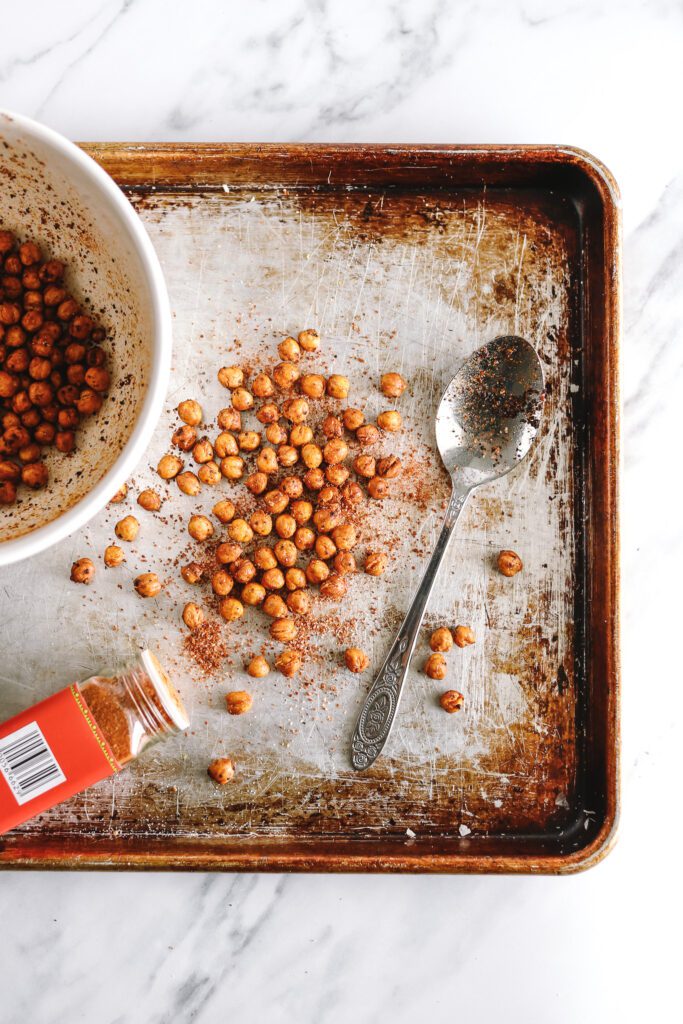
At this point you’ve got a couple options. There seems to be 2 chickpea roasting camps- those that season before roasting and those who season after. I have done it both ways, and honestly, I haven’t seen a big difference. So do what speaks to you. You can always try it the other way next time and see what you prefer. If you want to season them now, go for it. If you’d like to wait, just add the salt and then save the rest of your seasonings for after.
How to Roast Chickpeas
Once you’ve got them all prepped, you’re ready to roast!
There are multiple ways to make roasted chickpeas. You can roast them in the oven, in the air fryer, or in a skillet on the stove. It’s totally up to you and your kitchen set up. Just like the seasoning, don’t be afraid to give it all a try. Maybe you’ll find you like one more than the rest. I’m including instructions in the recipe card for all three ways, because I know not everyone has an air fryer, or even an oven for that matter, and I want this recipe to be as accessible as possible.
Here’s the roasting details-
- Air Fryer: 12-15 minutes at 375°
- Stove Top: 8-10 minutes on medium-high
*Adding an additional TBSP of oil to coat pan - Oven: 20-30 minutes at 425°
Tips & Tricks
As was mentioned above, remember to dry the beans. Wet beans equals mushy middles.
Roast on parchment paper for even cooking and breezy clean up.
Start with the lowest cooking time, check, and if necessary, add more time from there. Your oven or air fryer might cook hotter than mine. I know 20-30 minutes is a pretty big range, but play around and see what you end up liking most. Maybe your sweet spot will be 23 minutes, maybe 27. Never know until you try.
Shake shake shake. Throughout the cooking time, no matter the method used, you’re going to want to shake the chickpeas every 5 minutes or so. Shake the fry pan, shake the air fryer basket, shake the sheet pan. We want those beauties to be roasty toasty on all sides, with no burning!
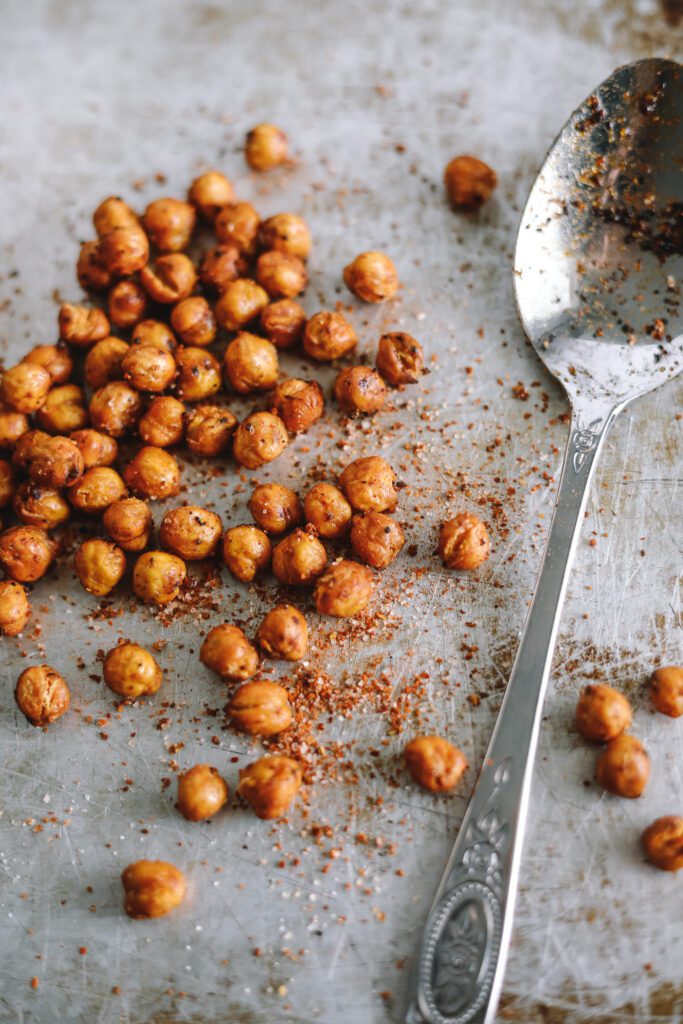
Play around with seasoning combinations. These can be made with dozens of flavor profiles to fit any taste. I used a chili lime seasoning mix from Trader Joe’s on this batch and loved it!
How to Eat & How to Store Roasted Chickpeas
Again, these little babies are unbelievably versatile.
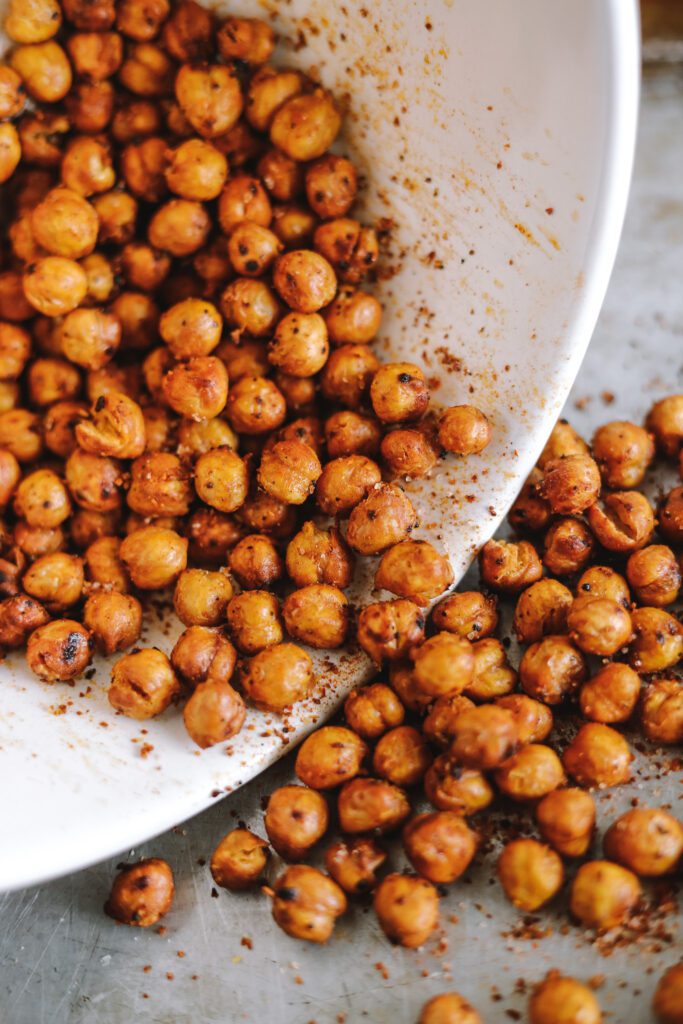
They can be added as a topping on protein or veggie bowls. Use like croutons and toss into salads. Sprinkle on top of soups for a bit of crunch. Crush them up and use like bread crumbs on top of pasta. Try them on cottage cheese or dips. Add to savory snack mixes for parties. They’re delicious to pop in your mouth by the handful too!
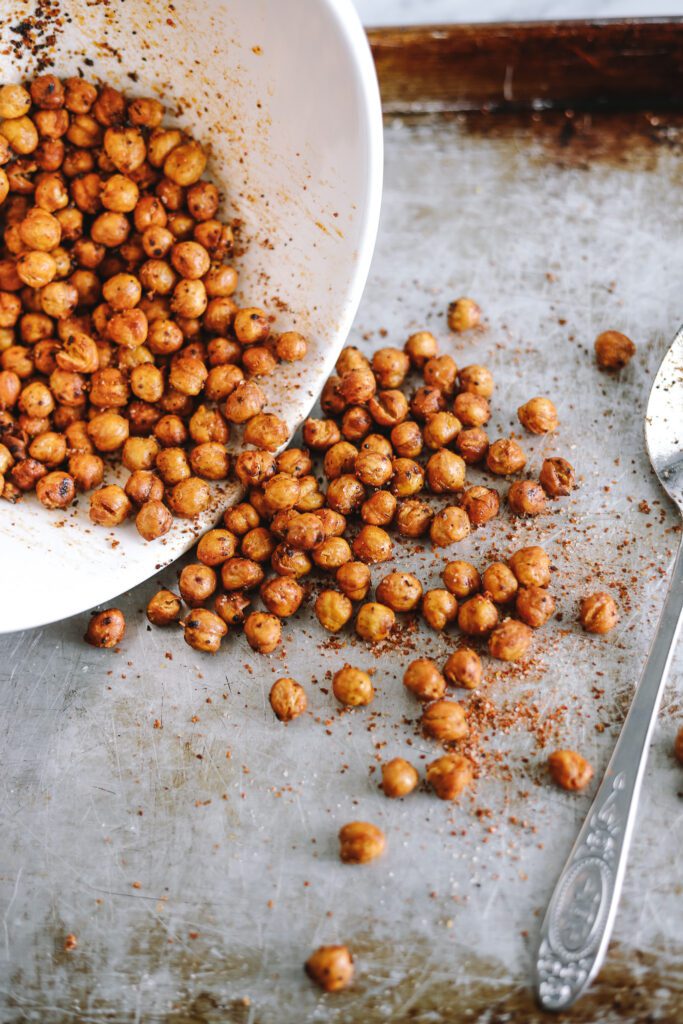
If you have some of these toasty treats left over from your meal, throw them in an air tight container to store. I use a mason jar with a lid. Just know that they do tend to soften up over time. But if you can’t eat them right away, don’t stress. Just toss them back into the air fryer or pan for a few minutes to crisp back up. They are pretty addicting though, so don’t be surprised if you eat them faster than you expect.
Alrighty, that was a lot of information for an amazingly simple recipe.
Let’s quit the chatter and get roasting!
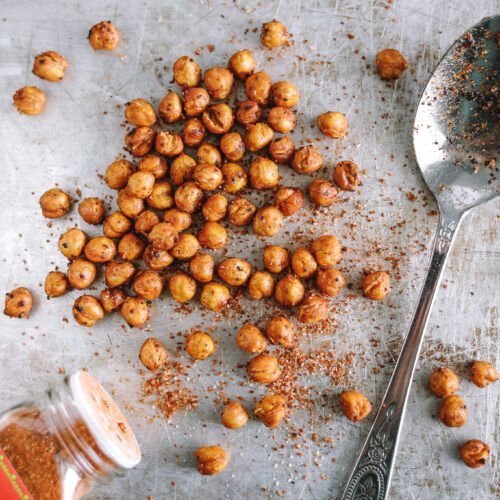
Roasted Chickpeas with Chili Lime Seasoning
Ingredients
- 1 can chickpeas (or home cooked equivalent) rinsed, drained, and patted dry
- 1 TBSP extra virgin olive oil or avocado oil Plus an additional TBL oil set aside, if cooking on stove
- ½ tsp sea salt or to taste
- 1/2-1 tsp chili lime seasoning or to taste *see note
Instructions
- Rinse and drain chickpeas. Spread out on a clean dish towel and pat dry.
- Add chickpeas to a bowl and drizzle with oil.
- Sprinkle with salt and other seasonings, if desired
- For Air Fryer: Roast chickpeas for 12-15 minutes at 375°, shaking occasionally
- For Oven: Spread on parchment lined baking sheet. Roast for 20-30 minutes at 425°
- For Stove Top: Heat additional TBSP of oil in skillet over medium high heat. Add chickpeas and roast for 8-10 minutes. Shaking pan every few minutes.
- Remove from heat, let cool, and enjoy!
Notes
- Feel free to omit the chili lime seasoning and sub for the seasoning of your choice. Tastes great with garlic salt, basil, taco seasoning, even ranch seasoning! Play around with the flavor! I used a mix from Trader Joes because I love a spicy kick.
- You can add the seasoning before or after roasting. Its totally personal preference.
- Dairy free. Gluten Free. Nut Free. Vegan.
Hope you enjoy these as much as I have!
If you’re dealing with dietary restrictions, I see you. You are not alone.
Hang in there, friend.