


This post may contain affiliate links. If you click on a link and purchase an item, I will receive a small commission. For more info, please see my disclosure on my Connect page.
Spring is on it’s way and that can only mean one thing around here, strawberry season!
I grew up looking forward to homemade strawberry freezer jam every spring and now my kids love it too.
I like to watch for cases of berries to go on sale and then knock out a few batches of jam at a time. Freezer jam is surprisingly easy and quick to make. The other thing I like about it is how versatile it is. There’s pretty much a jam for every family and every style of eating. To prove that point, I thought I’d share 3 ways you can make Strawberry Freezer Jam, from the sugar laden to a healthier version.
*This post contains affiliate links which helps me keep this creative little happy place going*
See my Disclosure page HERE.
Now back to the post…
Things to know before we get started:
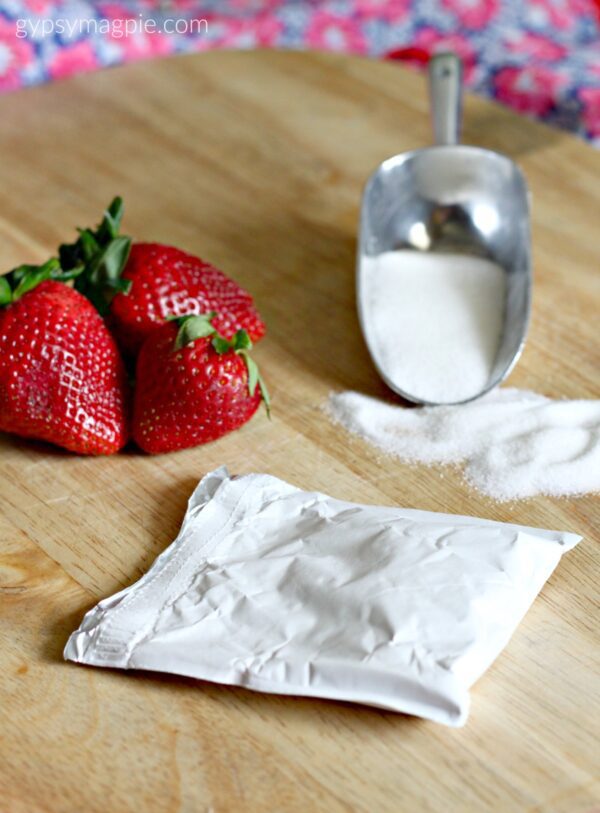
- 1 pound of strawberries or 16 oz = about 2 cups prepared berries
- When making jam with pectin you need to be precise with your measurements. Add the exact amount of sugar that the recipe calls for and don’t try to reduce the sugar when using a regular pectin. If your goal is to make a low sugar jam, buy a pectin specifically meant for low sugar recipes. They aren’t interchangeable!
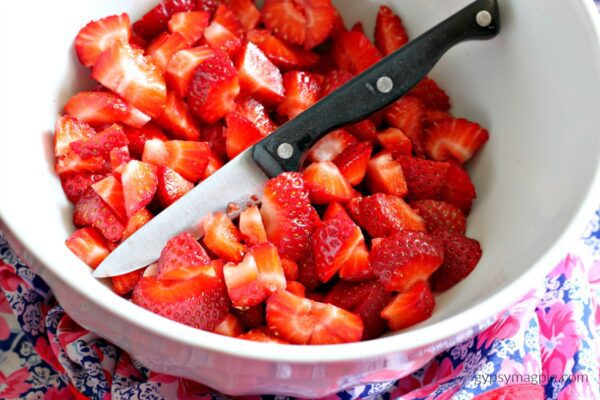
- Jam should have bits of fruit in it so don’t puree the berries. Use a potato masher or a food processor to mash/crush them. I like to keep some of the cut up berries separate while mashing the rest of my berries, then at the end I will mix the bigger berry pieces in so that there is some substance and bite in my jam.
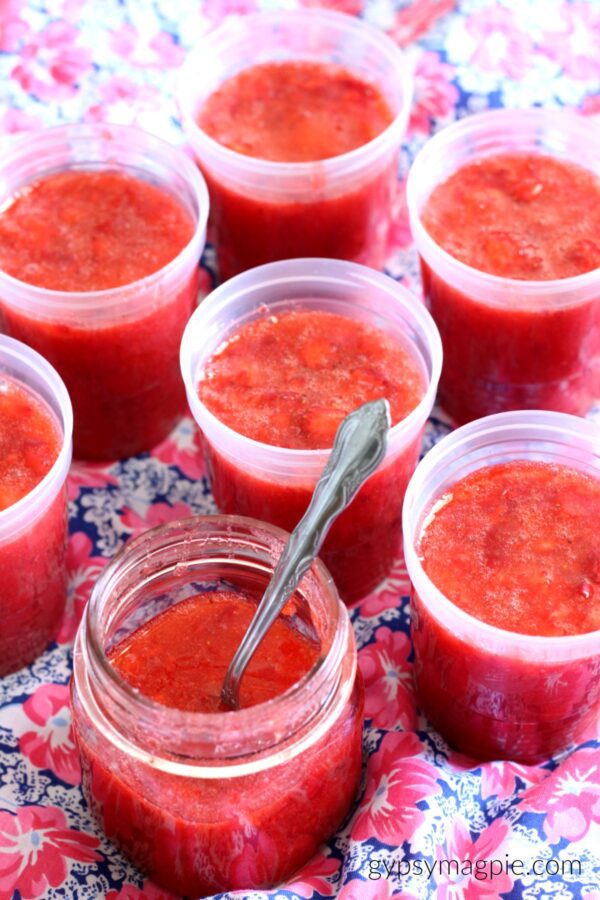
- 1/2 pint and pint sized mason jars freeze wonderfully so don’t be scared they will explode. As long as you leave the correct amount of head-space to allow for expansion, you are gold. If you don’t have glass jars or you are just more comfortable using plastic, I have THESE ones and THESE ones but my regular old fashioned jelly jars are definitely my favorite.
Ok, on to the jam!
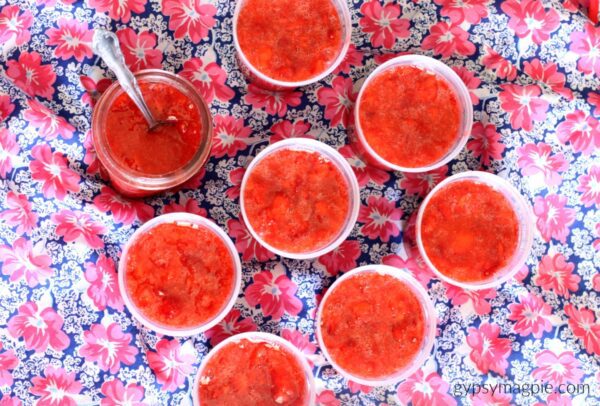
I pretty much always use the same pectin and recipe every spring when I make jam. This year, I thought I’d do a little experiment to see if my kids would notice if I tried something new. I bought two different kinds of pectin and found a “healthier” version I thought I’d try out too.
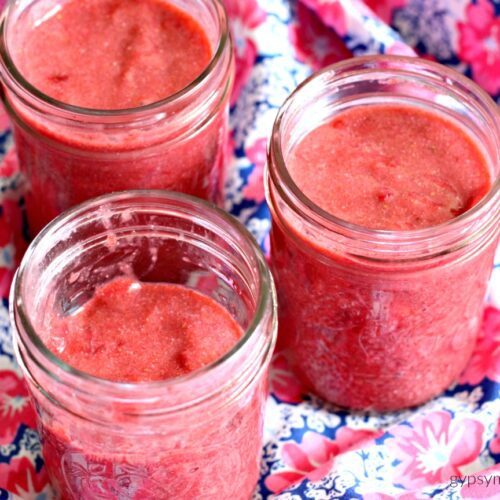
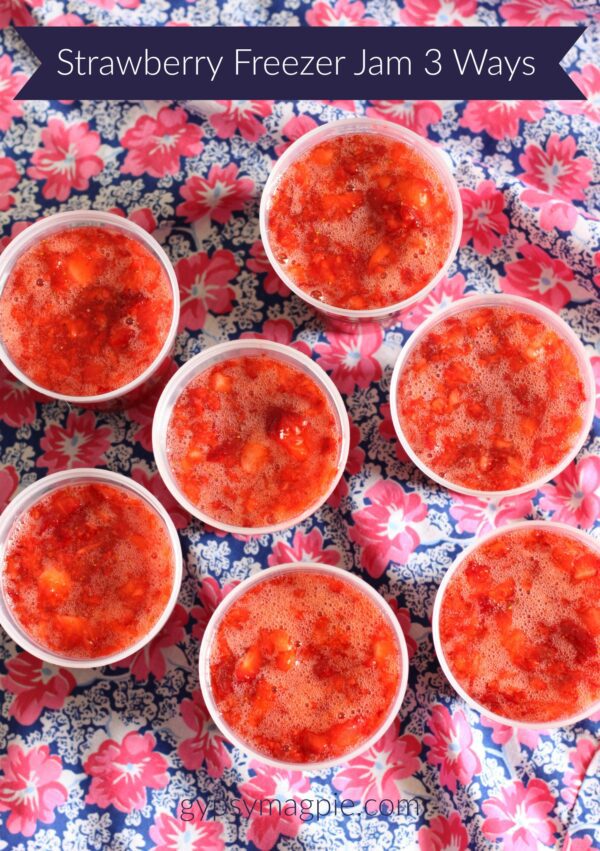
Strawberry Freezer Jam 3 ways.
Cook
The first way of making freezer jam I tried was using a pectin that is boiled with water in a saucepan.
I used Sure Jell for this batch and the recipe I used came right out of the box of pectin.
The recipe called for:
2 pints strawberries (2 cups crushed strawberries)
4 cups sugar
3/4 cup of water
1 box of pectin
The instructions said to:
1. Wash and rinse containers with tight fitting lids
2. Prepare fruit
3. Measure exact amount of prepared fruit (I’m telling you, they are serious about that exact part!)
4. Measure exact amount of sugar
5. Stir sugar into prepared fruit, mix well, and let sit 10 minutes, stirring occasionally
6. Stir pectin into 3/4 cup water in a small saucepan and bring to a boil. You’ll need to stir constantly while you allow it to boil 1 minute
7. Stir pectin into fruit mixture until the sugar is completely dissolved, around 3 minutes
8. Ladle into jars leaving 1/2 inch of head-space and put lids on
9. Let sit on the counter for 24 hours until set then store in fridge for 3 weeks or freeze up to a year
No Cook
The next kind of jam I made was with a no cook pectin.
This is the kind my mama made when I was growing up and the kind I have usually made for my family. I used MCP pectin and the recipe in the box to make this batch.
The recipe called for:
3 1/4 cups crushed berries
1/4 cup fresh lemon juice
4 1/2 cups sugar
The instructions said to:
1. Wash and crush fruit
2. Measure exact amount of fruit and pour it into bowl
3. Stir lemon juice into the berries
4. Stir pectin into the bowl of crushed berries, mixing thoroughly. Set aside for 30 minutes, stirring every 5 minutes to dissolve all the pectin.
5. Stir in exact amount of sugar gradually, stirring constantly until all the sugar is dissolved
6. Pour into containers leaving 1/2 inch of head-space for expansion and cover with lids
7. Let stand at room temperature for 24 hours or until set up. Refrigerate up to 3 weeks or freeze for a year
So, how did these two kinds of pectin compare?
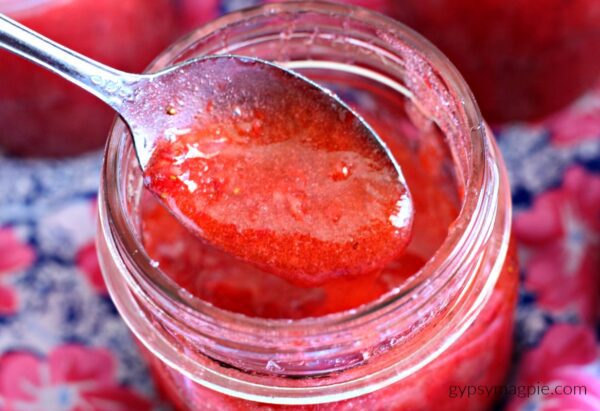
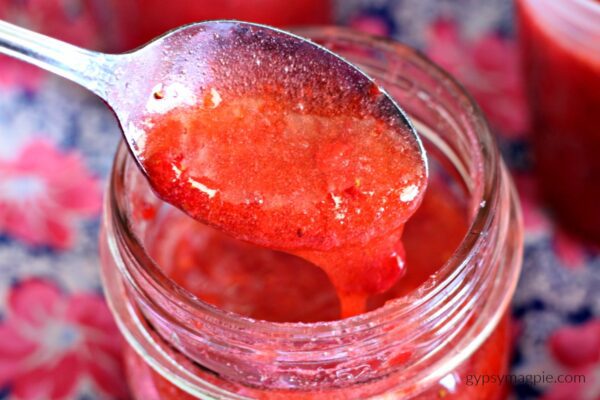
The jam made with MCP pectin was thicker and more globby. Yeah, let’s just pretend that globby is a word, shall we? You get what I mean! It was a bright red in color, was super tasty, and my kids loved it. This is what we ate growing up. It’s sweet but the hint of lemon gives it great flavor.
This recipe makes about 7 cups, the most jam out of all 3 recipes.
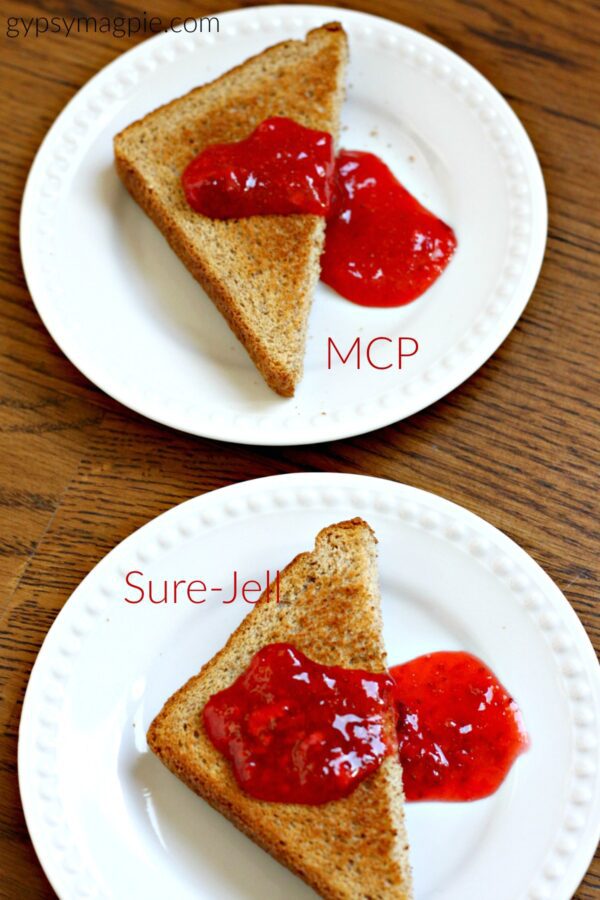
The jam made with the Sure-Jell, that needed to be cooked, was prettier than the rest. It looks lovely but is a bit more runny. It is definitely sweeter than the rest of the jams I made. I missed the lemon from the MCP jam but I don’t think my kids were able to pick up on that when they ate it. My son loves the texture of this jam because it isn’t so thick.
This recipe makes about 5 cups.
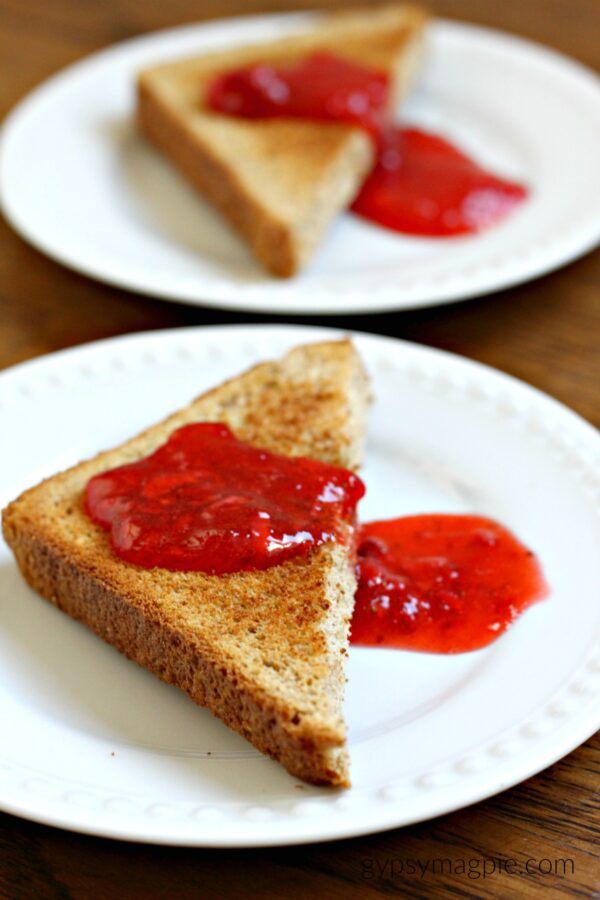
Cliff Notes: If you are wanting a beautiful jam go with the Sure-Jell, and if you are looking for flavor and volume, choose the MCP.
Healthier Option
Traditional freezer jam is full of white sugar, and I’ve been trying hard the last little while to lessen my sugar intake. I am a sugar-holic and know that I need to tone it down. I wanted to see if I could make something a little bit healthier that I could still enjoy so I started searching recipes for healthy jam on Pinterest.
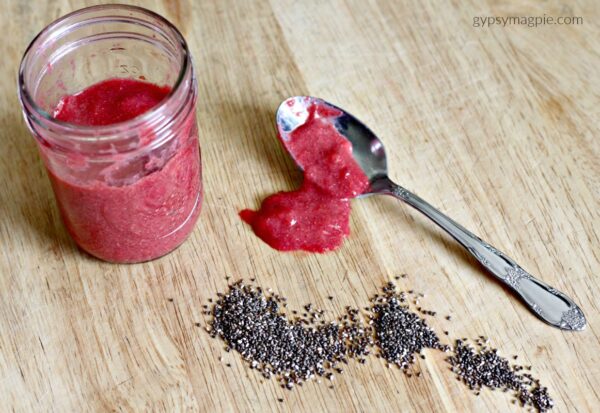
I found a couple intriguing recipes using chia seeds as a thickener and in the end, I decided to combined what I liked from both of them.
Did I lose you at chia seeds?
Don’t be afraid, they are yummy! The chia seeds act as a thickener so you don’t need pectin. I like to add them to smoothies for thickness and texture. Warning though, chia seeds are a gateway health food. You might get sucked in!
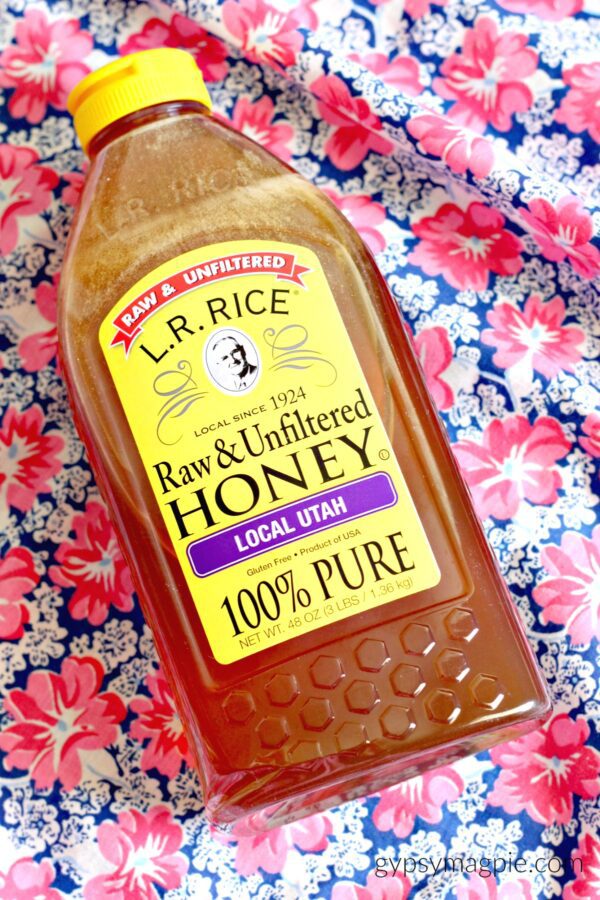
One of the recipes called for real maple syrup, but I used honey because I knew my kids would like that more. This is the honey I used, I get it at Costco here in Utah. It’s not the awesome honey my neighbor’s bees make but, it’s a good price for Utah honey.
So, what did I think?
The chia jam is a little grainy, but it’s still good. Be prepared that it is NOT that bright beautiful red color of the traditional jams, it’s a little more on the muted purplish side. The little bit of honey in the recipe helps sweeten the jam just enough. If you are a sugar lover like me, it could probably use more sweetness, but remember that we are working on weaning ourselves from the white stuff.
Being a healthy adult sucks sometimes.

Strawberry Chia Jam
Ingredients
- 2 cups strawberries
- 2-3 tbsp honey
- 2-3 tbsp chia seeds
- juice from 1/2 of a lemon
Instructions
- Wash and roughly slice berries. Place in blender, reserving 1/2 cup sliced berries for later
- Add honey, the juice from the lemon, and chia seeds to berries in blender and blend until smooth
- Mix in the reserved berries and ladle into clean 1/2 pint jars
- Refrigerate overnight to thicken. Keeps in the fridge for a week or two.
- Can be frozen for a couple months. Once thawed, mix well then enjoy!
Notes
Well, there you have it!
My experiment with making Freezer Jam 3 ways.
No matter which way you try, they are all pretty darn good. My kids were split with which kind they liked most between the two pectin jams. They didn’t love the chia jam but they’d eat it if the other kinds were gone. I liked the chia jam much more than I thought I would, but it isn’t the stuff of my childhood dreams. I would definitely make it again though. It was so easy and surprisingly good!
Oh hey! If you are looking for a no pectin/no processed sugar version of freezer jam but don’t love the addition of chia seeds, check out this recipe over at Old World Farms Garden, I haven’t tried it but it looks good!
Freezer jam 4 ways!
I am so not changing the title.
I hope this helped answer questions and helped you see how easy making your own jam can be. You can make it as simple or complex, as sweet or as healthy as fits your lifestyle. Strawberry jam is my go to, but you can use these tips to make any kind of jam your heart desires! Once you start, you can’t stop.
Well, I’ve got 3 different kinds of strawberry jam sitting in my fridge.
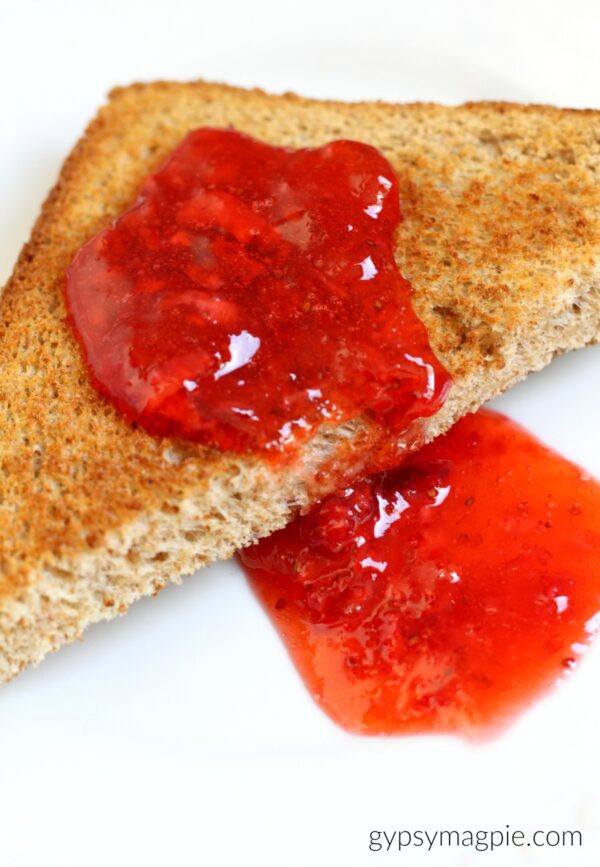
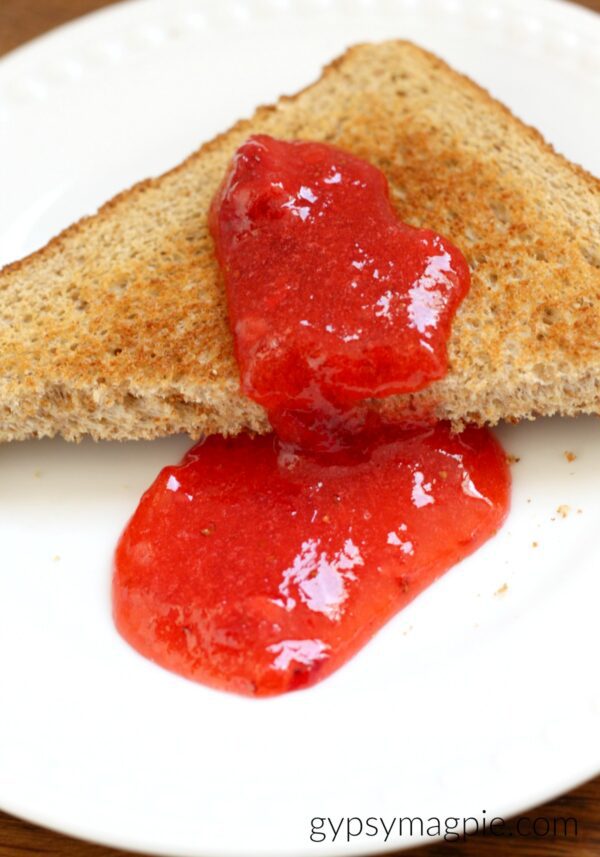
Off to make some toast!
What is your favorite kind of freezer jam?


