


This post may contain affiliate links. If you click on a link and purchase an item, I will receive a small commission. For more info, please see my disclosure on my Connect page.
If you haven’t noticed yet, I have this thing with making stuff from scratch. I love to know how everything is made and why it works the way it does. I find the messy process breathtakingly beautiful. Something about planting a seed, nurturing it until it ripens, then bottling my own food makes me feel grounded and connected. Kneading bread dough, drying herbs, tending, crafting, creating. The earthiness and rhythms are somehow intoxicating to my overactive brain.
As the world speeds up, my spirit longs to slow down.
It’s surprising how easy many things are to make from scratch.
As a society, we’ve gotten so caught up in the busyness of life that we get trapped in a routine and forget about the simple pleasures of days past. We grab the bread from the store because it’s there, missing out on the taste and smell of fresh-baked loaves cooling on the counter. We buy cheap vanilla extract because that’s what is available and affordable and then wonder why our desserts are missing something.
Why does that bakery’s cake taste so much more delicious?
Well, real ingredients for starters!

I first got interested in making my own vanilla extract from watching the great Ina Garten share her mother vanilla jar on her cooking show.
After searching down the clip on the Food Network’s website and re-watching it no less than 17 times, I finally decided I had to try it myself. Ina has been feeding the same vanilla jar for over 30 years! I mean, how freaking cool is that? I needed a mother jar. Had to have one, plain and simple.
From Ina’s mother, I fell down the Pinterest DIY vanilla extract rabbit hole. Oh my glory, there is a wealth of vanilla extract-making knowledge out there! When it came down to it, THIS post from The Daring Gourmet and THIS one from Sally’s Baking Addiction were my go-to sources. Both of these posts are incredibly thorough and totally helped me gain the confidence to give making my own vanilla a try. They break everything down and answered all my questions.
If you want to know the why, do yourself a favor and totally go check out both posts! *chef’s kiss*
I’m not going to go into deep-dive detail in this post, as those ladies have done the work and deserve the pageviews. I’m just here with a quick how-to and some moral support!
Cheering you on as you give it a shot!
Tips & Tricks:
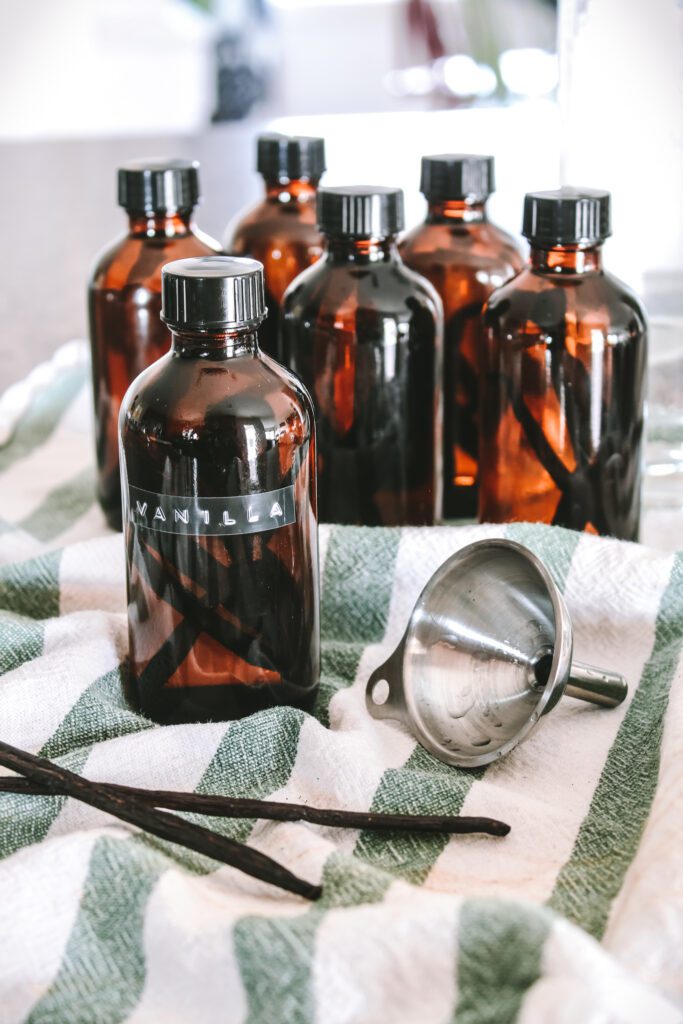
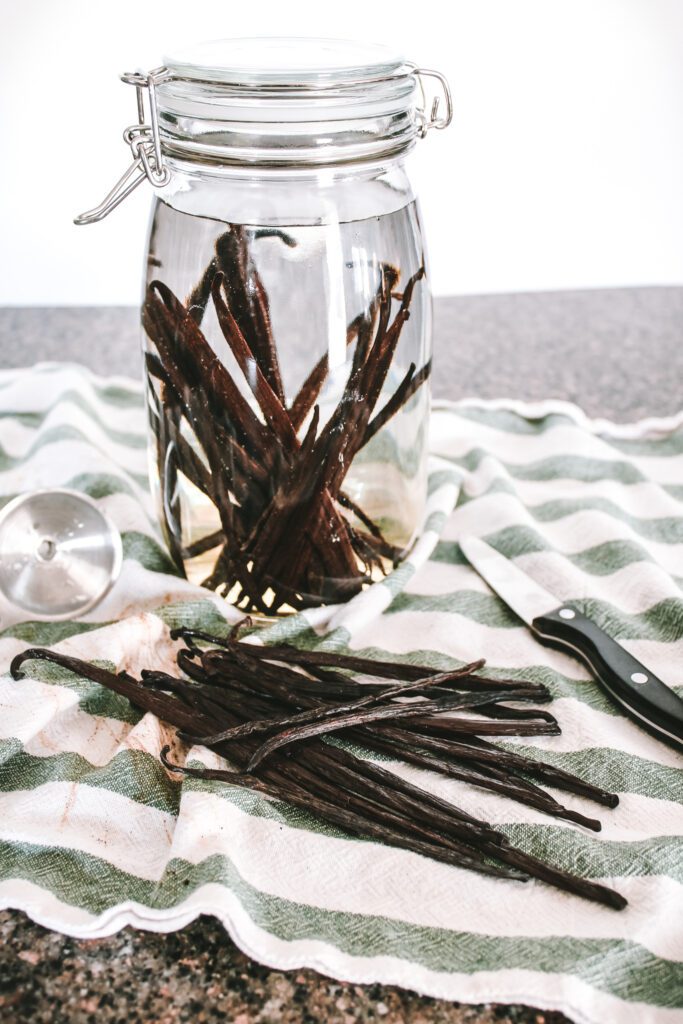
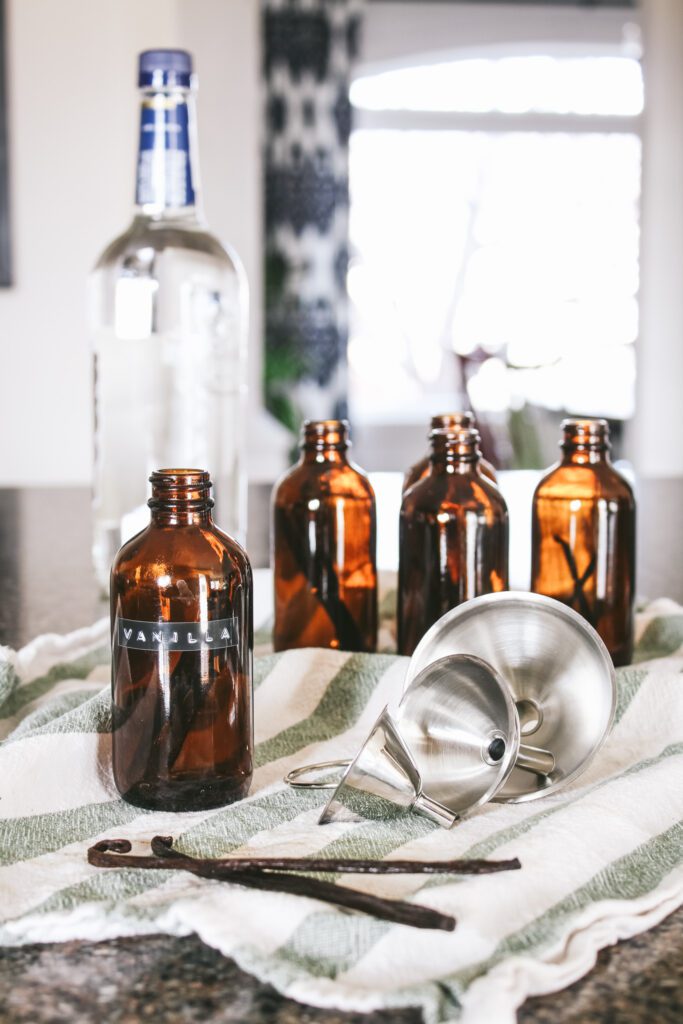
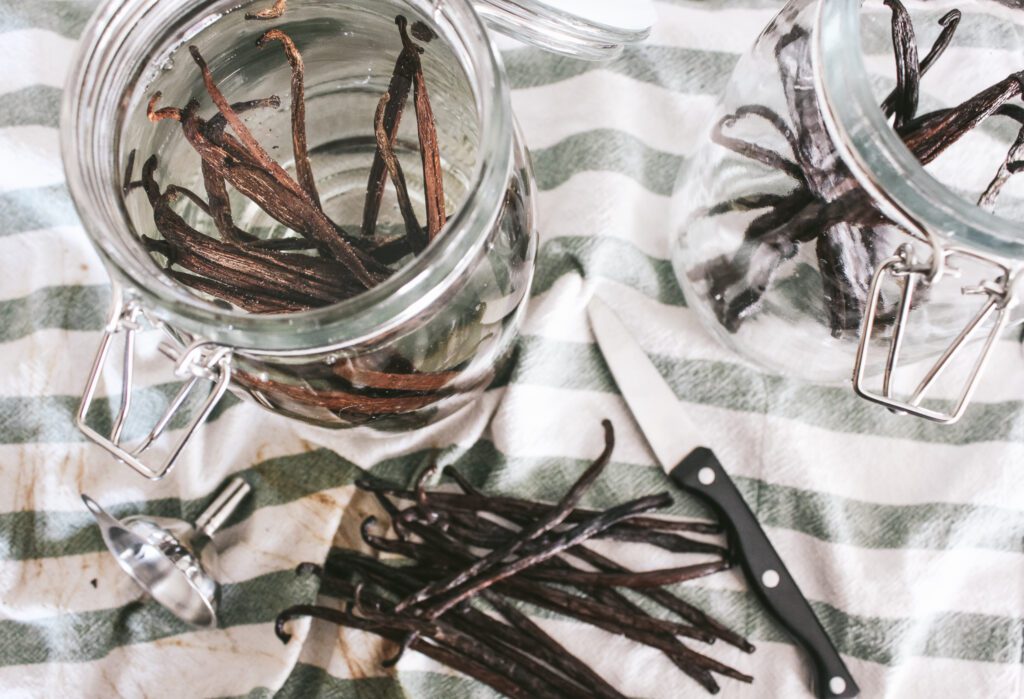
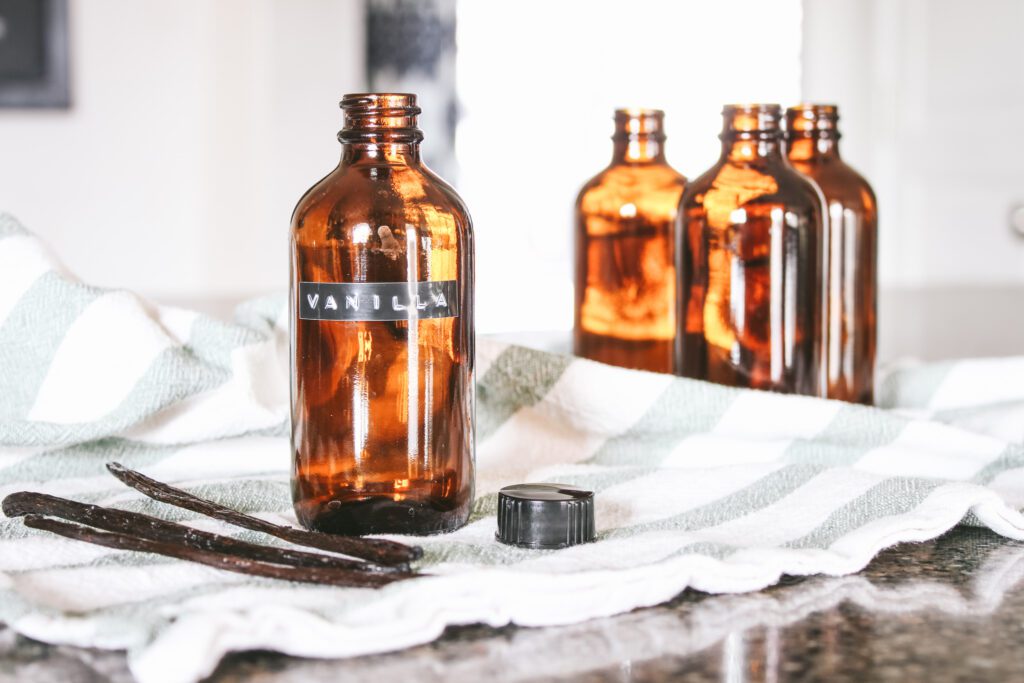
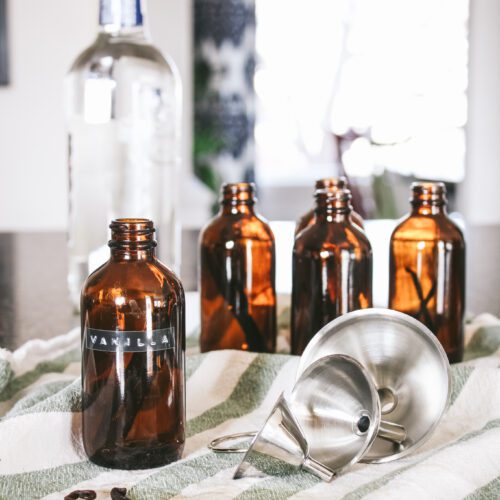
- Whether you are wanting a small jar or a big mother, you’ll want roughly 5 beans for each cup of alcohol. In the 4oz gift jars, I used 2.5 beans and half a cup of vodka.
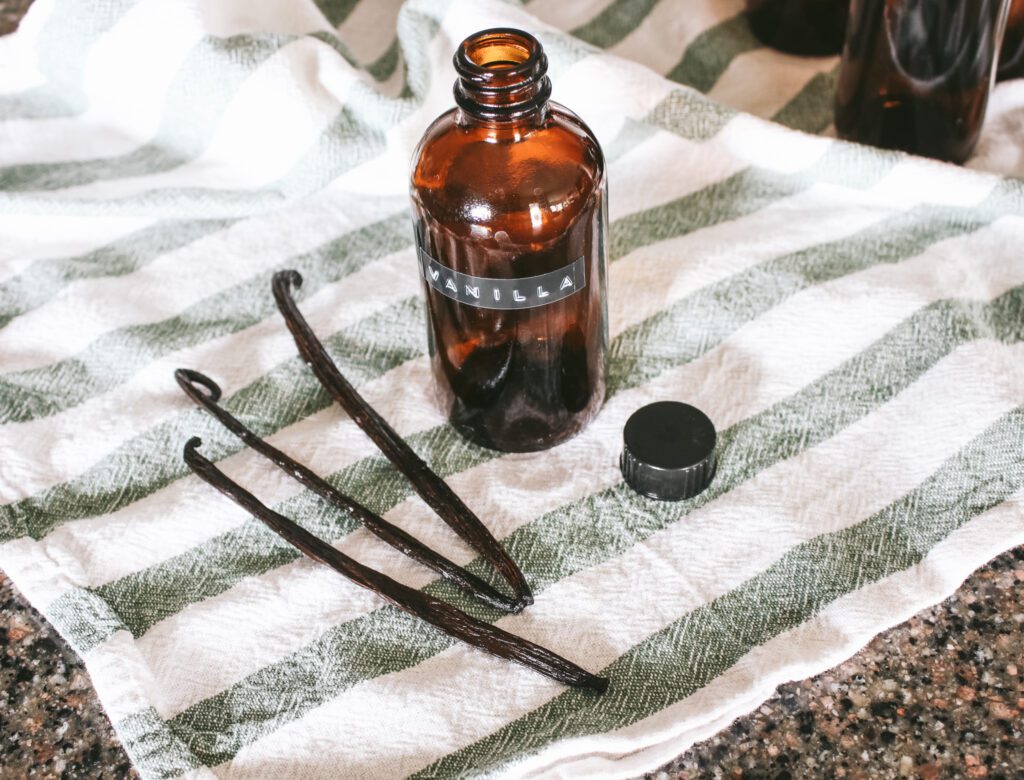
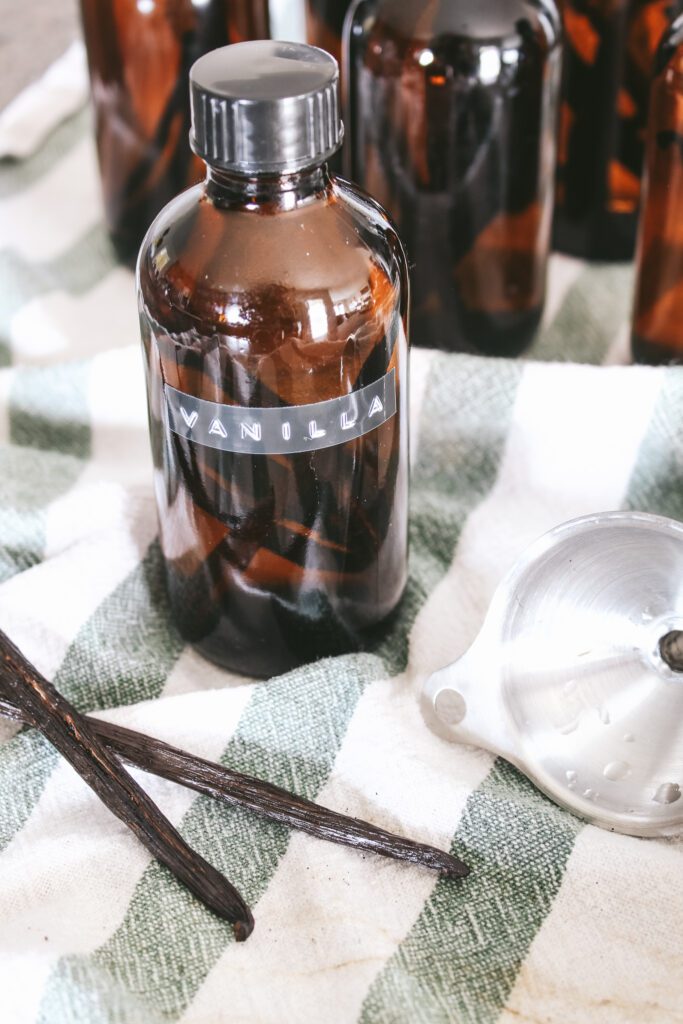
- It’s best to use amber or dark-colored jars in order to keep out the light. My mother jar is clear glass because that’s all I could find that size. I keep it in a very dark corner of my cellar/cold storage where there are no windows so I feel like it’s fine. Whatever jar you use, just make sure it has a tight-fitting lid.
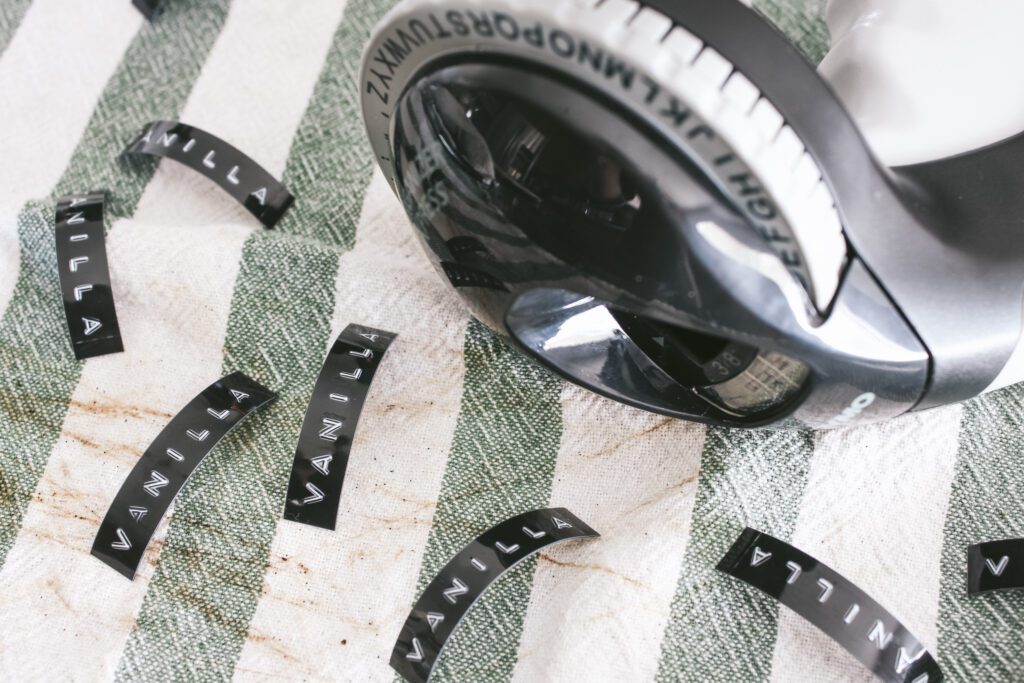
- I used a cute little old-fashioned label maker because it made me smile but you can use whatever you like. Sally’s Baking Addiction has printable labels in her post that are darling!
- You can use vodka, bourbon, brandy, or rum. It’s totally up to you and your preference. As a non-drinker, I just grabbed what was cheap from the liquor store for my first go-round. Next time, I’d like to try some using bourbon like my friend Carisa over at Carisa’s Cake Company makes. Now that I feel more confident in the process, I am excited to try branching out! Everything I’ve read says that the cost of the alcohol doesn’t matter. What is important is the GRADE B beans. So go ahead and grab that $8 bottle of vodka.
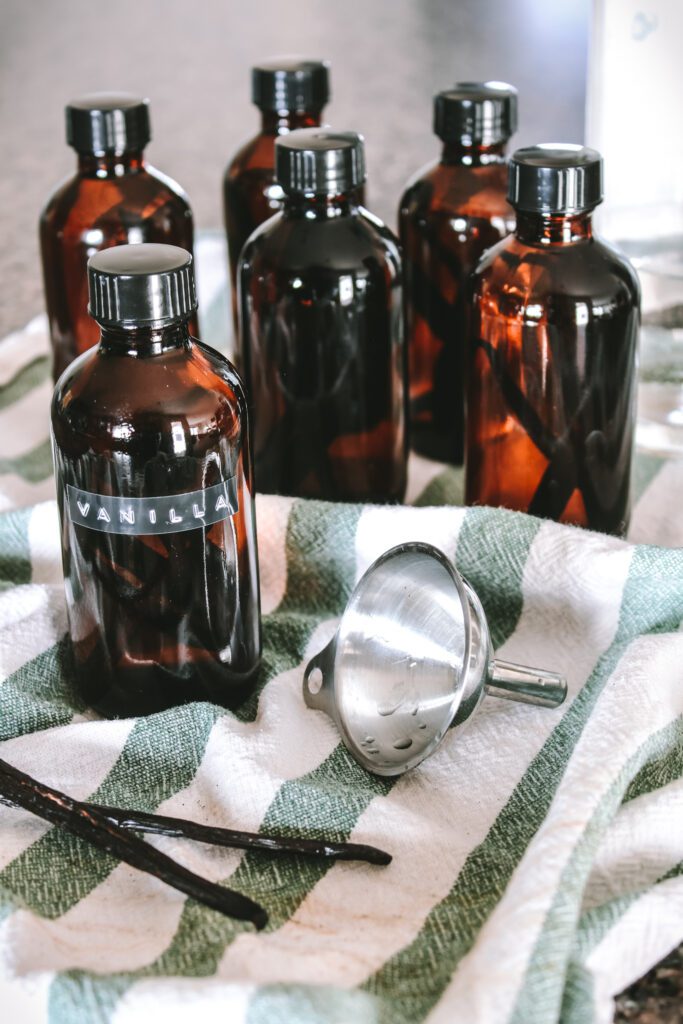
- Since the vanilla-making bug bit me hard, I made a whole bunch of bottles for Christmas gifts. Because I was making so many, I bought both Madagascar and Tahitian vanilla beans. I think I’ve decided that I like the Madagascar vanilla beans best but I’ll probably use both again. I actually mixed the vanilla beans in some bottles and the vanilla was wonderful! No, that’s not very purist of me, but eh. Worked fine.
- You can squeeze out the seeds from the soaked beans to use in recipes that call for vanilla bean seeds!
- Once you make a jar of vanilla extract, you can use it indefinitely! All you have to do is top off the jar with more alcohol as you use it and then add more vanilla beans every year or so. Nope, not even kidding. Why have we been buying that cheap imitation all these years?
Homemade Vanilla Extract Links:
Madagascar Vanilla Beans
Tahitian Vanilla Beans
4oz Amber Jars
8oz Amber Jars
Big Mother Jar
Metal Funnels
Old Fashioned Labeler
I hope this gives you a little nudge to fall down the vanilla extract-making rabbit hole too. I’m not kidding, this could not be simpler! And though upfront the cost might feel like a lot more than that cheap imitation, in the long run, it’s so worth it. So worth it.
Just be warned, once you start you can’t stop. And it’s infectious! My little sister is now addicted and on her 2nd or 3rd round of vanilla extract. It’s absolutely my fault. Oopsies.
DIY Homemade Vanilla Extract
Ingredients
- 5 vanilla beans Grade B
- 1 cup 80 proof alcohol vodka, bourbon, brandy, etc.
- 1 glass jar with lid
Instructions
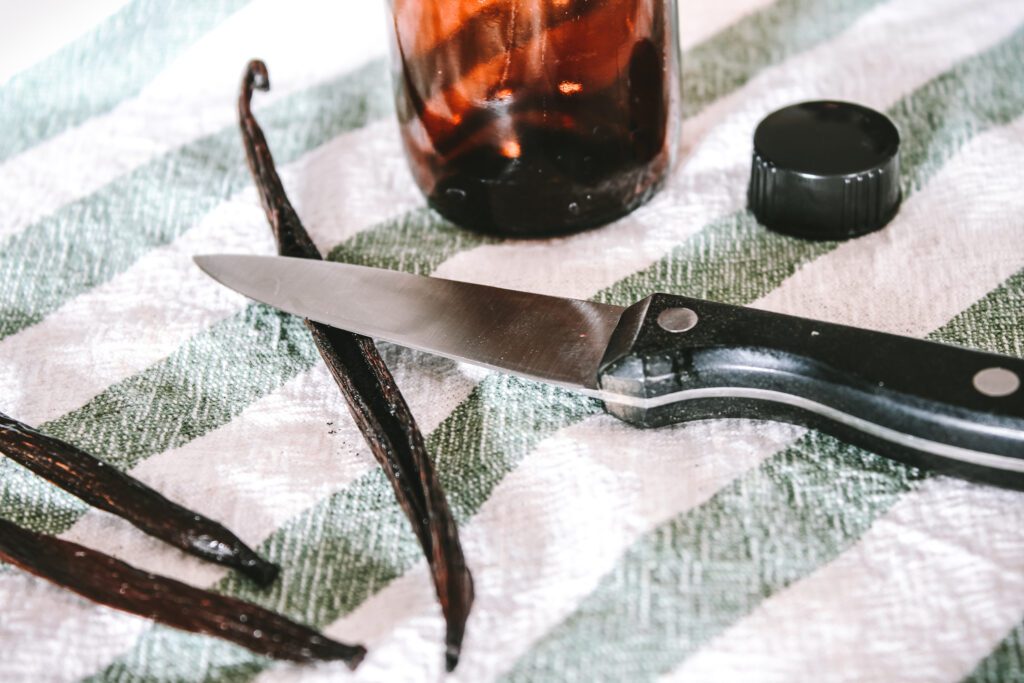
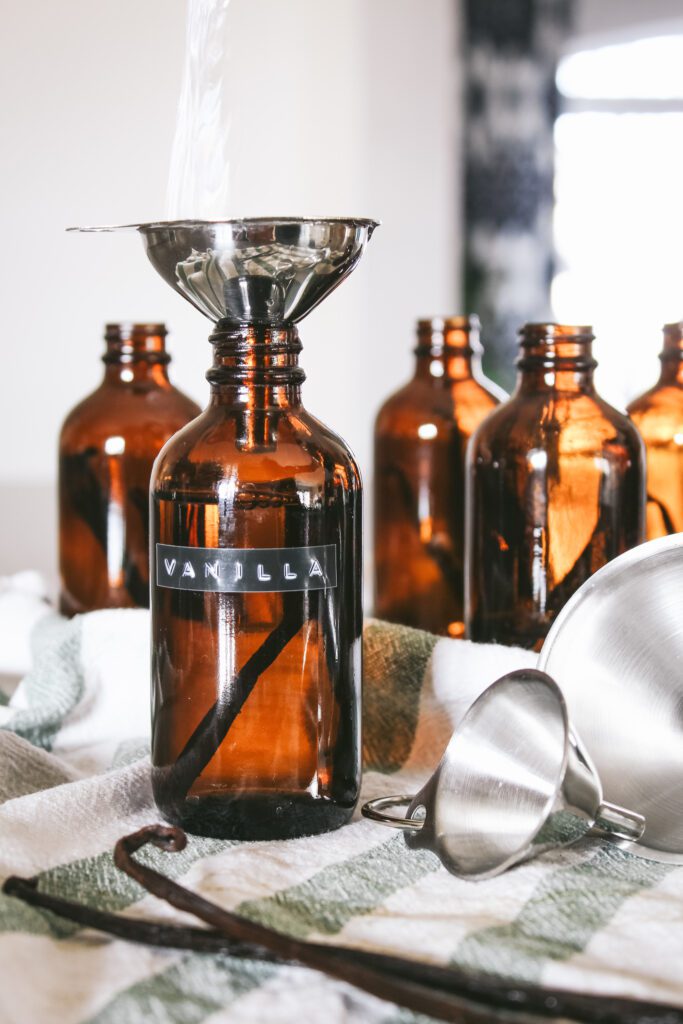
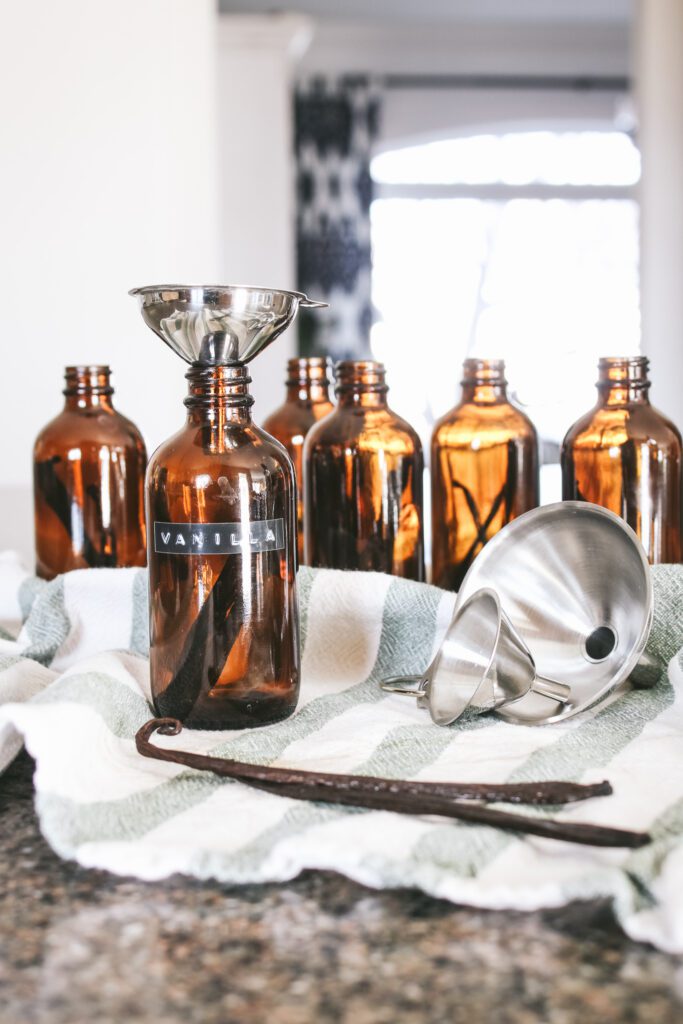
- Using a sharp knife, make a small slit lengthwise down the side of each vanilla bean. Don't cut all the way through, just slice it open a bit so the seeds can get nice and soaked.
- Place vanilla beans in a glass jar.
- Cover vanilla beans with alcohol.
- Seal jar tight with lid or stopper.
- Let sit in a cool, dark place for at least 3 months, preferably 6-12 months. Shaking the jars every so often to mix together.
- Enjoy your homemade vanilla!


