Homemade vanilla
Welcome to my happy place of DIY, homemade, homegrown, handmade, nourished & crafted, whole hearted living. Finding magic in the mundane & growing some roots in the process.
This post may contain affiliate links. If you click on a link and purchase an item, I will receive a small commission. For more info, please see my disclosure on my Connect page.
I’m not sure why, but I get attached to silly things. I have hung on to an old green sweater for at least 15 years, yet I never ever wore it. It didn’t fit right but, I loved the color so, there in the closet it continued to live out a sad little existence.
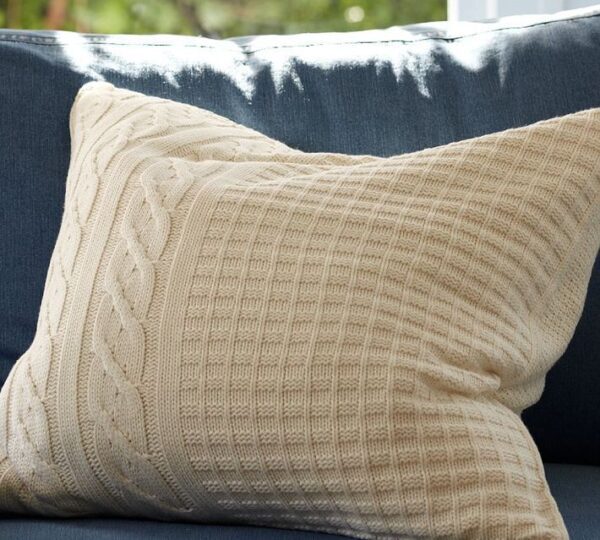
That is until I saw this pillow…

via Pottery Barn
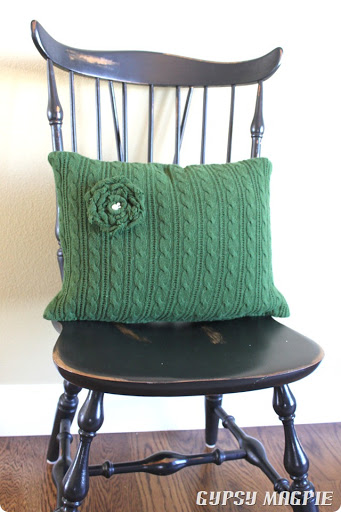
…and decided that my favorite sweater deserved a new life out of the closet!
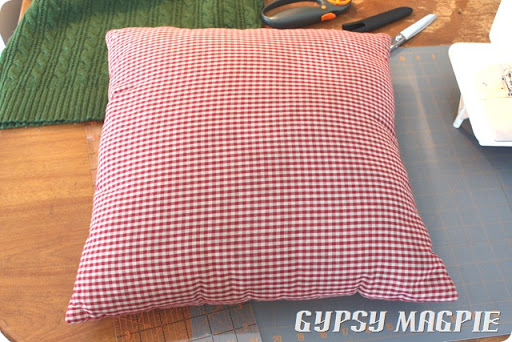
I started by rummaging the house for an unused pillow. I found this one, but it wasn’t the size I was after, so I decided to cut it down to the size I wanted.
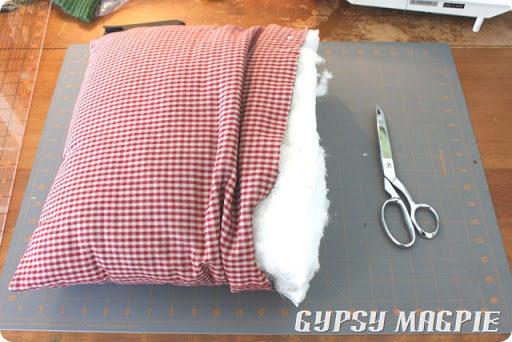
I measured and marked where I wanted to cut it, then started hacking through the stuffing. It’s a messy job, and takes some time, but sure beats buying a new pillow form!
After I cut it down to the size I wanted, I just sewed a straight line down the pillow case and called it good. It doesn’t matter how ugly it is because you are hiding it inside a pillow cover, so don’t stress about it. {You analytical types realize I’m talking to you, right? Yeah, you know who you are. Good enough is good enough with this project.}
And, because I am all sorts of awesome, I forgot to take pics of the process of sewing the pillow cover. Um, oopsies. Just cut your sweater into 2 rectangles, one for the front and one for the backside.Turn the right sides together {The part you want showing on the outside…so it’s inside out} and sew around the rectangle, leaving yourself enough of an opening to shove your pillow form inside. I like to leave my opening on the bottom of the pillow so nobody sees it. After you’ve got it sewn, turn your pillow cover right side out, stick your pillow form in, then hand stitch the opening closed. The nice thing about using a sweater is, the stitching sort of sinks down into the yarn so you can hide a lot of sins. Woohoo! I love it when you don’t have to stress about what your stitches look like!
I made a cutesy little rosette and pinned it on the pillow, just for fun. It lasted a whole 2 days before my girls carried it off during one of their adventures. To be honest, I like it MUCH better without it. Live and learn, right?
P.S. Save the arms of your sweater for a future project… i.e. boot socks!


I’m afraid of sewing after uncalibrating my last machine, but something simple like this might work for me when I get brave enough, lol 🙂