Homemade vanilla
Welcome to my happy place of DIY, homemade, homegrown, handmade, nourished & crafted, whole hearted living. Finding magic in the mundane & growing some roots in the process.
Mason Jar Soap Dispenser
February 19, 2013
This post may contain affiliate links. If you click on a link and purchase an item, I will receive a small commission. For more info, please see my disclosure on my Connect page.
I’m sure you’ve all seen the massive amounts of mason jar pins on Pinterest. It seems the humble canning jar is having it’s moment in the spotlight! I couldn’t be more happy about that because I have hundreds of mason jars and I use them all over the house, from the pantry to our office. I love the nostalgic feel of them. There is something about a mason jar that takes me back to my Grandma Anderson’s little kitchen and I feel home.
I have seen several blog posts about making your own soap dispenser, and I had all the necessary parts to the project, so I figured I’d give it a shot since I wouldn’t be out anything if I didn’t like it.
Here’s what you do-
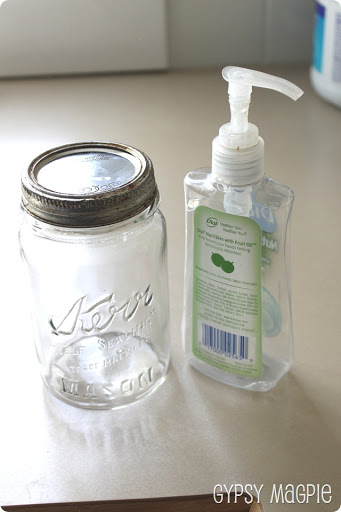
1. Gather your supplies:
- Mason jar
- Canning lid
- Canning ring
- Old soap dispenser that is relatively the same height as your jar
- Marker
- Drill
- Pair of pliers
- Glue
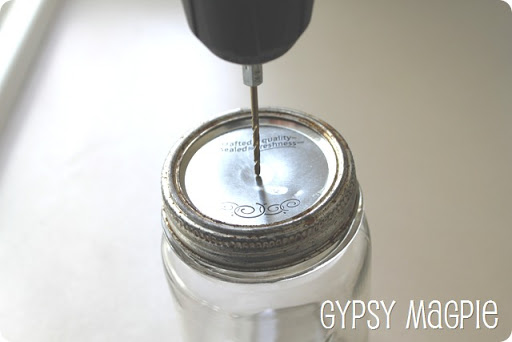
Start by marking the center of your lid. Then use your drill to make a hole. Start with a small drill bit and work your way up. You’ll probably need to use a pair of pliers to pry the hole big enough to stick the dispenser pump through.
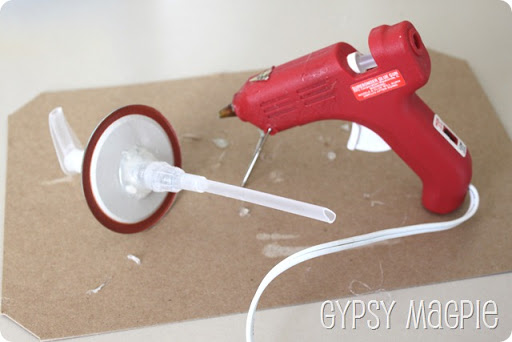
After you have your hole drilled you will put the pump through the hole and then glue that in place. I started with E-6000 and then covered that up with hot glue because it wasn’t drying fast enough and I hate waiting. Worked great.
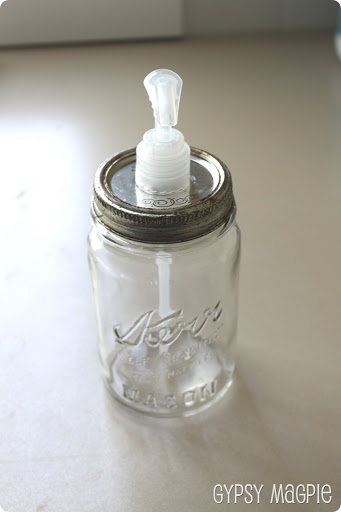
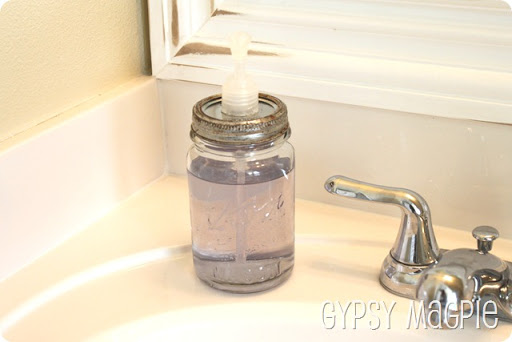
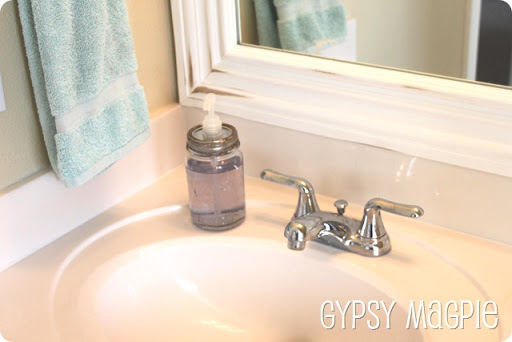
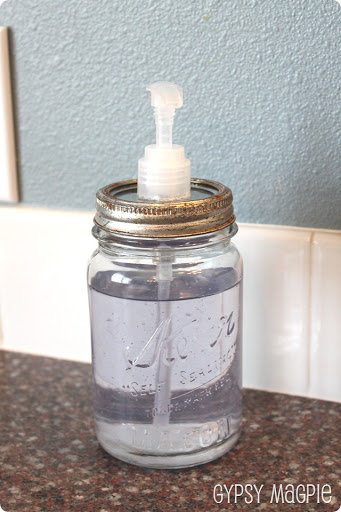
Now, just fill that puppy with soap and you are good to go!
I love that I don’t have to constantly refill the soap dispenser because a pint of soap lasts a while! Motherhood mercies.
The neat thing about this project, besides being absolutely free, is that you can customize your jar to any space you want to use it in! You could spray paint the jar like I did HERE with my windowsill herbs. You could leave the glass clear and spray paint the lid/dispenser with oil rubbed bronze to make it fancier, or you could even go for a fun bright color if you needed a little pop of happiness to brighten a dark space.
Since this little guy was going in my kid’s Dick & Jane style bathroom, I wanted it to look vintage and collected. I used an old canning ring that had a great patina and it looks fantastic next to the framed builder mirror.
Once again, can I just say how much I enjoy not having to constantly refill the soap?
Love it.
My monsters kids have been using this dispenser for about 3 months now, and it is still working fabulously. Next time, I think I will cut off the top of the original plastic soap bottle, then stick the dispenser pump through the canning lid, then screw on the top of the plastic bottle. I think that would make it feel a little more sturdy.
Either way, it’s a simple free little project that I will totally do again!
Love IT! Your little one’s must be better than mine, I’m pretty certain I’d have GLASS EVERYWHERE! I don’t dare make one. 🙂
So far it hasn’t even moved from it’s spot! It’s pretty heavy when it’s full of soap. But, lets be honest…how often do my kids REALLY wash their hands? 😉