Homemade vanilla
Welcome to my happy place of DIY, homemade, homegrown, handmade, nourished & crafted, whole hearted living. Finding magic in the mundane & growing some roots in the process.
This post may contain affiliate links. If you click on a link and purchase an item, I will receive a small commission. For more info, please see my disclosure on my Connect page.
The last few weeks have been full of fun surprises around here! I have been given several new opportunities that have made things pretty nutty but are totally worth it! If you’ve been following along with my Insta-stories then you know there is a secret project in the works. I can’t wait to tell you about that but it’s not done so I’ve got to be patient. I’m so bad at that! I’ve actually got a few secret projects going right now. The other two will have to wait but I totally get to spill the beans on this one!
I’ve been invited to be a part of a monthly blog link party and I’m so excited! I’ve never done anything like this before but am looking forward to having something motivate and push me. 13 bloggers will be sharing their version of that month’s Inspire My Creativity theme. You’ll find all the goods on the the second Wednesday of every month. Stop by each blog for ideas, crafts, and fun!
Our first month’s theme is Thrift Shop.
Here’s what I came up with!
DIY Chalkboard Globe
I found this sad broken globe a while back and couldn’t resist the call to fix it up. All the paper was peeling off and there were a couple cracks running through the plastic. Yes, I should have walked away but well, you know me and my nagging need to save the world. hee hee. I have so many Wonder Woman references I could use right now but I will resist.
So, I snapped this sorry excuse up and brought it home.
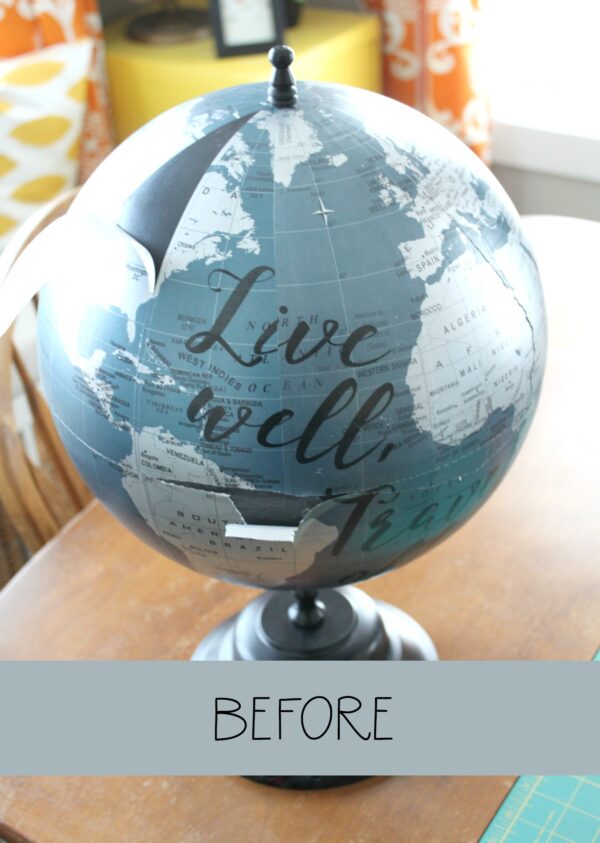
The first thing I did was take off all the peeling paper so I could get a better idea of what was going on. I knew the cracks were bad but I didn’t know how bad until the paper was totally gone.
Eek.
There was a crack running vertically down the globe and another one on the other side running where the Equator should be. All I can think is that somebody sat on this fella and it gives me the giggles. Sometimes I have the humor of a 7 year old.
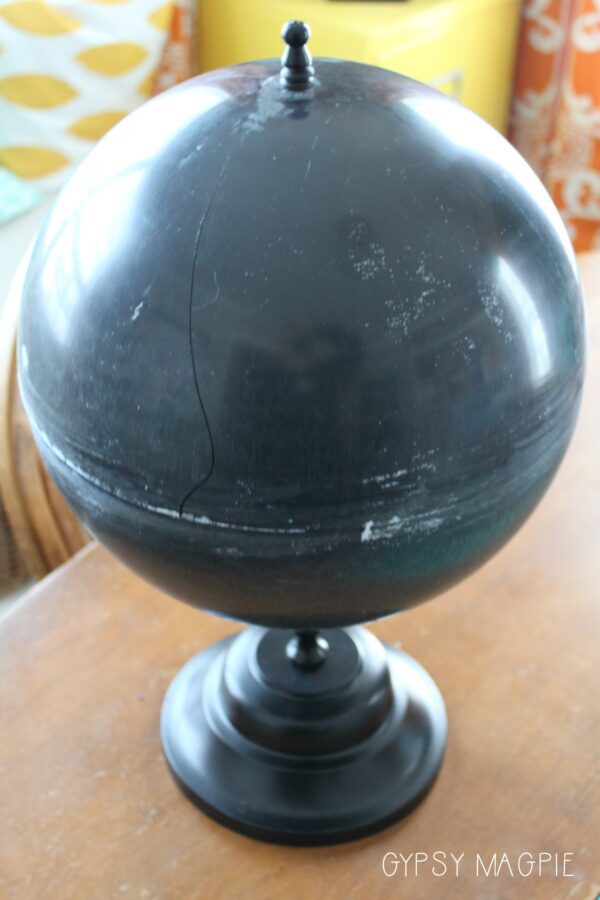
Once I knew what I was up against, I saw visions of a chalkboard globe so I pulled out the tape and glue.
I started with E6000 but ended up using good old super glue in the end. I probably should have used silicone or caulk, but that didn’t come to me until way later. Oh well. It’s far from perfect but we’ll just say it has a lot of charm, ok?
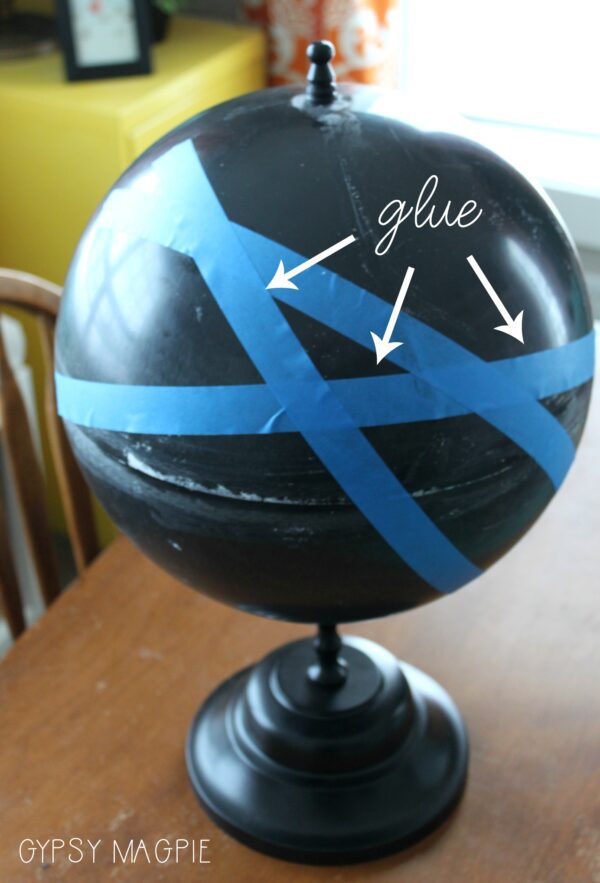
I used the tape to hold the whole thing in place while the glue dried. Blue tape has at least 232 uses.
Once the glue was dry I hit the globe with primer and some chalkboard spray paint. Then when that was good and dry I masked it off and painted the finial and base with antique brass.
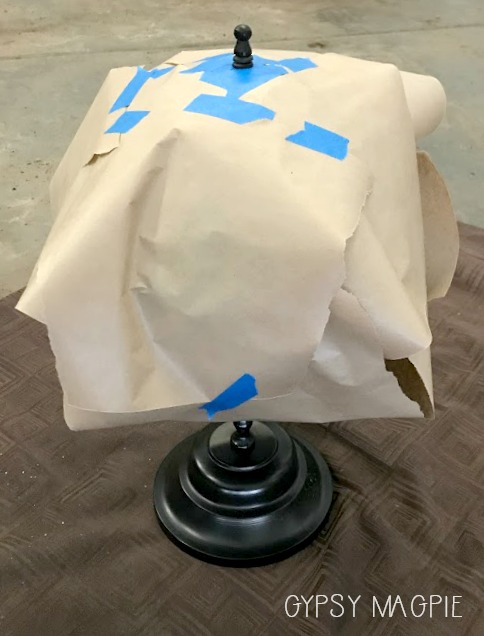
I know what you are thinking, I have epic masking abilities.
Thank you!
This post may contain affiliate links which helps me keep this creative little happy place going
See my Disclosure page HERE.
Now back to the post…
Supplies:
- old globe
- glue
- painter’s tape
- spray primer
- chalkboard paint
- antique brass spray paint
- chalk
- magic eraser
- pencil sharpener
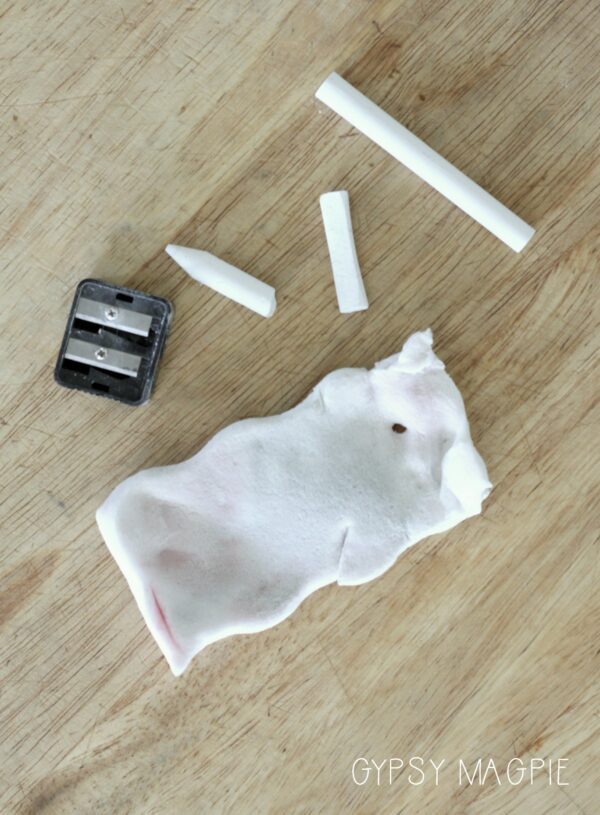
Before I go any further, I thought I’d show you my go-to chalkboard supplies…
Straightforward and simple.
I know my chalkboard game isn’t pro level, but it’s all good. I’ve tried all the fancy chalk markers and pens but they never fully come off so I always find myself going back to good old school chalk. I use an old makeup pencil sharpener to sharpen the chalk to a point. Just remember to be gentle while sharpening or you’ll break the chalk.
And seriously, who needs to spend money on a chalkboard eraser when you’ve probably got a Mr. Clean sitting in your cleaning closet?
Works like a charm.
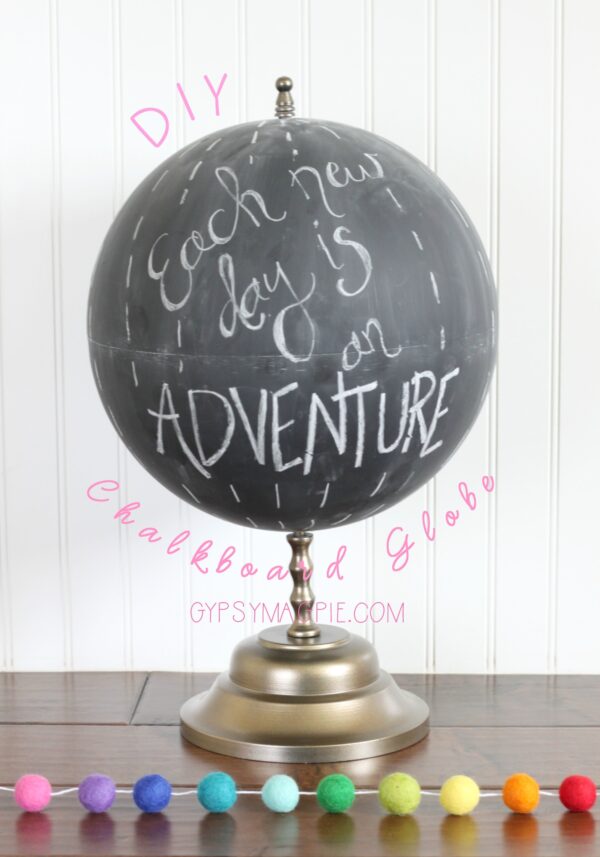
Ok, now for the after!
Chalkboard Globe Cuteness
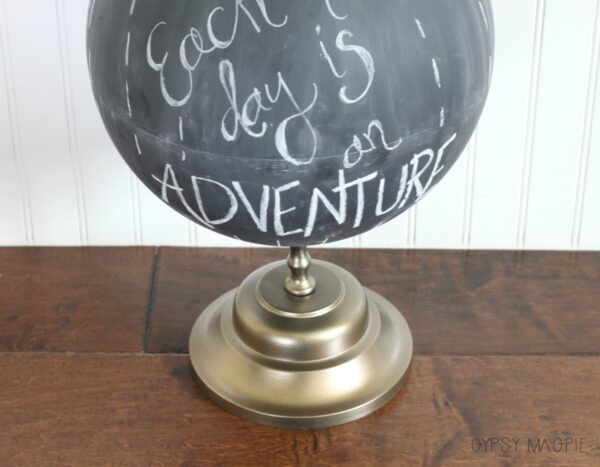
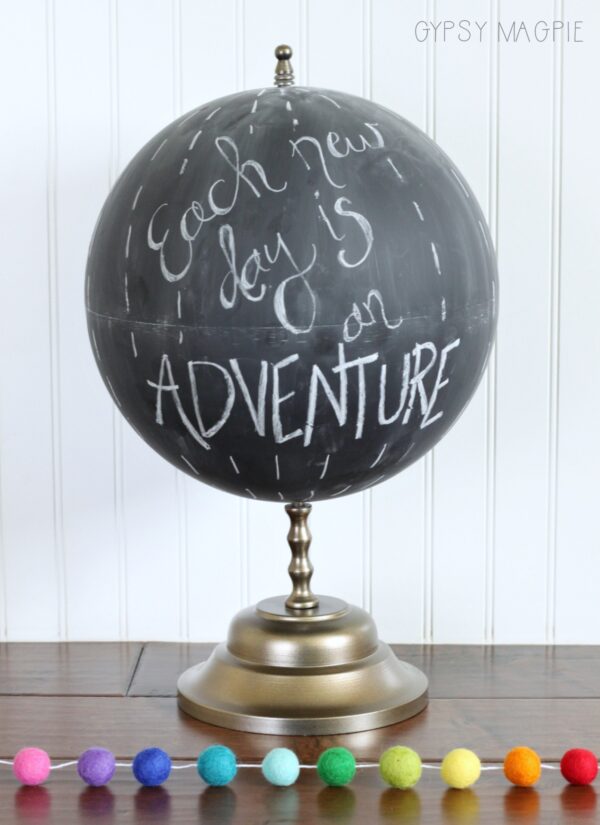
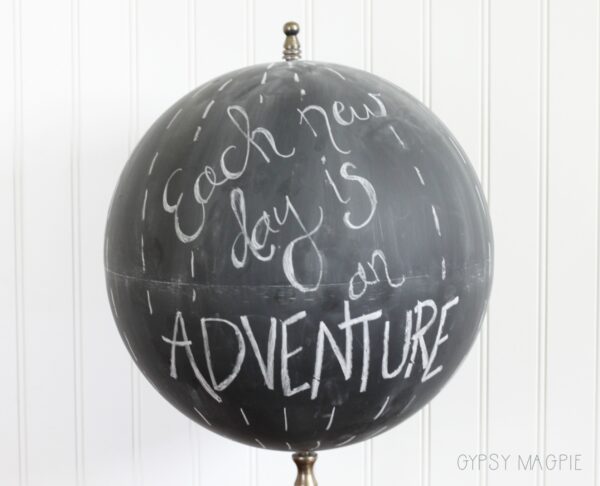
For just a few dollars, this broken down globe was given a whole new purpose!
I’ve already used it for booth signage at my market and can’t wait to put it to use at parties. There are so many possibilities! Right now it’s sitting on my dining room buffet, just looking cute and making me smile.
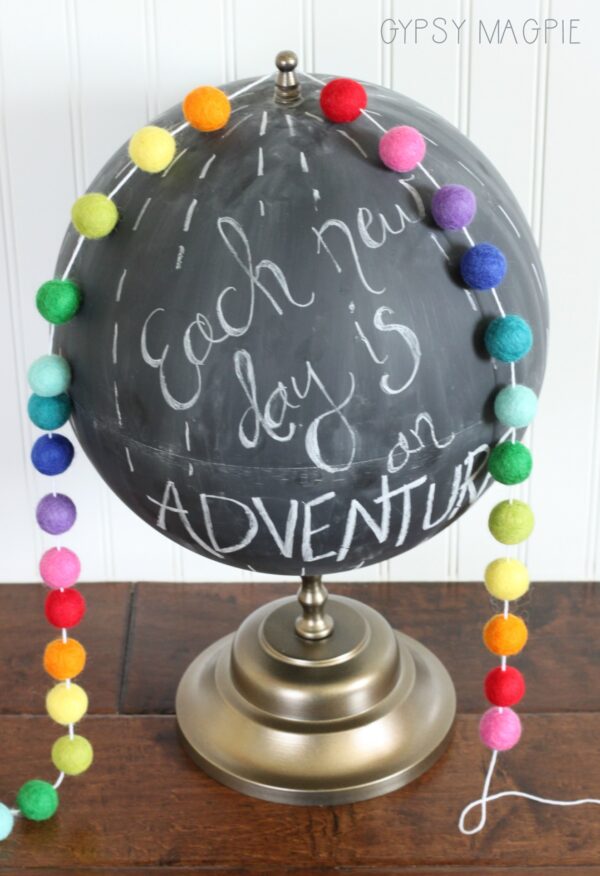
I love when I can look at something and think, wow! I rescued that. Even if it’s just a little chalkboard globe. Maybe that’s why I’m addicted to thrift store shopping? You too?
Guess there’s a little Wonder Woman in us all.
Diana would be proud.

Don’t forget to stop by and say hi to the other cute hosts!
Oh, and make sure to come back on the second Wednesday in August for our next theme!
I’m stoked for that one!
Chalk paint is right up my alley.
My little sis is in major nesting mode so I’m going to help her out with a fun little honey-do so stay tuned.
Anyhoo, hope you enjoyed this month’s DIY chalkboard globe.
Happy Wednesday, y’all!
This is SUCH a cute idea! I am so impressed with your hand lettering skills, too! Love that you can change out the saying so it can stay out all year long!
Thanks Sarah! I’m working on my lettering skills but man is it hard! Your comment totally made my day!
I have so many globes, including some old ones from thrift stores that I bought to update. This looks SO much better than the before!!
I have a thing for globes. Haha! They make me smile. Thanks for commenting!
This turned out so good! I love globes.
Thanks! I love them too. Reminds me of all the adventures just waiting to be taken!
This turned out SO cute Missy!! You were so lucky to find a globe at the thrift store. I’ve been searching for one for a long time. You’ve got great hand lettering skills too!
Thanks cute friend!
ohmygosh I LOVE this! What a cute globe. Impressed with your handwriting skills too!
Thanks Kim! It’ll be so fun for parties and my furniture booths. I’m excited. Thanks for stopping by!
This is magnificent!! I need to try some of that antique brass spray paint, it looks amazing. LOVE IT ALL!!
Thanks Meg! It’s a good metallic. Not overly shiny or fake looking. I use it a lot!
Seriously, this is so much fun! I think you did a great job concealing the cracks and it’s definitely a unique piece. Thanks for co-hosting!
Thanks Shani!
Best makeover ever!