Homemade vanilla
Welcome to my happy place of DIY, homemade, homegrown, handmade, nourished & crafted, whole hearted living. Finding magic in the mundane & growing some roots in the process.
This post may contain affiliate links. If you click on a link and purchase an item, I will receive a small commission. For more info, please see my disclosure on my Connect page.
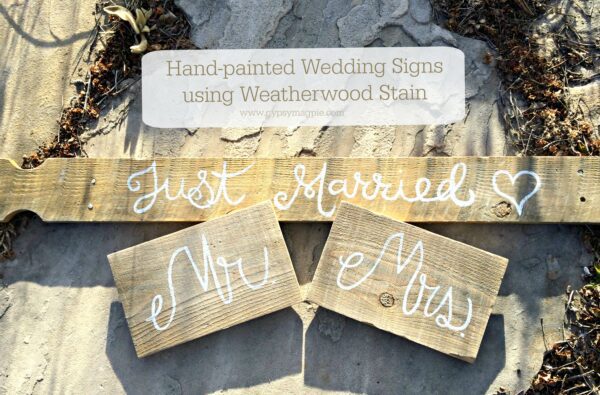
As we started putting together ideas for the luncheon following my brother’s wedding, I knew I wanted to add some old wood accents. Old wood has a worn, easy, vintage feel which was exactly the feeling we were after for the ambiance and decor. I had some pieces of wood stashed in the basement, so when darling Becca from Weatherwood sent me a surprise package of her stain to play with I knew exactly what I wanted to do… hand-painted wedding signs!
Everything is cuter when it’s hand-painted.
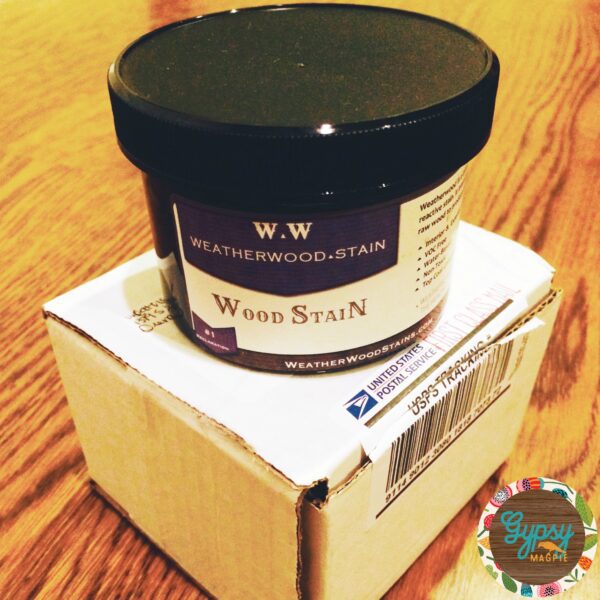
Weatherwood
Weatherwood Stain is a quick, easy way to age wood to give it that old, reclaimed look. The thing that is great about this product verses the vinegar/steel wool trick is that with Weatherwood the look doesn’t change when you seal it. Weatherwood is non-toxic, earth friendly, no VOC, water based, and made in America which really appeals to me as a DIYer. I’ll give it to you straight, this product is a lot more expensive than vinegar and steel wool, but to be able to add a top coat and seal without losing that perfect gray color sure is fantastic.
I’ve been following Becca on Instagram and it’s been fun seeing all the projects she and her man are working on with their stains. Grayed out, reclaimed looking wood floors anyone? Seriously, check her and her hubby’s fun out.
Anyhoo, back to the signs. Let me show you what I did:
Apply The Stain
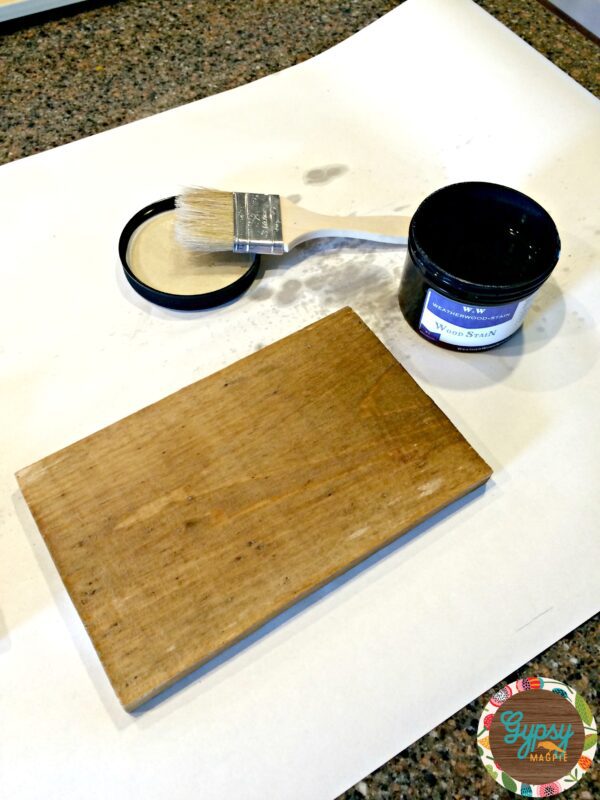
First I soaked the wood with the stain.
I need to tell y’all that I REALLY should have used a foam brush, but I was in a hurry and grabbed what was sitting by my sink. You need to really flood the wood with the stain so it seeps into the grain, so a foam brush is ideal.
Do as I say, not as I do… oopsies.
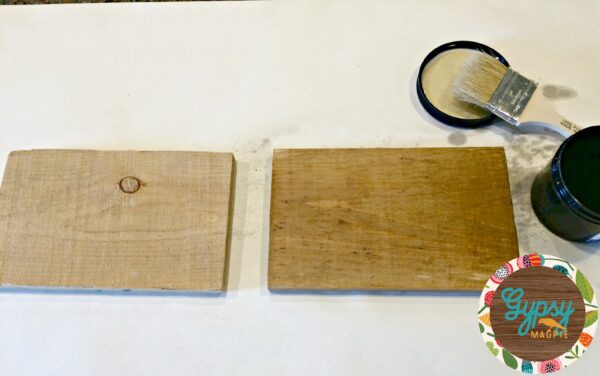
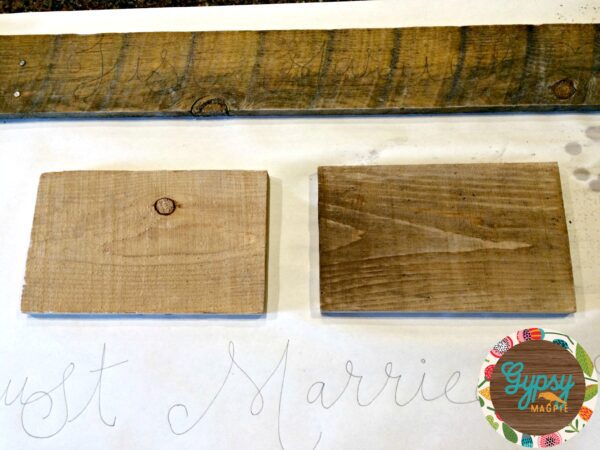
On the left you will see the original wood and on the right you can see the piece wet with the stain.
As the wood dries, the gray, worn color will appear.
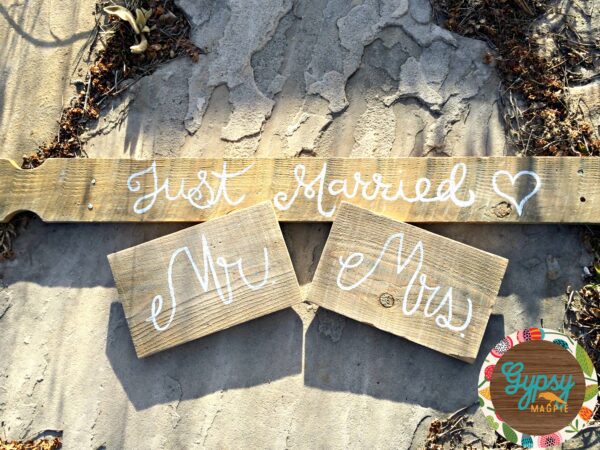
The board at the top is an old fence picket with fantastic age on it. I didn’t need to do anything to that one as it was exactly what I was wanting. My friend gave it to me and I’ve been saving it for a special project. Don’t you just love fun finds and thoughtful friends like that?
Instead of ripping out the nails, I simply bent them down in the back with a hammer to keep the character in tact.
Lettering
Then it was on to the lettering.
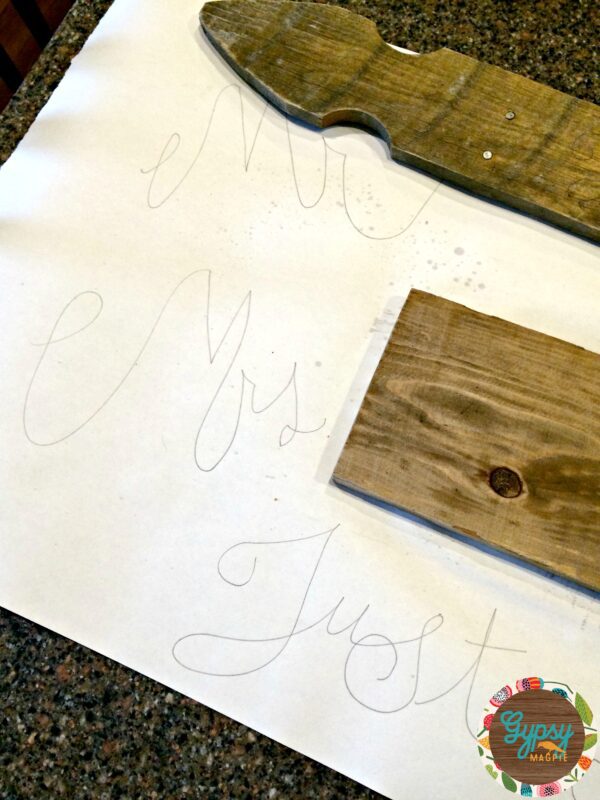
I like to doodle and sketch out my designs so I can get a better idea of what I am after with my final project. It’s a lot easier to erase paper than wood!
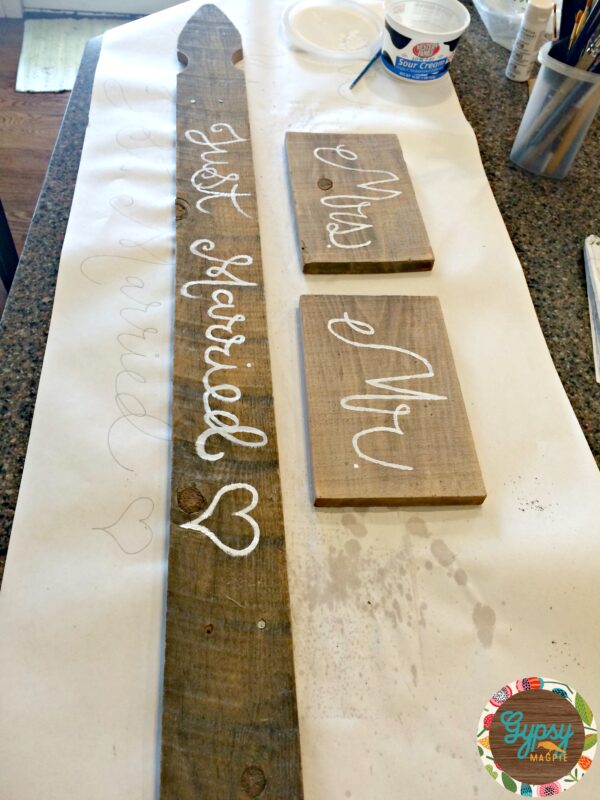
I buy big rolls of art paper at Ikea to put under my DIY projects. It protects the surface plus I can draw all over it and for $4.99 a roll, I don’t feel bad about how much I’m using. I love that my project and fingers don’t get black like they do when using newspaper. Then, when I’m done and the paper is dry, it goes right into the recycle.
After I doodled and figured out the look I wanted, I used a pencil and lightly drew out my wording.
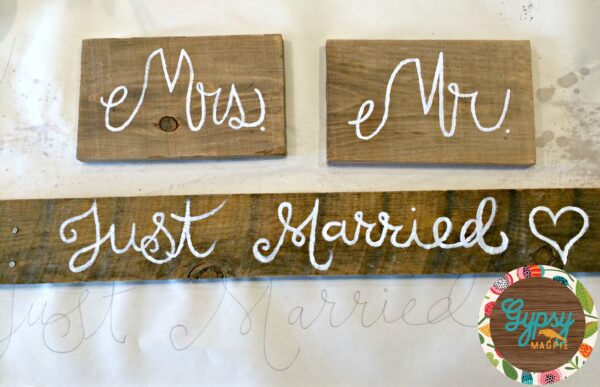
I went over the pencil with a small art brush and craft paint. Sometimes it helps to dip your brush in a little water to thin down the paint, this makes it go on a bit smoother. If you are a perfectionist, you’ll also want to clean off your brush in the water and reshape your bristles with your fingers or a rag so that you can keep a sharp edge on your brush.
Patience
Be patient as you paint. You will most likely have to take another pass over them and do a touch up (or ten) until you get it right.
Once it was all dry, I lightly sanded over the lettering to age it and knock down the fresh paint edges.
Hang
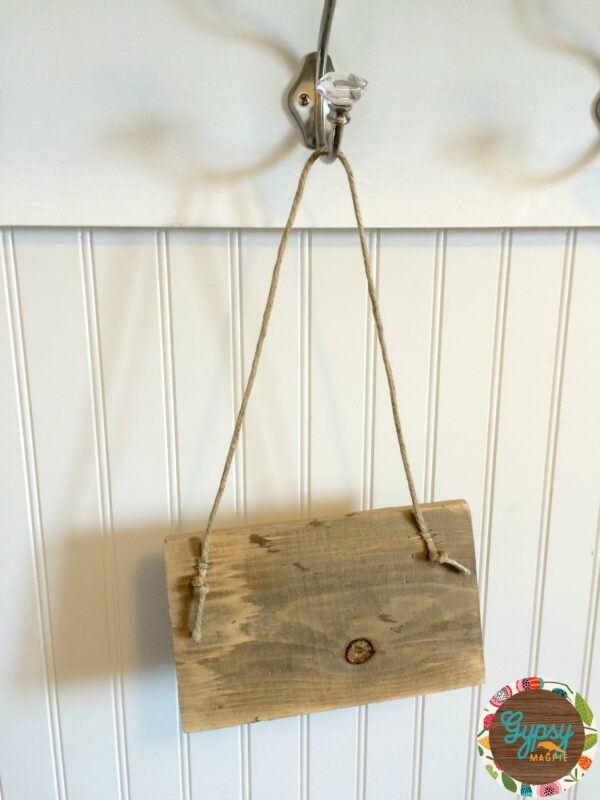
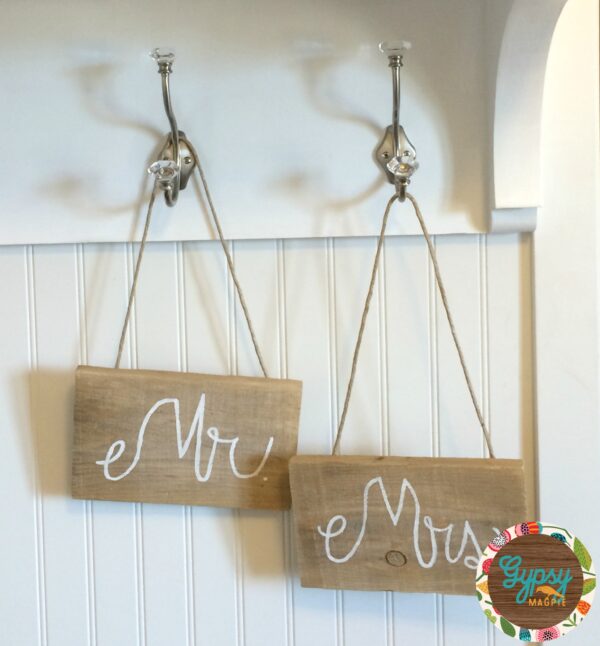
The Mr. & Mrs. signs were originally planned as swags to hang from the back of the Bride and Groom’s chairs. To make them into hanging signs, my aunts tied knots in the end of strands of jute and then stapled above the knot with an upholstery stapler. The knot keeps the jute from sliding through the staple.
We got our jute in a giant roll from Hobby Lobby with a 40% off coupon. It ended up being a killer deal and we’ll be able to use it for a ton of projects! Win/win!
You could really use any thing you wanted here instead of jute.
They would be darling with a fun ribbon in a coordinating wedding color, and can you imagine the cuteness of a big fuzzy pom-pom trim? Because, really, who doesn’t love a good vintage pom-pom?
The Weatherwood Stain gave the new wood just the right touch of age and helped the new blend very well with the old fence picket. The best thing about this project is that it was quick! I may or may not have made them the day before the wedding.
Procrastinators unite!
You can see what the signs looked like at the vintage styled wedding luncheon by clicking HERE. Now to decide if I save these for another wedding or put them up for sale. Hmmm.
Save
Hi Missy!
What a fun surprise! I’m so pleased you found a good use for the stain. It looks like it came just at the right time!
Thank you for sharing your project on your blog and IG! I was so surprised and happy to see that!!
Loved your creativity!
Xoxo Becca
It’s been a little crazy around here this past month, so I haven’t had the chance to use it on a bigger scale but I’ll get there and I’ll let you know when I do! Thanks for stopping by!
I like how you did a Celebration painting for a wedding on your own. My fiancee and I are running for time and ideas for our wedding. I appreciate the tips and I think we plan to look for a wedding expert to help us out on this.