Homemade vanilla
Welcome to my happy place of DIY, homemade, homegrown, handmade, nourished & crafted, whole hearted living. Finding magic in the mundane & growing some roots in the process.
This post may contain affiliate links. If you click on a link and purchase an item, I will receive a small commission. For more info, please see my disclosure on my Connect page.
It’s official! I finished the FIREPLACE!
Only about 3 weeks behind schedule. Schedule shmedule. Things happen. Strep happens. Sometimes Strep happens twice.
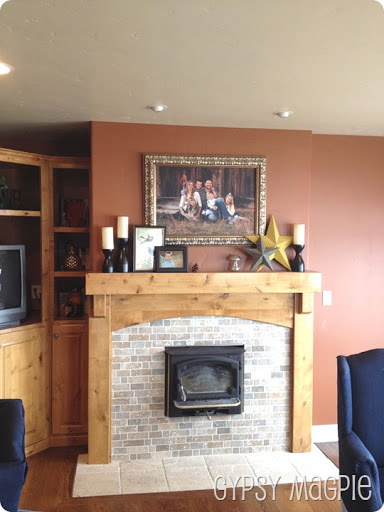
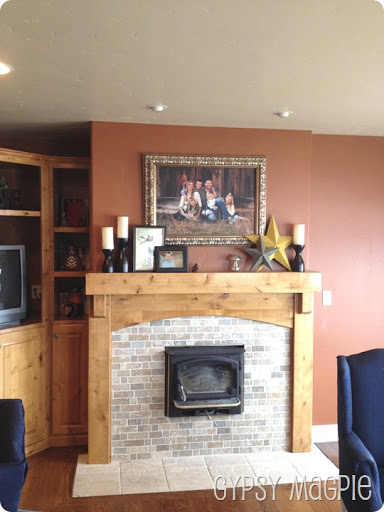
From the day we moved in this house close to 2 1/2 years ago, I have hated our living room. It’s rusty penny orange with alder wood as an accent. It’s manly. It’s Manly Mountain Lodge to be exact. I’m more a Vintage Happy Eclectic Farmhouse…{is that a style?}…girl, myself. My husband, along with practically every man who walks in, loves the rusty orange. And, I have to admit, it does make the room feel warm and cozy. It’s the best place in the house for a long, snuggly nap. Manly didn’t want me to paint, and since I don’t give him much choice in the décor of our home, I figured I’d better leave the paint alone. The problem is, rusty penny is really difficult to make feel Vintage Happy Eclectic Farmhouse. Go figure.
So, I had to come up with some sort of compromise.
The fireplace…the sorry sack of a fireplace…
This funny shaped little living room seriously lacked a focal point. The rusty orange and alder fireplace just blended into the wall and built-in next to it. The mantle was only 3 1/2 inches wide. What the heck is the point of putting up a mantle if you can’t stick anything on it? *deep breath* Sorry, I know, manly room, men don’t stick stuff on mantles. Yeah, I got it. Still think it’s dumb. But, whatev. Don’t even get me started on the tiny wood burning stove. You practically have to use Lincoln Logs for fuel. It heats up the room nicely, but nothing else. Gah! I digress. {Back to the lack of focal point.}
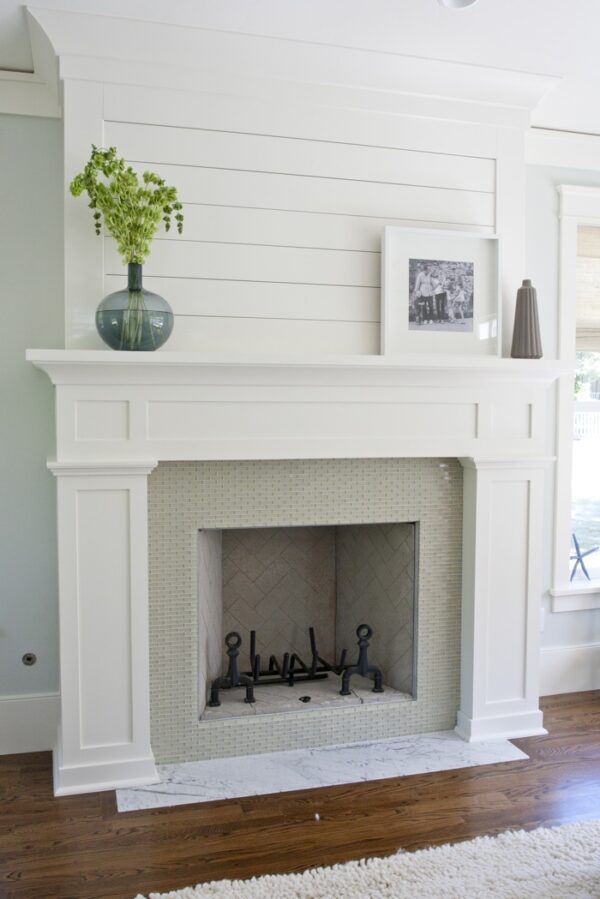
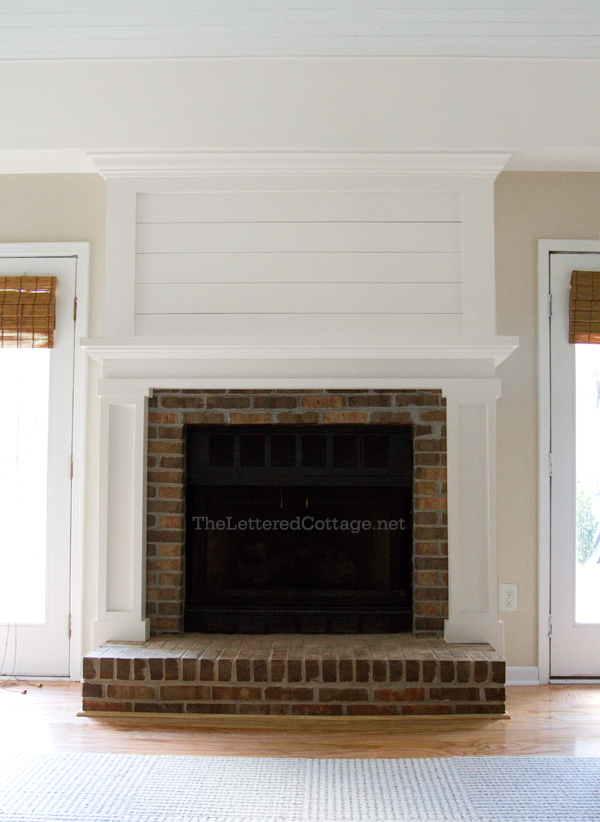
As I sat and stared at our sad little fireplace, I started a Pinterest search for fireplaces and fell in love with these…
via Tiek Built Homes
They were exactly what I wanted. So off to Lowe’s I went to buy 4 bundles of knotty pine planking. You get a bundle of 8 foot tongue and groove planks for $10.97. For my little project, they worked perfect. I didn’t want to use MDF on this because I wanted it to fit in with the knots and imperfections of the original alder. I didn’t want it to look like I slapped it up later. I wanted it to have some history, yet look updated.
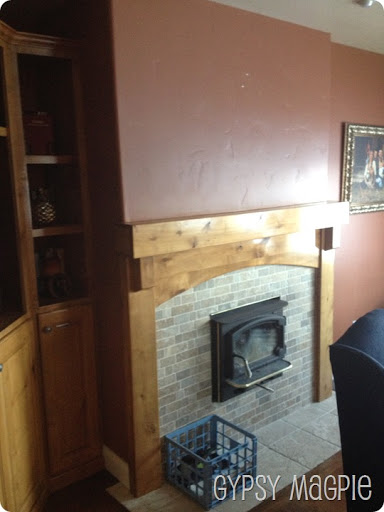
Let’s take one last look at that sad little rusty guy.
{Ahem, please excuse the lovely iPhone photo}
Poor thing. We know, it’s not your fault. Shhh. No tears.
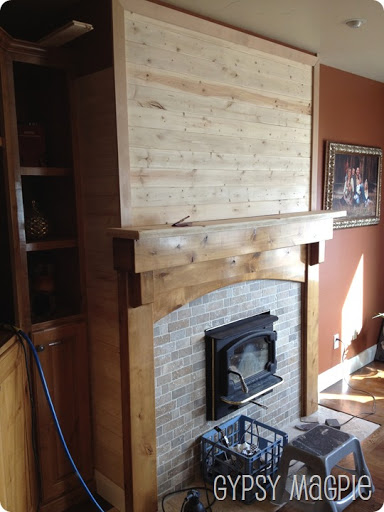
I started off with two 8 inch planks of wood. This is after I figured out that not only were my planks of wood warped, but so was the sad little mantle. We {my awesome neighbor and I} had to get creative. We figured out that if we flipped the warped wood upside down, that we could make the warpedness work. Lesson #476 of DIY: never buy warped wood. Check it, and then check it again. It’ll save you a whole lot of time! I was in a hurry at the store, and didn’t take the time I should have. I lost about a week of time trying to figure out what I was going to do. Being in a small town without a decent place to buy wood, buying more boards was out of the question. Yeah, oopsies. Big time.
Learn from me, people!
Originally I was going to fill in the gaps of the new mantle with wood filler and make it super simple, so my rad neighbor rounded the edges to match the rounded edges of the old mantle. It just didn’t do it for me, but more on that in a bit.
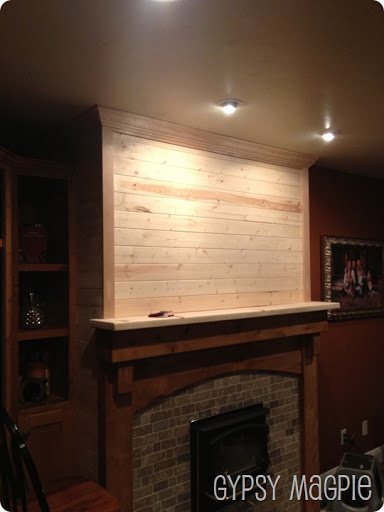
The planking went up quite easily. I wanted an old look, so I didn’t match the boards up perfectly on the sides and front. I liked the look. If you are crazy anal, it might bug you, but you don’t live here so you’ll get over it.
After I got the planks up, I used some thin pieces of hemlock and sort of framed out the front. Then I wrapped the top with crown molding. I don’t have a photo of that because hanging crown is a beast and I am not coordinated enough to hang and photograph at the same time. Did I mention crown molding is a beast? It is. Worst thing ever. My head hurts just thinking about it.
This is the point where my husband, dad, and secretly, even my BFF were begging me to stain it all the same as the old mantle and built in. Compromise. Y’all got to keep the original wood and rusty orange, remember?
Buh bye Manly Mountain Lodge!
The seam of the two boards was driving me nuts, no matter how much filler I crammed in there. So, I begged my hubby to grab me some flat wood trim when he went to the city for an alumni basketball tournament. {My big strong burly man loves him some bball! Guess when you are 6’7” you better!}
I boxed out the mantle then filled in the rounded edges with spackle.
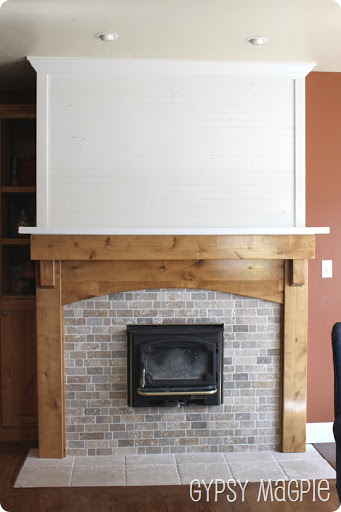
Then it was time to paint.
I really wanted to paint the whole thing. But, Manly was hem-hawing like nobody’s business. I decided to leave the bottom wood to bring in the built in next to it, and our kitchen cabinets on the opposite side of the room. Someday when we rip out the 90’s boxed TV built-in, I’ll probably paint the whole thing. But for now, it works.
Da da da daaaaa!
My husband loves it! {Phew!}
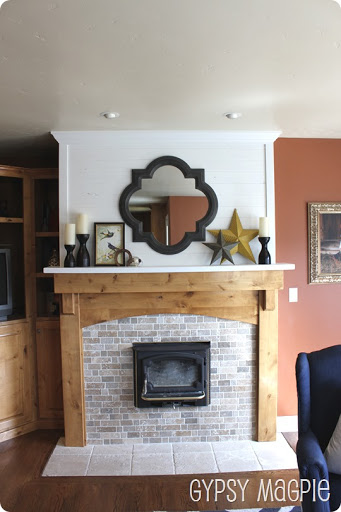
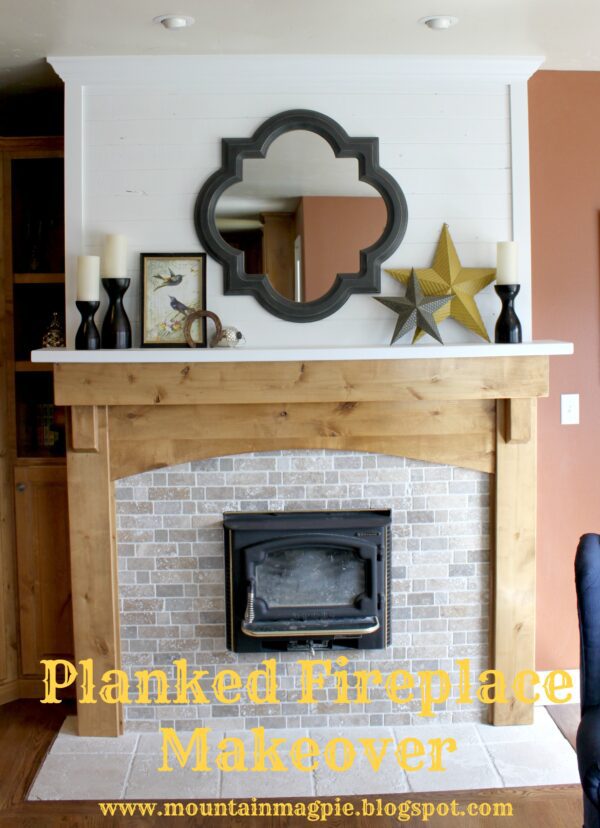
I can’t believe how much brighter the room feels just from this one simple change. It is absolutely amazing! Ok, I won’t lie, I’m pretty darn excited to go buy some new candlesticks and some fun accessories! I had bought the cutest sunburst mirror at Target, but it was just too small. I found this mirror on clearance at Kohl’s. I used my 30% off coupon and $10 in Kohl’s cash and got it for under $20! Yep, under $20. I may have done an in-store happy dance.
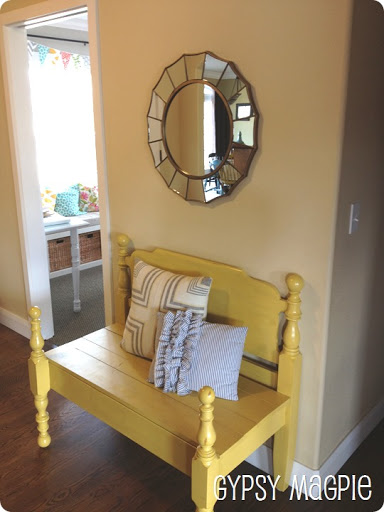
The mirror that I had really loved and had originally been planning on got hung in the entry above our darling little REPENTING BENCH.
I kind of like the glam mirror with the old twin bed bench. Something about the juxtaposition is fun to me. Except, now I am thinking I need to start sewing some new pillows…hmmm.
So there you go!
BEFORE
Sad rusty penny…
AFTER
Bright happy farmhouse-ish
Sometimes compromise is really hard.
But, this time it paid off. We both got a little bit of what we love and nobody is mad. Major bonus points right there! Yeehaw! Now for the curtains, candlesticks, chair covers, pallet art, accessories, and pillows.
Because one little thing always leads to another.

Looks awesome missy!! Way to work it. If you can do that, i can totally tile fireplace in my room right?
Kelsie
Kels, you’ve waited what 4 years now for the man to do it? I say go for it!! You can totally handle it! You’ll be so happy that you did and that it is FINALLY done! I believe in you, Powers!
Pretty sure I have never seen your new house. But I need to! You do such cool stuff. I like this.
This is great! Thank You so much for sharing this valuable artical. It will help me out greatly.Internet based furniture company
[…] used the Command picture hanging strips on the back of my mirror for my Fireplace Makeover back in […]
[…] pile to higher ground. In the process, I found a random piece of leftover crown molding from the FIREPLACE PROJECT and that got the wheels […]