Homemade vanilla
Welcome to my happy place of DIY, homemade, homegrown, handmade, nourished & crafted, whole hearted living. Finding magic in the mundane & growing some roots in the process.
This post may contain affiliate links. If you click on a link and purchase an item, I will receive a small commission. For more info, please see my disclosure on my Connect page.
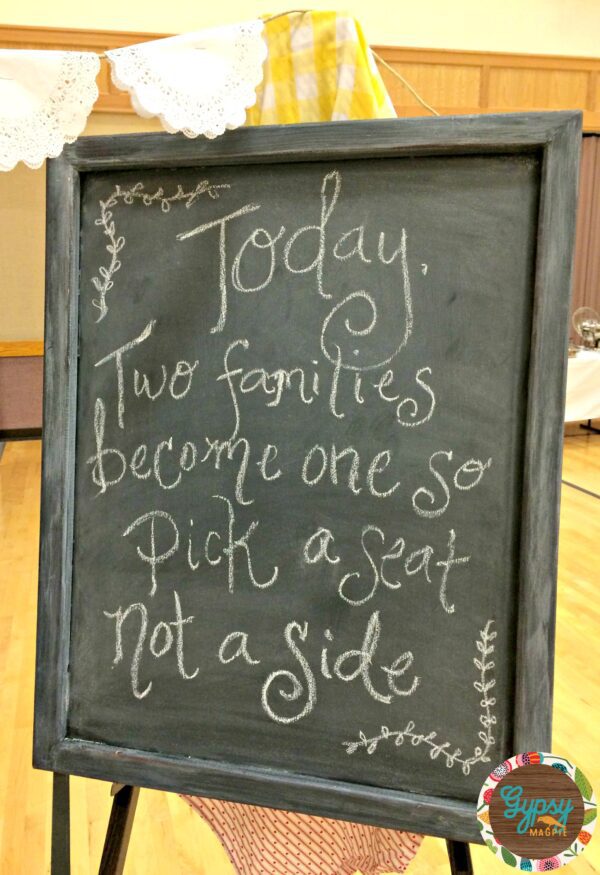
When we were planning for my brother’s wedding luncheon, I found a quote I loved and knew it had to be included in the decor.
I needed a chalkboard, but with only 24 hours until the big day I didn’t have time to run out looking for one.
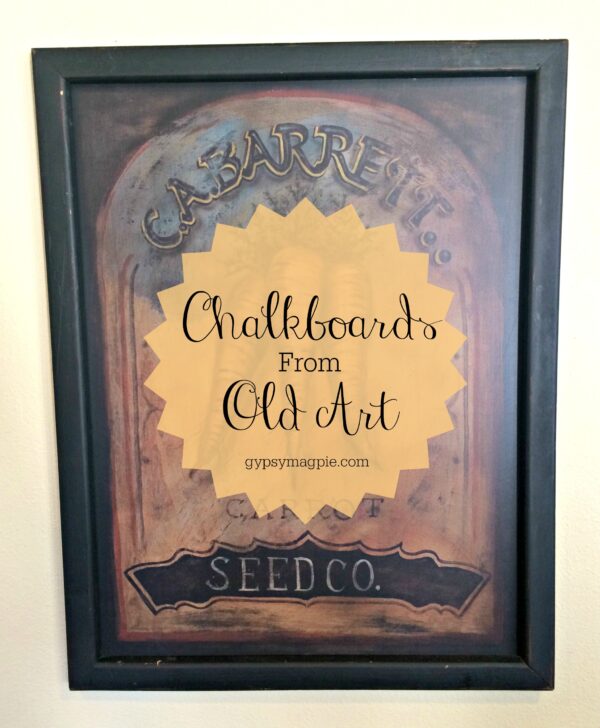
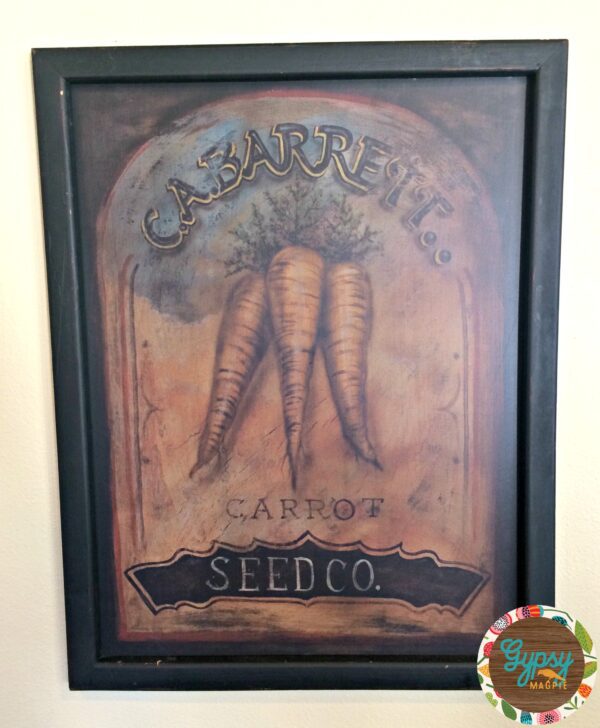
While looking around my house, I noticed a big piece of old art on my kitchen wall and realized it was the perfect size for what I was looking for so I grabbed my paint and got started.
Chalkboards have been trendy for a while now. They are all over in stores and on blogs but purchasing them may be out of your price range. If that’s the case, it is super easy to DIY one on your own.
Shop your house or the thrift store for old art, baking sheets, even dollar store platters and you are ready to go!
I’m not going to give a full tutorial here because there are a million and one out in blog land right now. A quick search on Pinterest will give you a whole week’s worth of ideas.
But, I will give you some tips and tricks I’ve learned through my own trial and error.
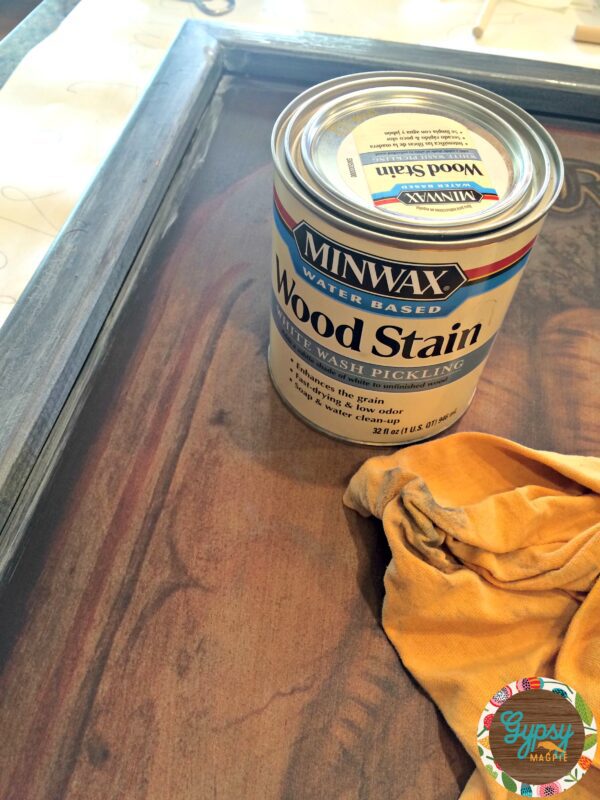
The first thing I did when I decided to paint my old carrot seed art was to paint my frame. I wanted a white washed looked which I could have gotten a multitude of ways, but went the white wash pickling route. It is easy to use and gives a fun patina to any project. I used one from Minwax, but there are others on the market.
All you do is paint it on, let it sit until the desired color is achieved, then wipe it off. You can layer it as thick or as thin as you would like, it’s all personal preference.
After the pickling dried, I taped off the frame and applied a few layers of chalkboard paint with a small foam roller. I like to use foam rollers whenever possible with my chalkboards because it gives a nice smooth appearance but it’s all up to you. If you’d like more of a hand-painted look than totally go for a brush!
Sorry, I didn’t take any other photos of the process because I was hauling booty to get this last minute project done in time for the wedding. Just paint, let dry, and paint again until you have a few good coats of paint on. Then allow it to dry, it is best to let it dry overnight or even for a few days before you chalk it up.
Once it is all dry, you will want to season the chalkboard. This is done by simply turning a piece of chalk on it’s side and rubbing it all over the chalkboard surface. Use a dry old rag to wipe it off and you are ready to go!
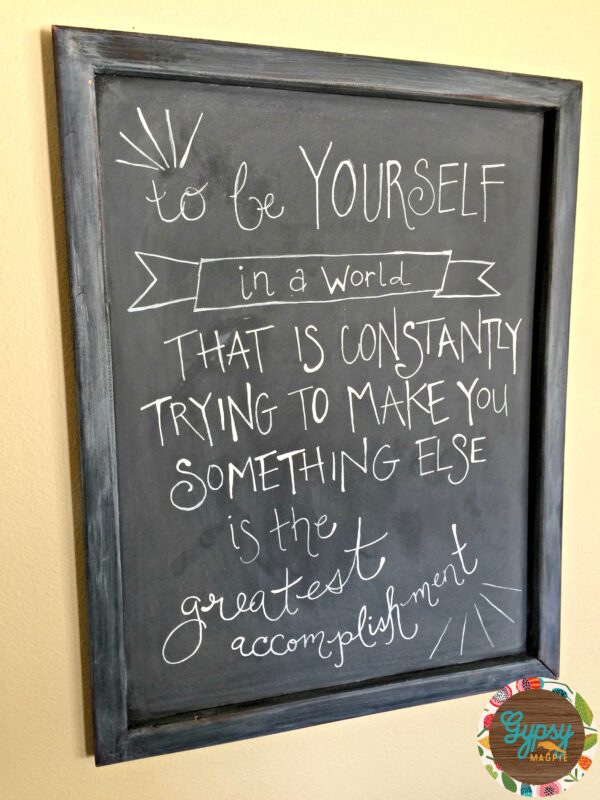
Here is the finished chalkboard at the wedding luncheon.
It made me so happy!
Like I said before, you can make chalkboards out of really anything!
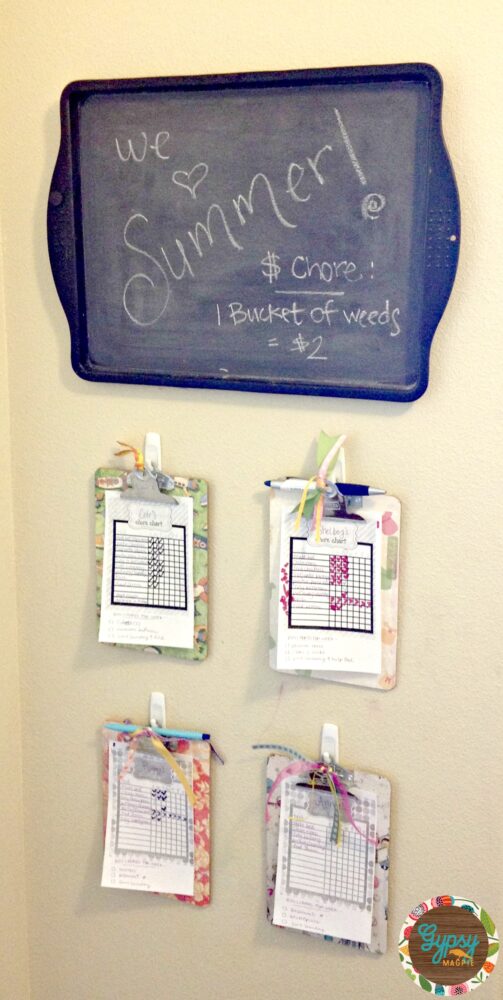
For example, here, I used an old baking sheet to create a message board over our chore charts in our laundry/mudroom.
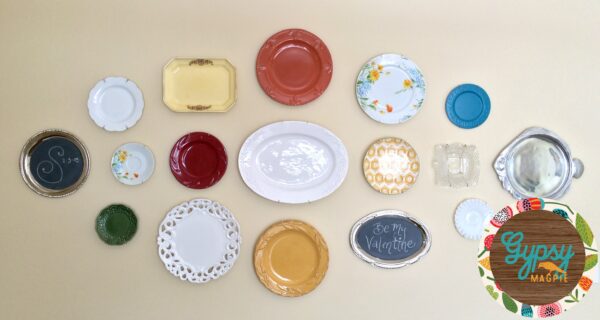
And, here I painted a couple of dollar store platters to create some birthday/holiday decor in my eclectic plate wall…
Someday I will totally tell y’all the story of that hideous tuna plate and why we display it so proudly.
We write the birthdays of our family that are happening each month on the round platter and then celebrate the month’s holiday on the oval one. I’m not big into mass amounts of holiday decor, so this is my fun little way of doing something special for my kids. My 10 year old is itching to take on the responsibility of the plate wall chalk art.
By the way, so sorry for the giant watermark, I’m still trying to figure this silly plug-in out!
Chalk art can be a lot of fun and is so simple to make.
I hope that if you haven’t tried your hand at one yet that you’ve been inspired to grab a can of paint and create one of your own!
Just think through really well before you paint!
I loved my old seed art, but when a big sister has plans, for her little brother, nothing is safe from paint!
That’s true love right there!
The fun thing about a big chalkboard in the kitchen is, I can change up the quote or chalk art to whatever I’m feeling like each week and its right there where I’m at most to inspire and remind me of my wishes, dreams, and goals.
Thanks to Ralph Waldo Emerson and a darling Etsy crafter (that I can’t track down because, sadly, the piece is no longer available) for the inspiration for this week!
- Some other quick tips:
Did you know you can sharpen chalk? Yep, you totally can and it makes it so much easier to write and doodle with! My ancient Clinique Chubby Stick lip pencil sharpener is the perfect size for giving chalk a nice sharp point. - Chalk markers are great for creating chalk art. You can purchase them at any craft store. Make sure to use your 40% off coupon! Just keep in mind that sometimes they leave behind a ghost marking. If that happens, wipe down your chalkboard with water, let dry, then season again. Occasionally you may have to add another coat of chalkboard paint to cover, but it’s so simple that it really isn’t a big deal.
- Search Pinterest, Etsy, and other creative sites for chalk art inspiration. There are so many darling ideas! Or, if you are the creative type, come up with your own! It’s all about being inspired and having fun!
- Don’t stress to much about the way it looks, after all, it’s only chalk and can easily be erased. Chalk art is supposed to look homespun and hand drawn. It’s not meant to look perfect so take a deep breath and let go of perfectionism. Yeah, I know, easier said than done.
- Keep your chalkboards away from bacon frying hubbies. Don’t ask me how I know, just do it. 😉
