When my hubs asked me what I wanted for Christmas, I gave him a big hug and answered…”wood“.
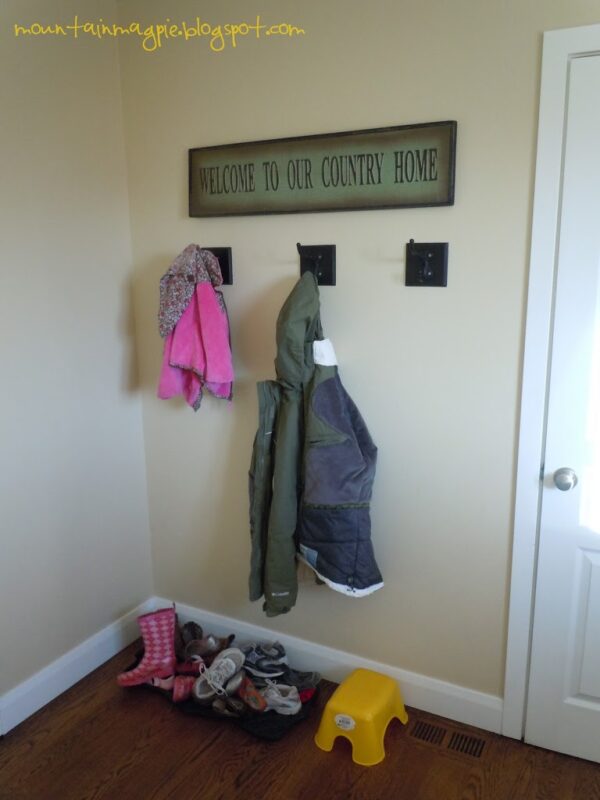
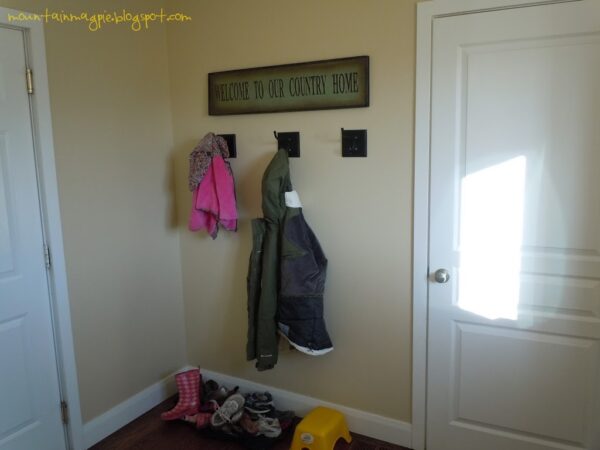
And, let me tell you, it wasn’t working at all!
{Just FYI, this is what it looked like AFTER I cleaned it
while the kids were at school with all their backpacks!}
A few days later he realized I wasn’t going to let this one go, so we pulled up Pinterest and started looking for inspiration.
Go
HERE to see the awesome posts we drew our ideas from.
{Also, go to their sites, there are some amazing ideas out there. Hello! Ana White is straight rad!}
The problem with most of the mudroom ideas we saw was that they had a lot more space than we did. Our coat corner is actually quite small, which just feels weird saying since we never even had a place for coats in our old house! So, we had to adapt to fit our situation. That’s what is wonderful about building something yourself, you can make it fit where you need it to! The big thing to remember here is that sometimes you have to let go of some big expectations in order to get what will work with your space and other limitations. Case in point, I really loved the idea of having “lockers” but in reality, our space was too small. We would have had to make tiny lockers and there are six of us here, and Manly’s giant coat takes up a LOT of room so that just wouldn’t work for us, as much as I wish it did.
I had to let that idea go and move on, working with what we had. The other expectation I had to lower was that of the hardware, but more on that later.
After we had our plan and our measurements, Manly headed to Home Depot and got the beadboard and wood cut to fit our measurements. For those of us who lack table saws, the fact that they will make your cuts for you is a pretty cool bonus for buying your wood there!
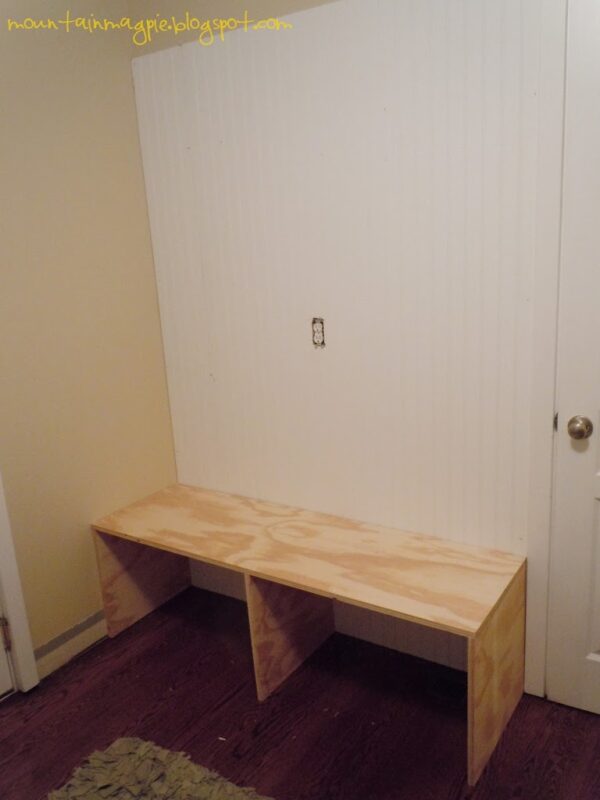
Next, we hung our beadboard and then built our bench. We used Purebond plywood because it’s smooth and has a nice finish. We then attached it to the wall using L-brackets and also nailed it to the adjacent wall. {Have I mentioned we have 4 munchkins? We didn’t want that thing moving ANYWHERE!}
Our bench is 18 inches deep.
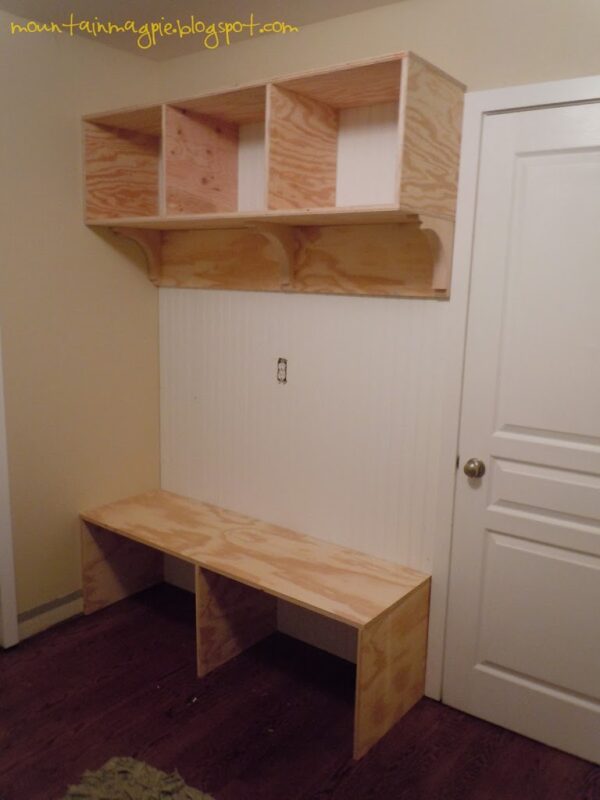
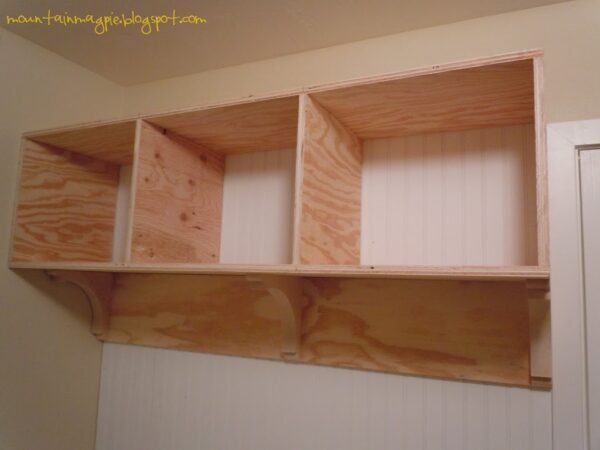
After the bench was complete, we started on the hanging cubby system. We built the boxes {wood glued together then nailed.} and hung the plank and corbels while the glue dried. The cubbies are 15 inches deep. Here is another place I had to let go. In my mind, the corbels needed to be placed evenly along the board, but that couldn’t happen because the studs in the wall were not even. The stud is slightly to the right of center and that was MESSING with my mind… no, OCD girl isn’t back, that is Perfectionist girl and she has been here since birth… again, my father’s fault. Haha! But, if we wanted this unit to stand the test of time AND the test of our monkeys, we needed to have the boxes and corbels screwed into the studs, so, I again lowered my expectations.
For added support, just to be on the safe side, we installed more L-brackets along the top of the cubbies into the studs. This thing isn’t moving! I know, I hung on it I tested it.
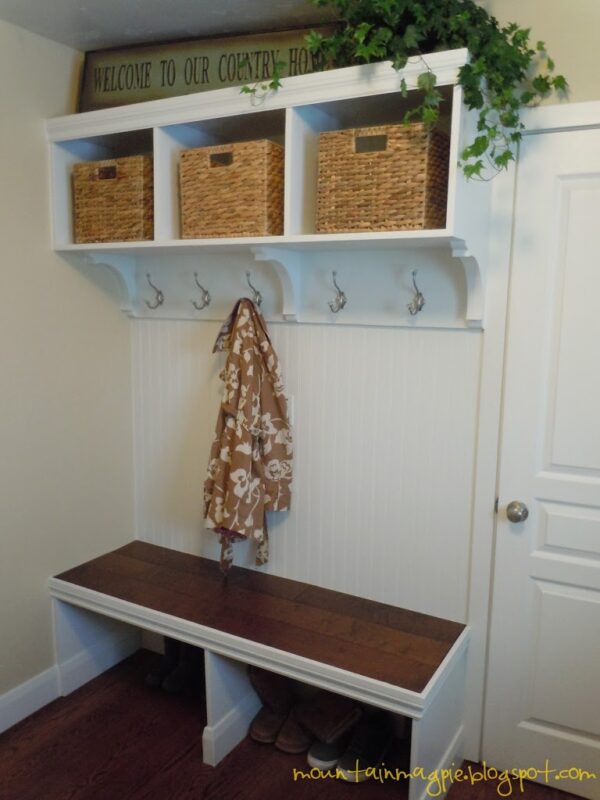
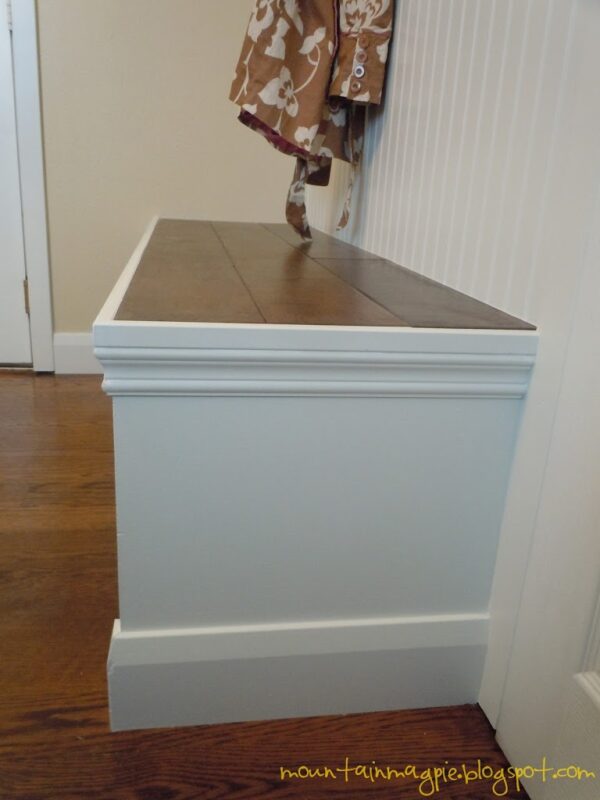
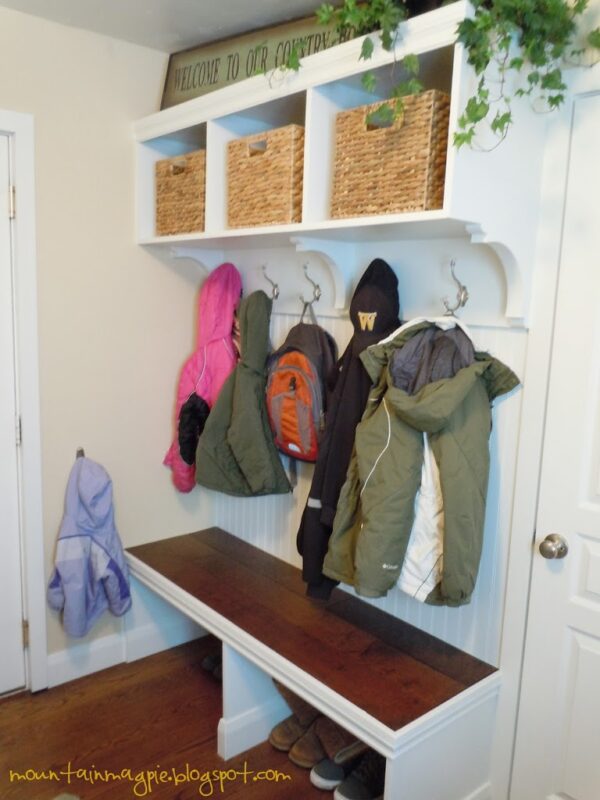
After some extensive sanding, caulking, painting, installing leftover hardwood, and then hardware, this is what we ended up with!
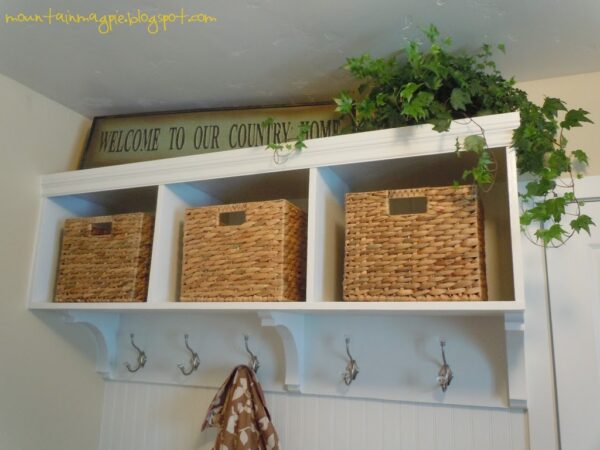
{Baskets purchased at Target.}
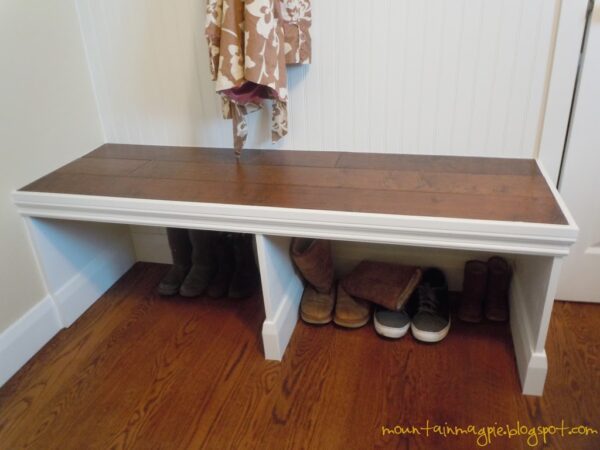
My parents own a flooring business, Pyne Floor Coverings, in Pleasant Grove, Utah and they helped me find some wood similar to our floor. I wanted to put the wood on the bench to add strength and color. I think it turned out really nice! And just a little shout out, my family rocks! My dad and brothers would love to help you make your flooring dreams a reality!
And, just for fun, please note the mistake in the bottom left corner of the molding. See friends, things don’t have to be perfect to be nice. 😉 We aren’t professionals and we aren’t trying to win any awards here, just trying to make a space work! For us, it works.
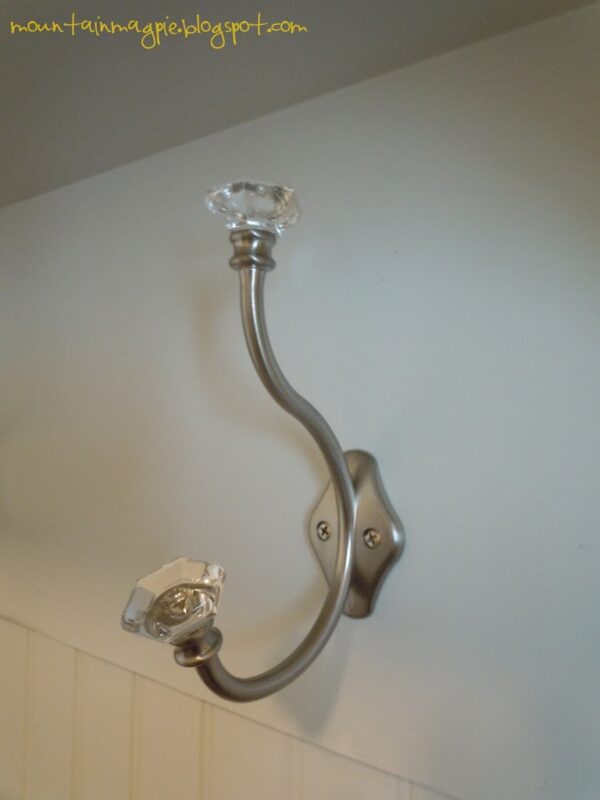
Ah, the hardware… do I dare admit that I went to 15 stores trying to find something similar to THIS but eventually lowered my expectations again and bought these?
But, seriously?
I spent under $35 instead of over $100 for 5 nice looking, strong hooks, so why did it take me that long just to do it? Really, Missy?
{I got these at Home Depot in the cabinet knob section.}
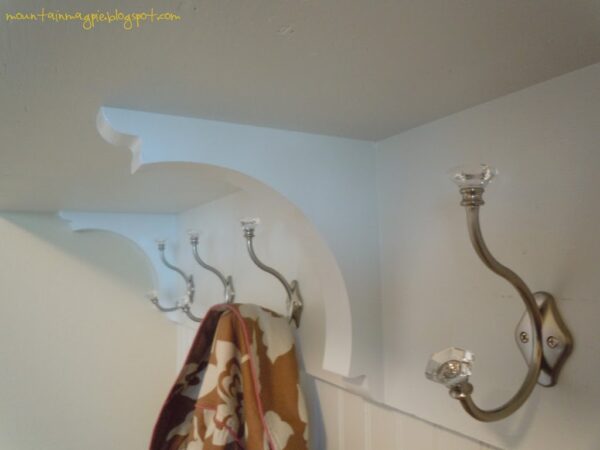
You’ve probably noticed that there are 3 hooks on the left and only 2 on the right. That’s because of the corbel being shifted to the right in order to be on the stupid stud. I was really bothered by it at first, but in the end, it doesn’t even matter.
It turned out not only functional but, also beautiful so who cares!
Here is a pic of what our corner looks like with everyone’s stuff hung up. We have a soon to be 2 year old, so we put a little removable brushed nickel Command hook lower on the wall for her to hang her coat on. In that space above her coat I want to install a wall file system for school papers, but lets not get ahead of ourselves…
Well, there you go.
Merry LATE Christmas to me!
Squeal!
I couldn’t be more excited!
*What fun things have you been working on this week?*
Linked up to:

Project Update:
After a couple years of wear and tear plus our youngest munchkin growing like a week, this project needed a little update.
You can find that HERE.



This is FANTASTIC!! I want to take on a project like this at some point.
Missy I LOVE how this turned out. It looks amazing. I am wishing I had a space in my house to do just this and dream about them constantly! This looks AMAZING! Great job!
I love it! Now I see why Beth at A 2 Z featured you today!
Would you be willing to share at our multi-blog “Imagine the Impossibilities” link party? We stay live until midnight CST on Friday.
Here’s the link: http://www.itallstartedwithpaint.com/
Linda
itallstartedwithpaint@gmail.com
Thanks so much, Linda! I will try! I am extremely new to this linky party thing, so hopefully I can figure it out again! Haha!
So glad you figured it out and joined the party! I’m working my way through visiting everyone who linked up … and keep getting distracted by other posts at all these amazing blogs …
Linda
Wow! Everything looks incredible! Great transfomation and love the molding! Thanks for joining the party!
blessings,
karianne
This is absolutely gorgeous – I have this on my list of things to do in 2012 and I’ll be referencing to your pictures to see how it should be done 🙂
Great! I’m hoping to create a mud room sort of space in the connecting area between our house and our new garage addition. This will go in my file! So simple and so gorgeous, too.
What a great upgrade. This space is so beautiful and funtional now. Congratulations!! And thanks so much for linking up to the challenge. Karah
Mis, sooooo awesome! I’m totally jealous, I’d love to have something like this in my future upgraded house, haha 🙂
[…] had never totally loved our ORIGINAL MUDROOM DESIGN. I had compromised with the hubby on how many hooks and keeping it inexpensive. Our youngest was […]