Homemade vanilla
Welcome to my happy place of DIY, homemade, homegrown, handmade, nourished & crafted, whole hearted living. Finding magic in the mundane & growing some roots in the process.
This post may contain affiliate links. If you click on a link and purchase an item, I will receive a small commission. For more info, please see my disclosure on my Connect page.
*This post may contain affiliate links which helps me keep this creative little happy place going*
See my Disclosure page HERE.
Now back to the post…
I was really sick this last week which gave me a lot of down time. I figured I ought to tackle a couple half done projects while I sat around.
Inspiration Journals
Back in December, I had the idea to make a little inspiration journal for the women who work with me in the YOUNG WOMEN’S PROGRAM in my church. I bought all the stuff for the books and then it all sat in the corner for well over a month. Oopsies. Oh well, these women are all mothers and know how life gets in the way of good intentions! Since I was sick and bored, I gathered my supplies and got to work. Let’s just call them a Valentine and not feel so guilty about Christmas.
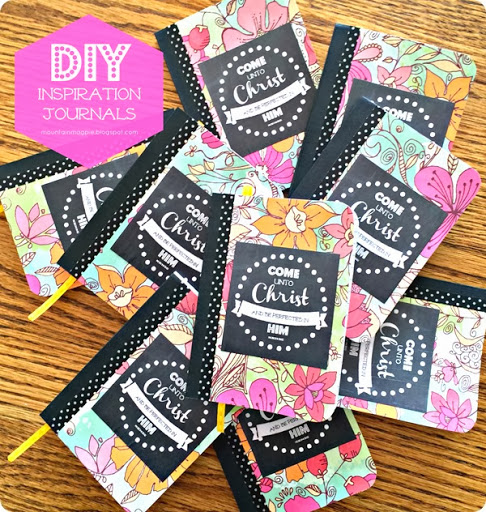
Here’s how to make them…
Supplies:
- SMALL COMPOSITION NOTEBOOKS– can get these in a 3 pack for a little over $1.00 at Dollar Tree or in-store at Wal-Mart.
- scrapbook paper- I used 2 sheets of 12×12 paper and was able to make 10 books
- MOD PODGE
- paper cutter & scissors
- WASHI TAPE, ribbon, and any other embellishments you’d like to add
Trace
First thing you will do is trace the book onto the backside of some scrapbook paper. Do this twice as you will need a front and a back cover. After you finish tracing, cut out what you have traced.
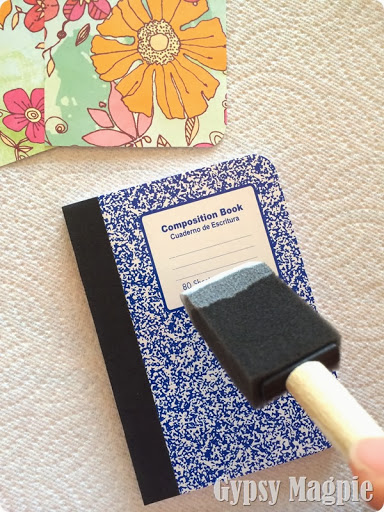
Next, apply a thin layer of Mod Podge to the outside of your book, place one of your scrapbook cut-outs onto the glue and use your hand to gently smooth out.
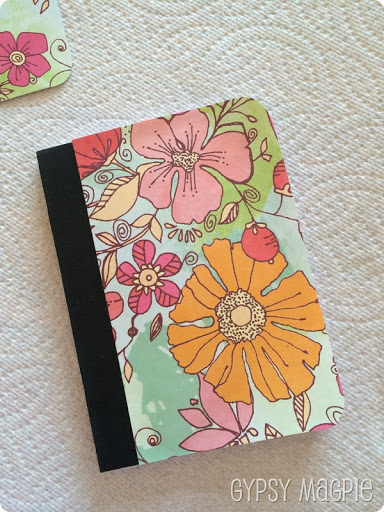
After you have smoothed out the air bubbles, let that dry. Once it is dry, you can trim the excess paper with a pair of scissors.
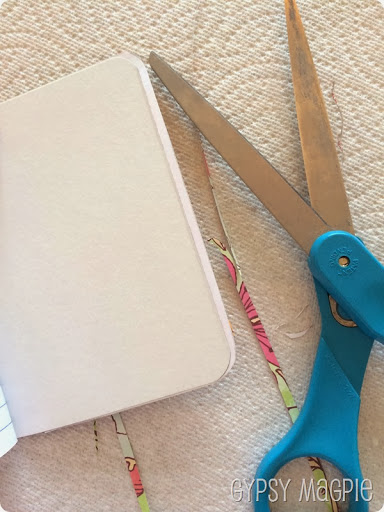
Label:
I don’t have a picture for this, but the next step, if you desired, would be to create a label. I played around on PICMONKEY and created one. It was my first attempt at a label so it’s not great, but I’m learning.
I’d share it, but well, I don’t know how to do that yet. {Sorry, I have a lot to learn about technology.}
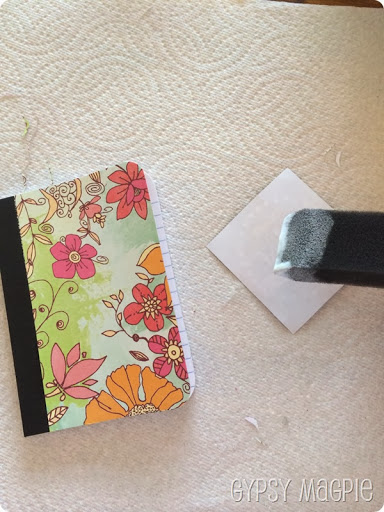
After you create and print out your label then do like you did before and apply a thin layer of glue to the back and adhere to your cover. If you don’t want a label, just skip that step. Let that dry.
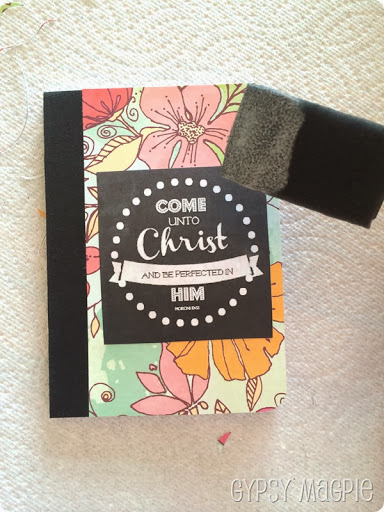
More Glue
After the label has dried, you will apply another thin layer of glue to the entire front of the journal. This will seal it and keep the edges of the paper from curling up and getting torn. Let that dry. Did I mention there is a lot of drying time involved with this project? No? Well, there is.
Just gives you a little time to eat a snack, check your phone, or throw in yet ANOTHER load of laundry. Have I mentioned that I hate laundry?
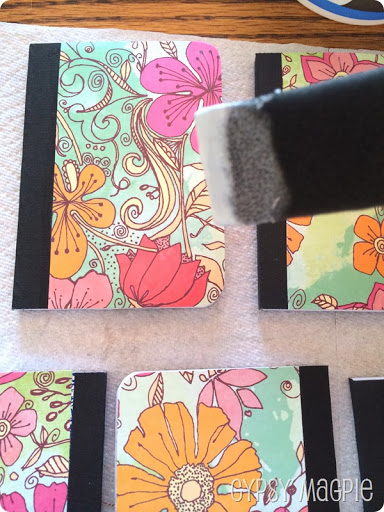
Next you will adhere the paper on the back cover, let that dry, then seal it just like you did on the front cover.
Embellish
At this point, your little book can be complete or you embellish to your hearts content.
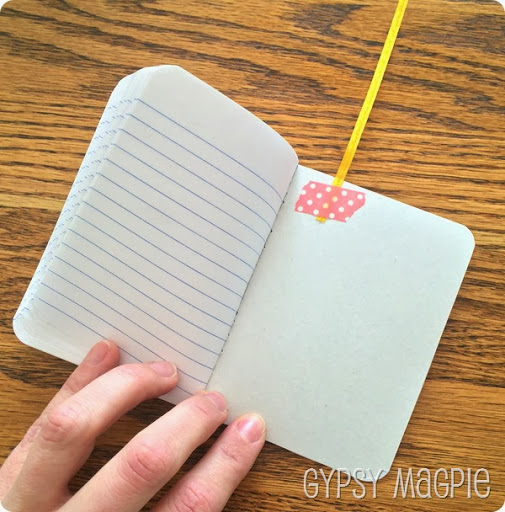
I used a small piece of Washi Tape to attach a small piece of ribbon for a bookmark. I was going for the scrapbooked/Smashbook look so this worked for me. You could totally make it look fancier if you wanted.
Then, I added a small piece of black polka dot Washi tape down the edge of the front and back covers just because I wanted to. You could hot glue on ribbon, use a metallic Sharpie to draw a design, or just leave it plain. For an aged look, take an ink pad to the edges of your paper before you glue the book together.
My 9 year old wanted me to add some bling, but I was happy with what I already had. The point is, you can dress these inspiration journals up or down in any way you can imagine. They are easy, inexpensive, and even with the drying time they are quick to create. You can make them as simple or as complicated as you want.
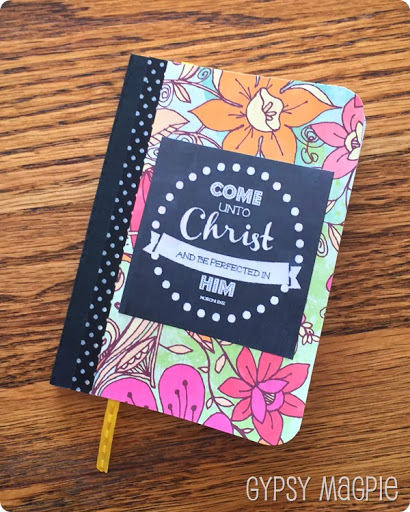
The 2014 theme for our church youth program is COME UNTO CHRIST.
I created these little inspiration journals so the women I work with can have a place to record the little bits of inspiration, ideas, thoughts, and promptings they receive for the incredible group of girls we serve. When we write things down those thoughts find a little spot in our heart so we can learn, grow, and put it to use. After all, what good is inspiration if we don’t listen?
Project Christmas Gift morphed into a Valentine. Meh, whatev, made with love.
*******
Hopefully there will be couple days of sun this next week so I can finally take photos of my finished plate wall {Like I said, I was sick and bored!}. Looking at the weather forecast that isn’t likely but, my little valley is desperate for snow so it’s hard to complain. Maybe I’ll take pics anyway.
I’m a rebel like that.
…or maybe I should finally teach myself how to make a printable PDF? No promises.