Homemade vanilla
Welcome to my happy place of DIY, homemade, homegrown, handmade, nourished & crafted, whole hearted living. Finding magic in the mundane & growing some roots in the process.
This post may contain affiliate links. If you click on a link and purchase an item, I will receive a small commission. For more info, please see my disclosure on my Connect page.
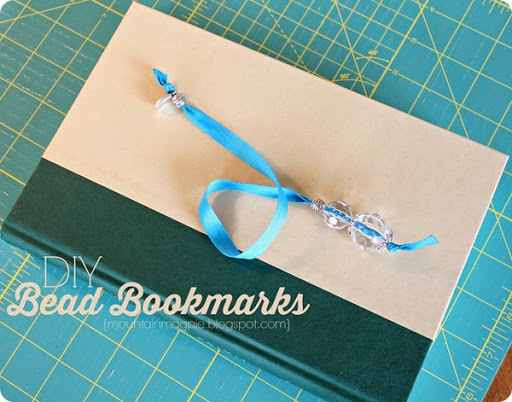
My sister-in-law had a birthday last week and I wanted to make her something fun. She loves bright blue, reading, and horses. I can’t do anything about the horses, but figured I could come up with a little something that combined her love of books and the color blue. What better for a booklover than a quirky fun bookmark?
I apologize ahead of time for the pics, I swear I’ll make one of those fancy light box thingys soon. But, for now you get my sewing table for an awesomely distracting back drop. You’re welcome.
Back to the bookmarks…
For this project you will need:
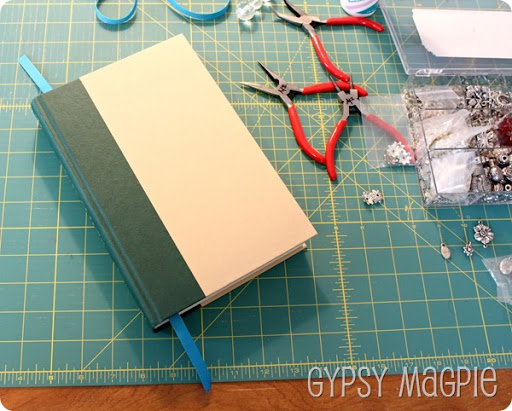
- Ribbon or Cording- I tried using baker’s twine but it kept unraveling so I gave up on that. You could use DMC floss, very thin ribbon, or even a little bit thicker ribbon depending on the size of your beads and your level of patience.
- Beads and charms of assorted styles and sizes- You’ll want to make sure the hole through your bead is large enough to thread your ribbon through. Small sea shells would also be fun.
- Lighter- You’ll use this to seal the ends of the ribbon when your bookmarks are complete. This keeps the cut edges from fraying. You could also use a tube of Fray Stop or even hot glue.
- Scissors
- Book or Ruler
Directions:
First, measure your ribbon.
I started by sticking my ribbon in a book and guesstimating how much I would want hanging out on both ends. After trial and error, I’d say go with 18-20” of ribbon. Then you will have extra in case you mess up, the end frays, or whatever. I wish I had left a little extra ribbon on this blue one, but it was my first and I was making it up as I went.
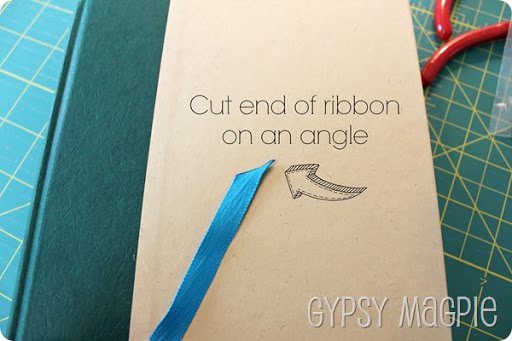
Next, cut the end of the ribbon on an angle so you can feed it through the beads easier. If your ribbon is wider you will want an even greater angle so you have a point to feed through. Keep in mind that the wider the ribbon the more limited you will be on what beads you can string on it.
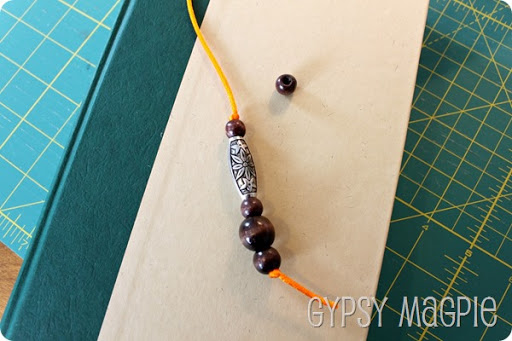
Now tie a knot in the end and start threading on beads.
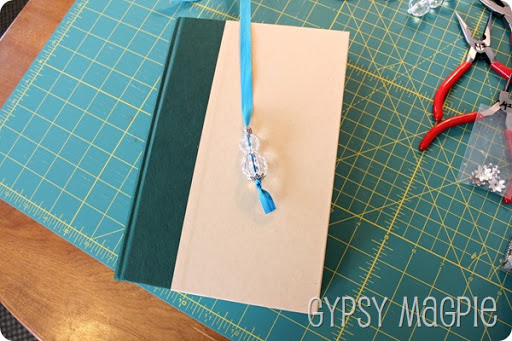
Once you get your beads on how you like them, use your book to decide how much ribbon space you need between each beaded end of the bookmark. The open space in between the bead sections is what will go inside the book. That way the book can close flat and the pages won’t be damaged by the beads.
After you’ve decided how much space you need you will add any extra beads that you’d like, then knot off the end.
Lastly, you will seal the cut edges of your ribbon with the lighter.
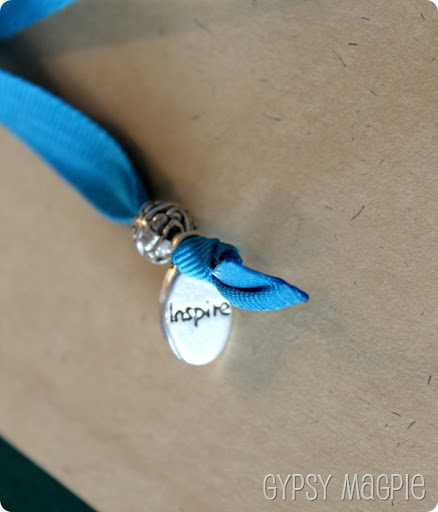
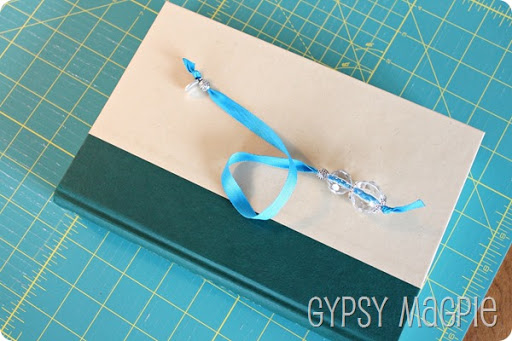
I loved the bright blue with the clear crystal beads! Blue and bling, this one totally had my sister’s name on it!
My girls were so excited to give it to her.
After I made the blue one above, I decided to try a few more out since they went so quickly.
Here are the results…
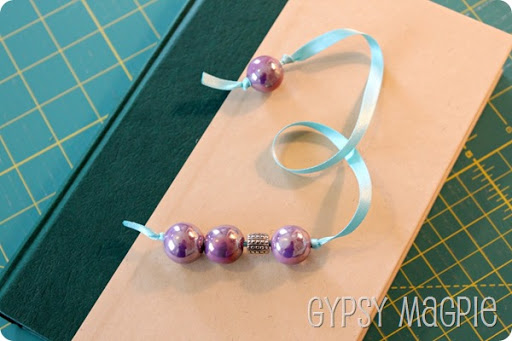
My 6 year old picked out this aqua and purple mix.
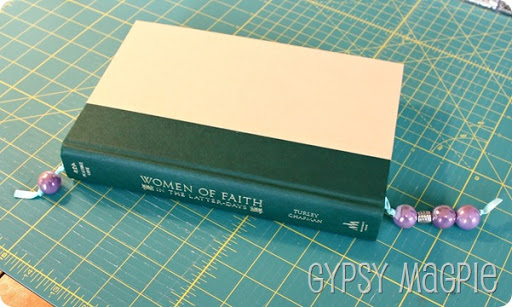
Here’s what they look like in a book.
Simple, easy, and completely customizable!
By the way, my great-great-great…grandmother is in that book. Random trivia.
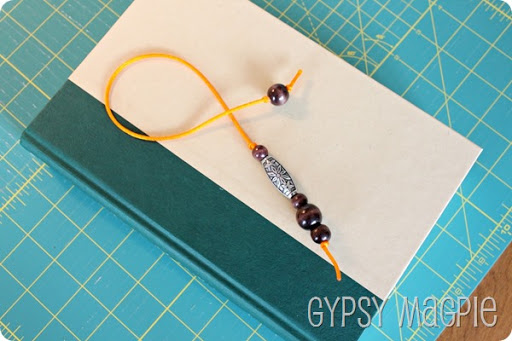
This orange and wood combination was by far my favorite of the three. I love the look and feel of the wood beads and the pop of orange is unexpected and fun.
With this thinner cording, I tied knots on both sides of the beads so they wouldn’t roam around but you don’t have to do that. You could let the beads free form along the bookmark if you wanted, it’s completely up to you. Just a side note, the knot and hole in these beads were really close in size which made me a little worried that they might eventually slip off. So, I grabbed my hot glue gun and dabbed a little bit of glue on the outside beads near the knot to secure them just in case.
Yep, definitely my favorite.
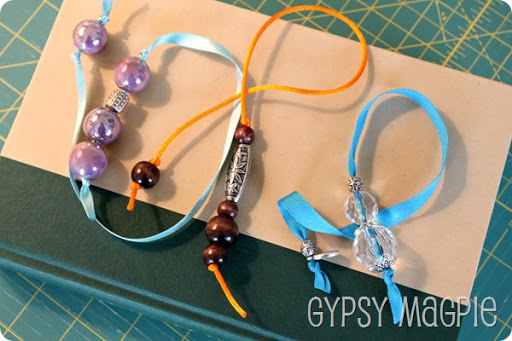
Here they all are together.
There are so many different options for making these simple little bookmarks! My girls loved them and already have plans to use their pony and plastic letter beads to make their cousin some to take to her birthday party this weekend. I’m thinking a bookmark would be cute all packaged up with a new copy of one of their favorite books.
These DIY Bead Bookmarks would make a fun Girls Camp craft, Activity Day girls project, or a quick girlfriend gift. Just make sure to save one for yourself! I totally forgot to make one to keep and now I’m wishing I did. Those wood beads are calling my name.
Thanks for being my bookmark guinea pig, Amanda!
*Happy Birthday!*
We love you!
