Homemade vanilla
Welcome to my happy place of DIY, homemade, homegrown, handmade, nourished & crafted, whole hearted living. Finding magic in the mundane & growing some roots in the process.
This post may contain affiliate links. If you click on a link and purchase an item, I will receive a small commission. For more info, please see my disclosure on my Connect page.
*This post may contain affiliate links which helps me keep this creative little happy place going*
See my Disclosure page HERE.
Now back to the post…
One of the things I love to add to the furniture I rehab is a fun papered drawer.
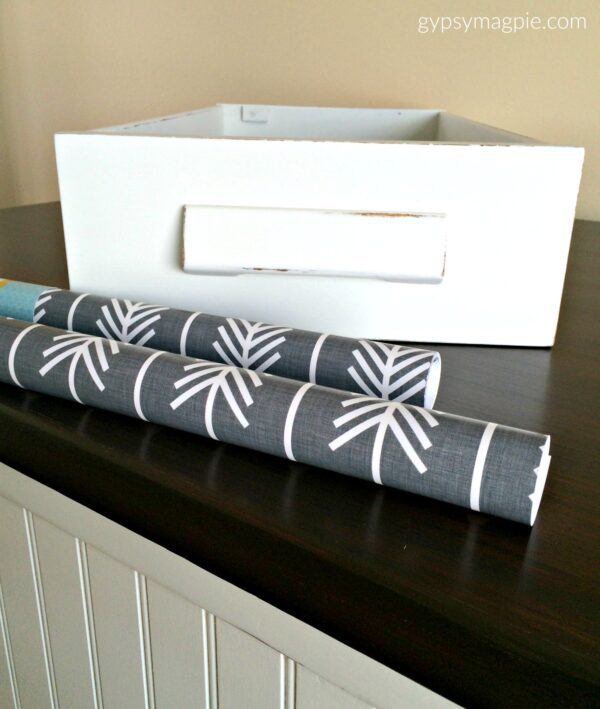
The only draw back is, the paper is hard to keep fresh looking and isn’t easy to change with coming trends and passing styles. That was never more apparent than when I started working on my old banker’s desk, so I started looking for more options. My go to has been to mod podge paper into the drawers but their had to be another way. One of my family members had mentioned clear contact paper, so I bought a roll from the store, pulled out some fun Spoonflower wrapping paper, and set to work.
Here’s the process of what I did:
I needed a big space so I laid my fabric cutting mat, ruler, scissors, and rotary cutter out on my dining table.
I couldn’t find my craft knife, but that would have been handy, I need to buy 5 of those things.
The first thing was make to sure the drawers were nice and clean. I gave the inside of the drawers a good wipe down and let them dry as I measured each one. I cut the paper to fit the drawers, one at a time. I measured then cut, then measured and cut the next drawer. My desk is well over 80 years old, so the drawers weren’t all exactly the same measurements so cutting them all the same was not going to work. Plus, my paper was expensive and I didn’t want to waste!
Once the wrapping paper was cut, I cut a piece of contact paper for each drawer too. The nice thing about the contact paper is that it has grid lines on the backing making it easy to measure and cut. I sure wish the wrapping paper had that!
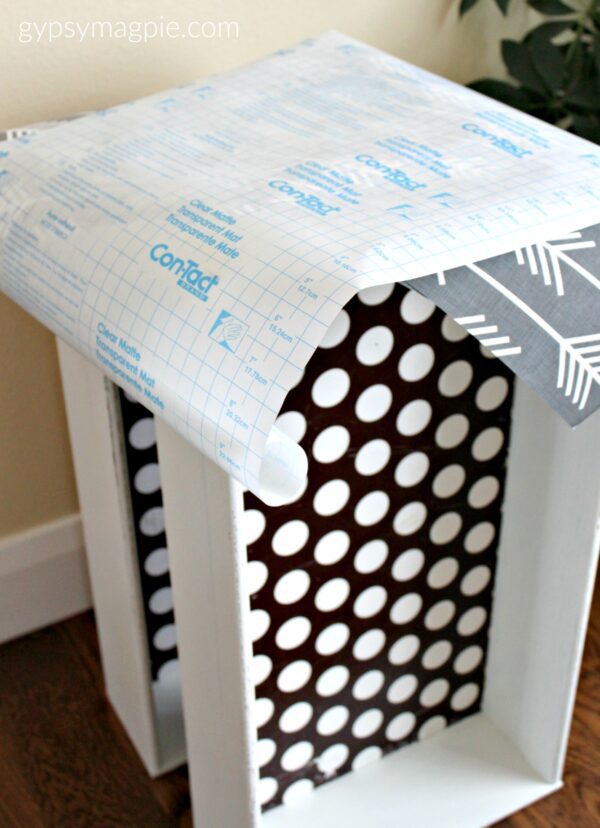
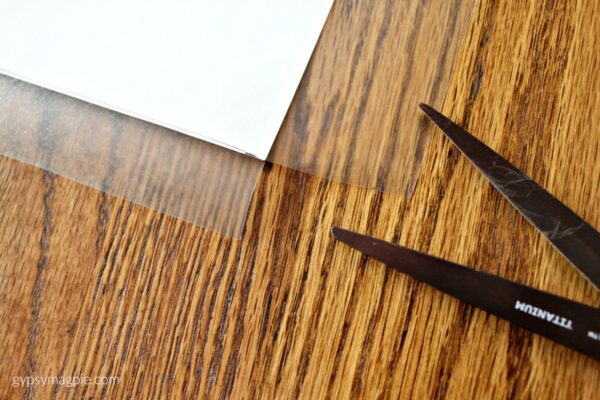
After the wrapping paper was cut, I laid it out on my cutting mat and then laid the contact paper over the top. Then, I peeled the backing away along the very top edge and stuck it to the table above the edge of the wrapping paper.
I found that keeping the rest of the contact paper rolled up, and then slowly unrolling it as I went worked best for me. That way I was able to hold on to it all and not lose my grip. I used one hand to hold the roll and the other to pull the backing strip.
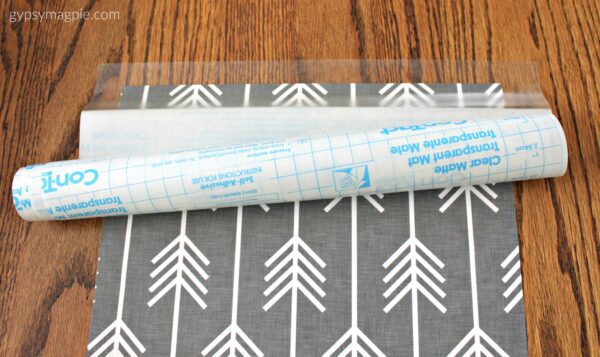
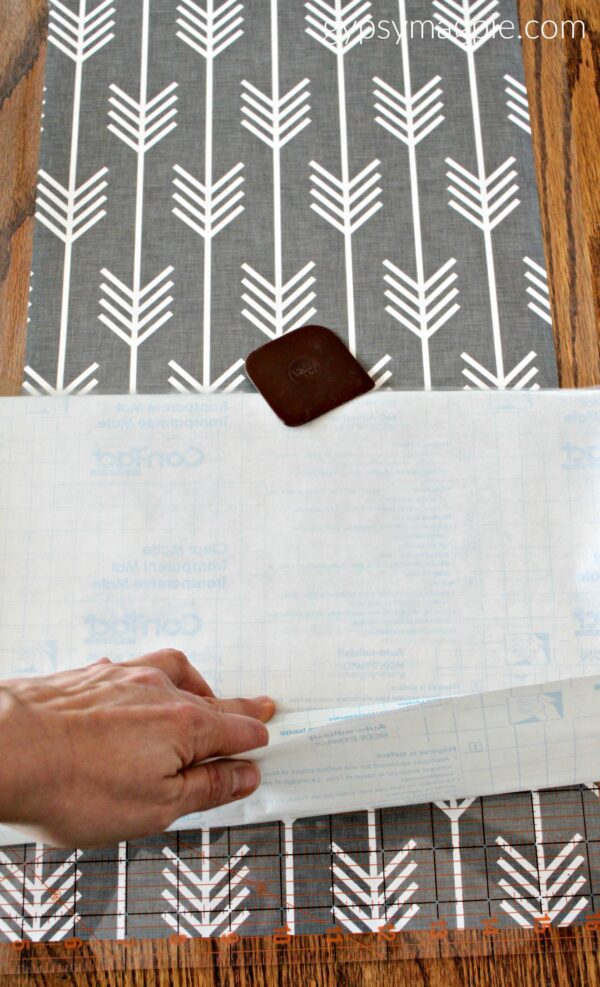
Next, I slowly peeled the backing away as a I rolled the sheet of contact paper down the table top, smoothing as I went.
At this point, I grabbed my trusty plastic pot scraper to smooth out the bubbles, but you could use a bone folder or even a credit card.
Please excuse my man hand, taking pics with a big camera while unrolling contact paper is tough!
I’m so dainty.
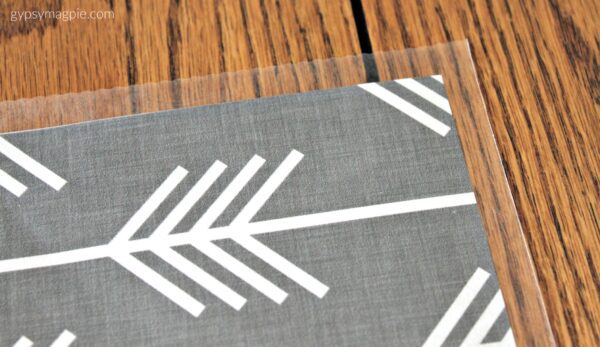
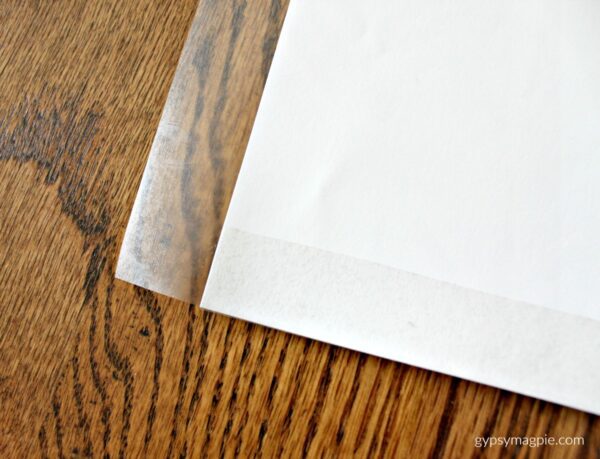
Once the contact paper was adhered to the piece of wrapping paper, I made a notch in all of the corners of the excess contact paper. This helped me fold the contact paper and secure it on the back of the wrapping paper, sealing the edges. I folded the top and bottom first and then both sides.
You can see in the photo below how I started folding and smoothing the contact paper.
Cutting the notch makes a nice sharp corner once folded.
After all the cutting and folding was done, I adhered my new drawer liners inside my drawers with double stick tape.
I have to tell you, I totally winged this DIY and made things up as I went. I thought the double sided tape would be a good option to help it be removable down the road, but I ran into a snag. I’m not sure if it was because it was January and my garage was too cold, but the double sided tape didn’t hold the liners in. I came out a couple days later for something and found all the liners curled up in the drawers. I think that if your piece was kept inside, the double stick tape would work just fine. But since this guy has been in my garage for days, I needed another option so I ended up using low tack, removable spray adhesive to keep the liners in the drawers.
Now that it’s all done, I think you could probably not fold down the contact paper around the edge, leaving it out and sticky. Then put tape on the underside, lay it in the drawer, and use that little sticky edge of the contact paper to secure it all in place.
Just my two bits.
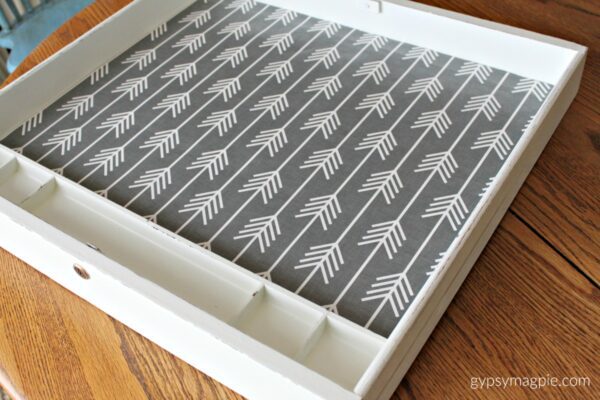
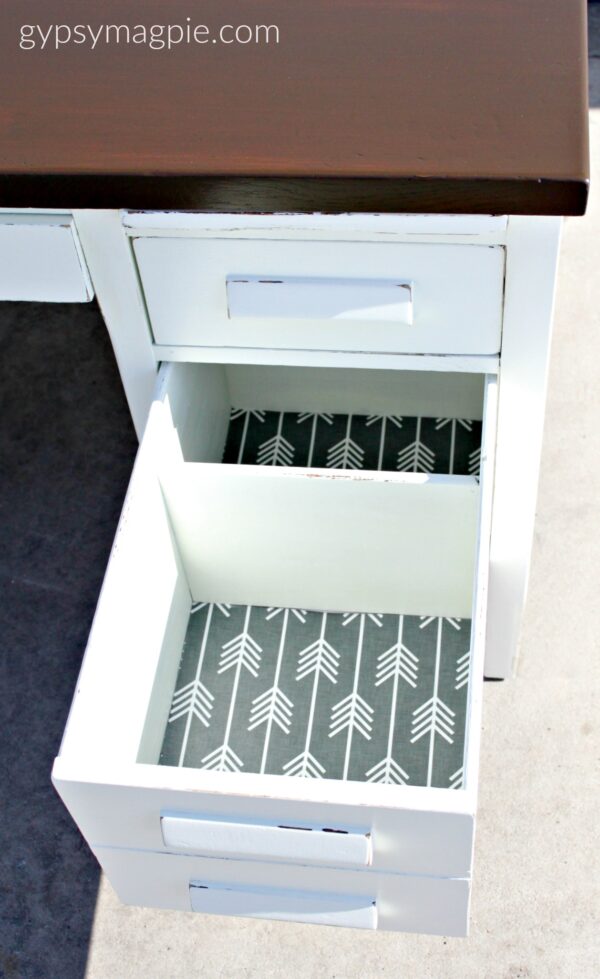
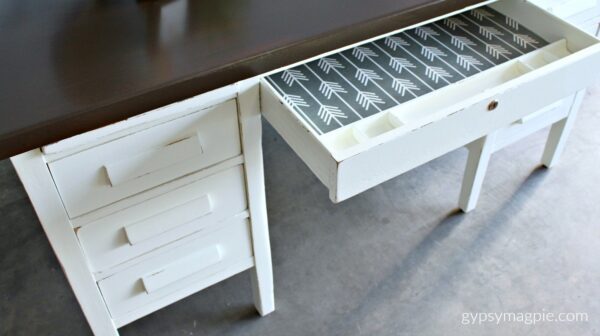
Here’s what it all looked like when I was done:
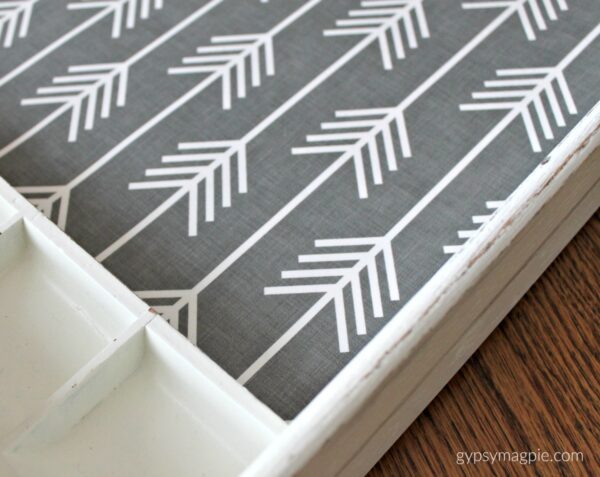
I love the patterned grey paper with the white and deep wood stain!
This side drawer was tricky, I had to do 2 separate pieces instead of one big one because that middle divider doesn’t come out.
This old desk has so much character.
I hope someone falls in love with him as much as I have, because he needs to get out of my garage… soon.
The great thing about using contact paper?
It’s inexpensive, it’s wipeable, and you can use any paper you want to completely customize your project! DIY customizable & cleanable drawer liners! Who knew that this old-timey kitchen staple had so many uses? Well, my grandmothers probably.
I should pay more attention.
Have you found any other interesting uses
for contact paper?
