Homemade vanilla
Welcome to my happy place of DIY, homemade, homegrown, handmade, nourished & crafted, whole hearted living. Finding magic in the mundane & growing some roots in the process.
Handmade Corn Husk Wreath
November 9, 2023
This post may contain affiliate links. If you click on a link and purchase an item, I will receive a small commission. For more info, please see my disclosure on my Connect page.
We had a late, wet spring this year so I didn’t have a lot of hope for a good garden. Usually, I plan the plot and plant with a lot of intention. Due to the wacky weather, I decided to lower my expectations and basically just threw in stuff here and there. We had some left over corn seeds that were about a decade old that I wanted to get rid of so we furrowed some rows and planted, not expecting much. Boy, did that old corn decide to prove me wrong and there’s a big ol’ handmade corn husk wreath hanging on the front door to prove it!
What can I say, I’m the mother of teens.
Everybody is out to show me something.
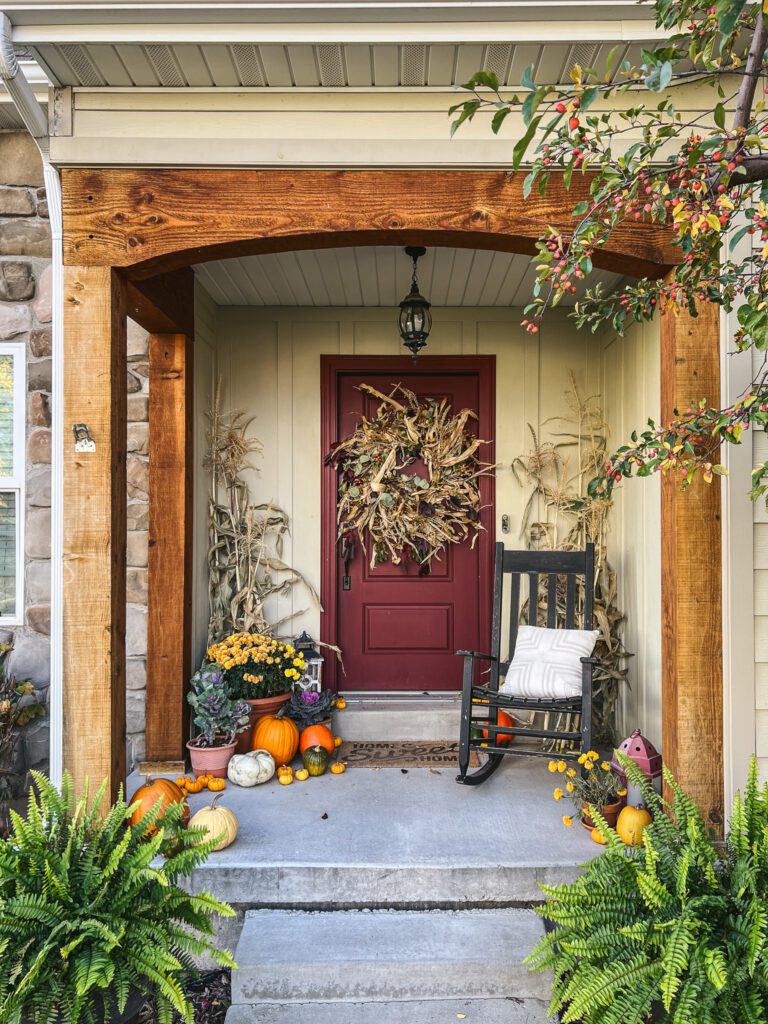
I know I’m supposed to be posting Christmas decor and how to’s to prep for the upcoming holidays, but I couldn’t let the season pass by without sharing our funky fall wreath. This autumn has been spectacular here in my mountain valley! I don’t know if it really has been more beautiful, or if my eyes are just more in tune and open. Either way, I’ve been savoring every last drop of fall. There is something inherently magical about living with intention and now that I recognize that, I’m all in.
No need to rush the season.
Live and breathe the here and now.
Handmade Corn Husk Wreath
A couple of weeks ago, my cute 16 year old drove our SUV through the garage wall. She is the most gentle, cautious driver but sadly, as all drivers learn at some point, accidents happen. My girl was taking it very hard and needed a pick-me-up, so we decided to spend some time together and dust off the old wreath making supplies.
There’s nothing like a little creativity to lift heavy shoulders and lighten up a dark mood!
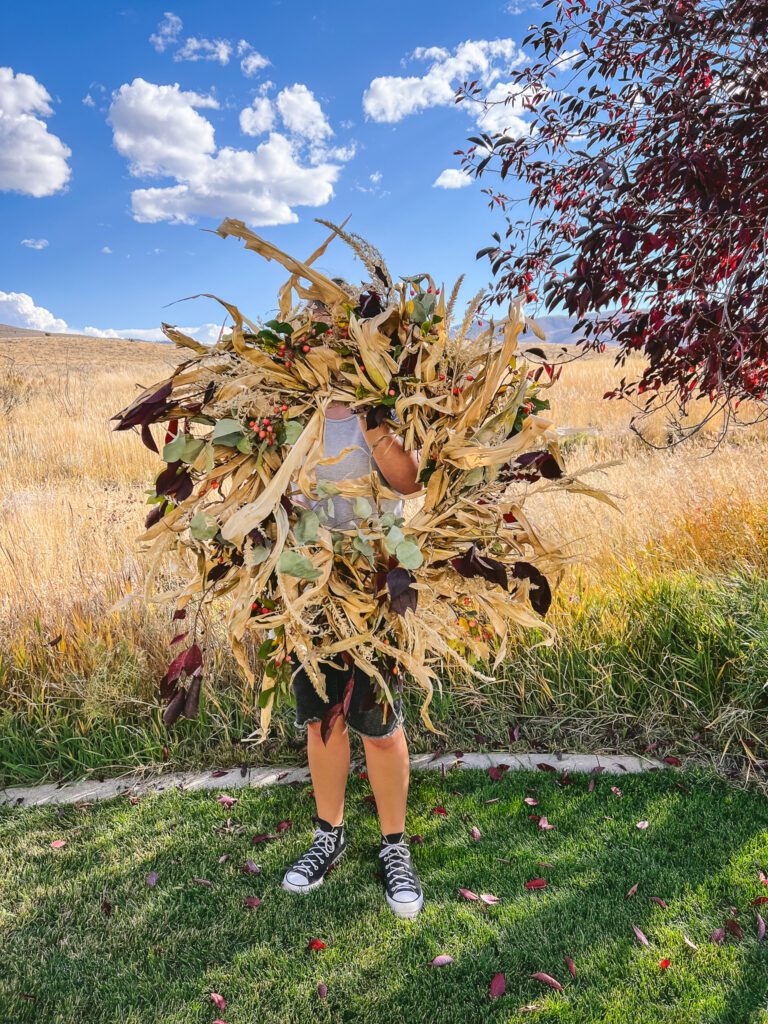
The result of our effort was this massive corn husk wreath, made with little bits of this and that gathered from our yard. The cost? Nothing but our time. Not too shabby!
Want to make one?
Here’s how!
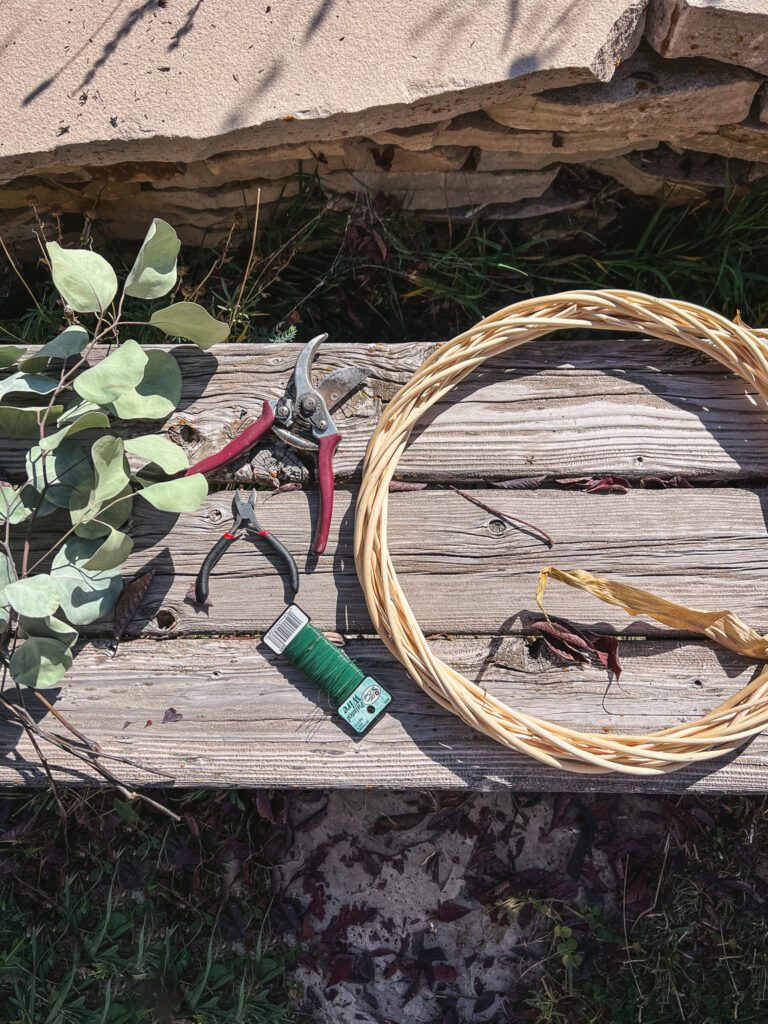
Gather Supplies:
- dried corn husks
- snips or pruners
- wreath form- grapevine, wire, straw, whatever you’ve got
- craft wire
- pliers or wire cutter
- foraged branches, flower stalks, berries, or other natural elements
Forage
Using your snips, pruners, or sharp knife, cut some cornstalks from your garden. If you didn’t grow corn this year, no worries! Reach out to your neighborhood farmer or grab a decorative bunch at the store. Don’t stress over how straight or beautiful the stalks are, as you’ll be tearing them up.
Once you’ve got your corn stalks set aside, here comes the fun part! Start foraging your yard for anything that catches your eye. We cut some lovely plum colored branches from our Canadian chokecherries. I had a vase of dried eucalyptus we pilfered from the dining room to add a little green and then we took the pruners to our crabapple for a bit of rosy pink.
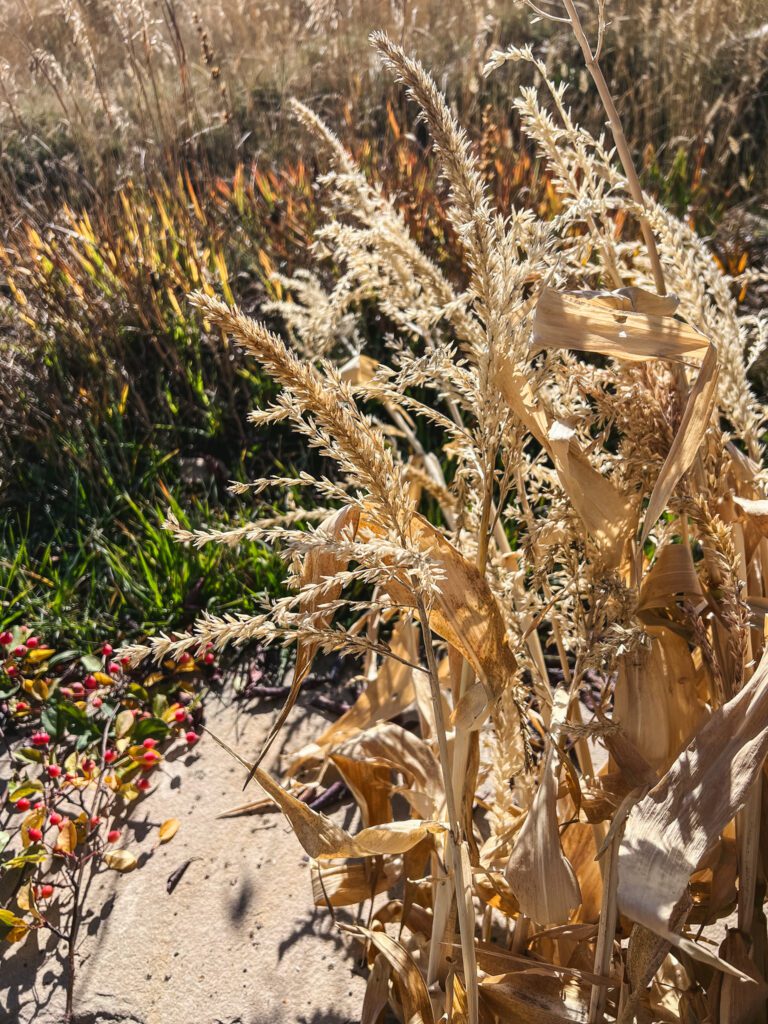
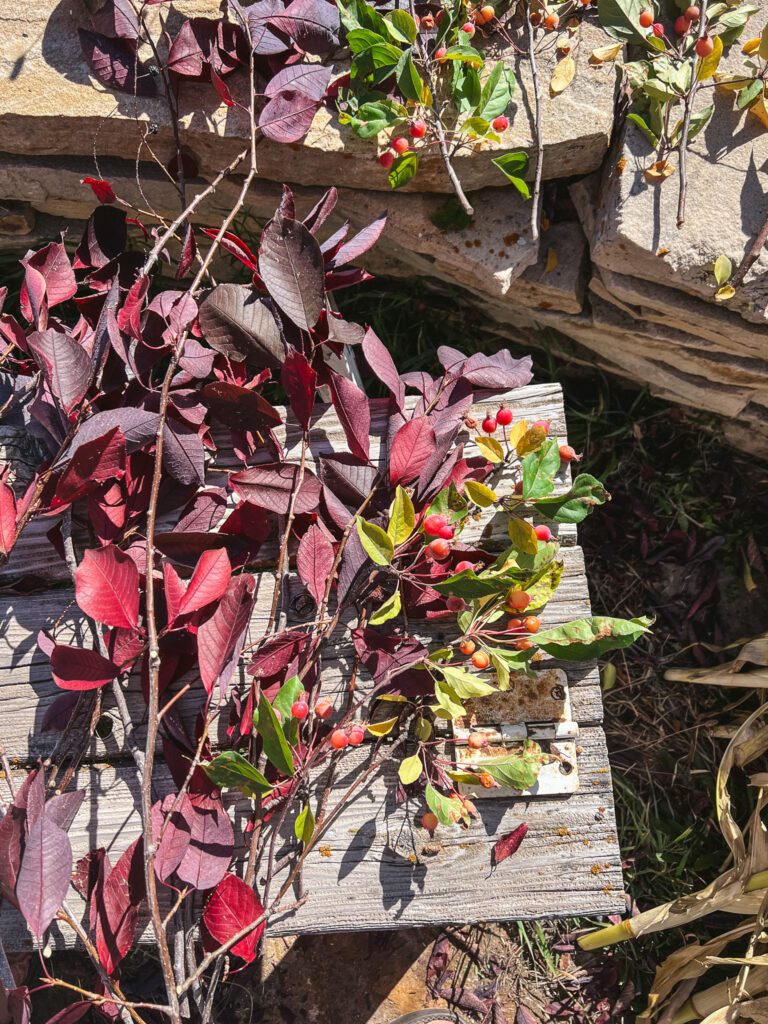
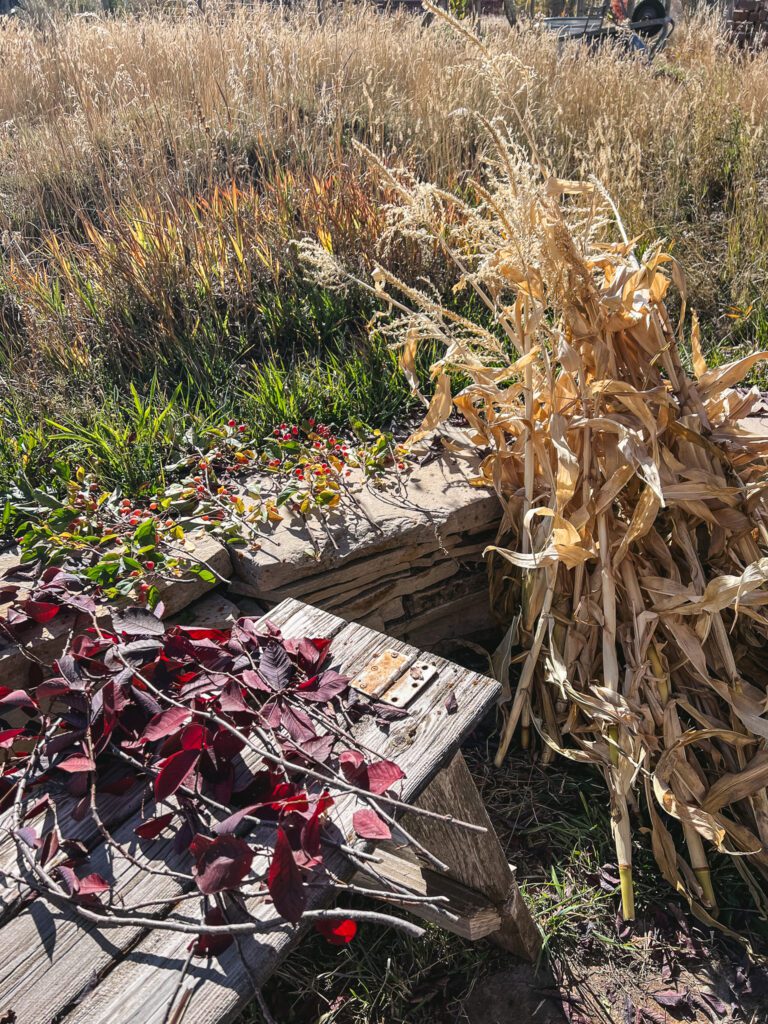
Shop your backyard and house. There are no rules. If you love it, add it. Do you have lots of aspens, all lit up autumn gold? Grab some branches! Wheat stalks, sure! You could use hops, hydrangeas, rabbit brush, maple leaves, dogwood twigs, dried florals, herbs, whatever you have.
Also, know that you can make a wreath just from the corn husks too. Don’t feel like you have to add anything if that’s not your jam.
Wire Bunches
When everything is gathered and laid out, start making bunches. Cut the tassle section off the top of your corn stalk, leaving some stalk to work with. The tassles look lovely in the finished wreath! Carefully strip the corn leaves from the rest of the stalk. Side note- if you’d like bits of corn cob in there, cut some small sections of stalk that have the corn still attached to use.
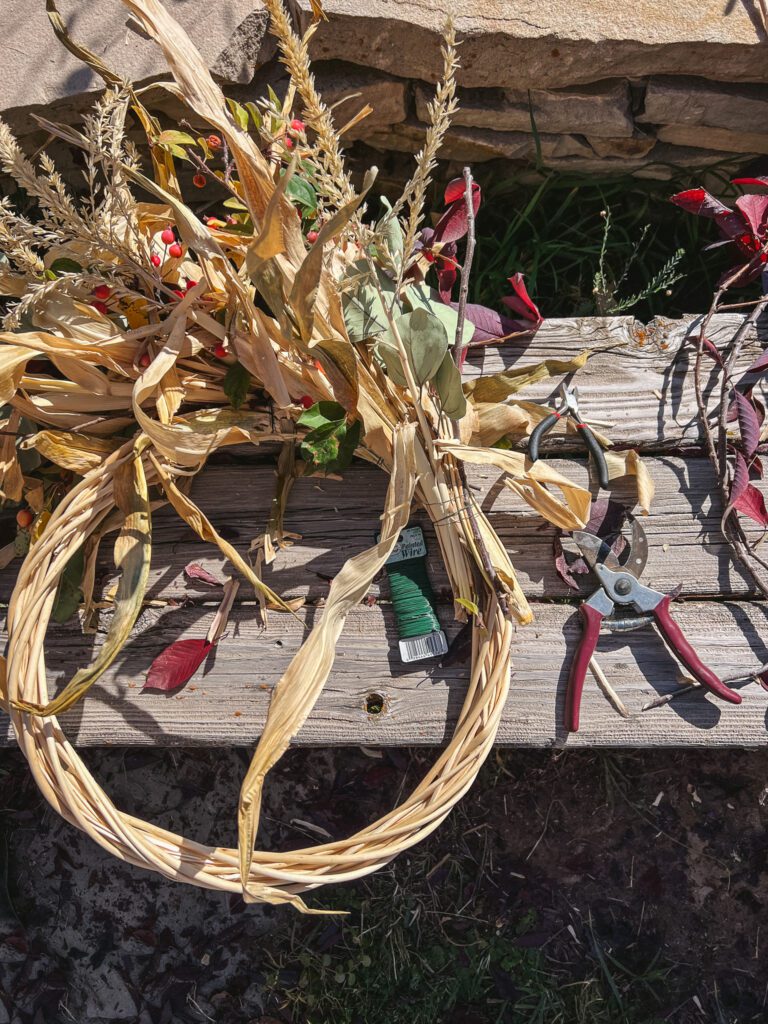
Layer the largest items first. I held a corn stalk piece in my hand and then layered on several corn husk leaves. Then I added branches, berries, and other pretties from there. Once you’ve got the bunch together, wrap with wire and then twist the wire to secure. We used paddle wire and didn’t cut it between bunches. More on that in a minute.
The height and thickness of your bunches are up to you. If you’d like your wreath to be lush and full, make thicker bunches. Airy and light, lean more towards wispy. Organic, uniform, compact, drapey, all up to your imagination. We were having fun and went full tilt on the bunches, which made the wreath super thick.
Secure Husk Bunches to Wreath
There are several ways you can go about securing the bunches to your wreath form. You could make all your bunches separately and hot glue on to your wreath form. You could wire on those bunches one at a time as you tie off and cut the wire between bunches. Or, you could make one bunch at a time, wrapping with wire while securing the bunch to the wreath form at the same time using one continuous piece of wire. Because I had paddle wire, that’s what I did. I will say, keeping the wire going did get a little tricky at times. I was glad I had my daughter’s second pair of hands to help me out.
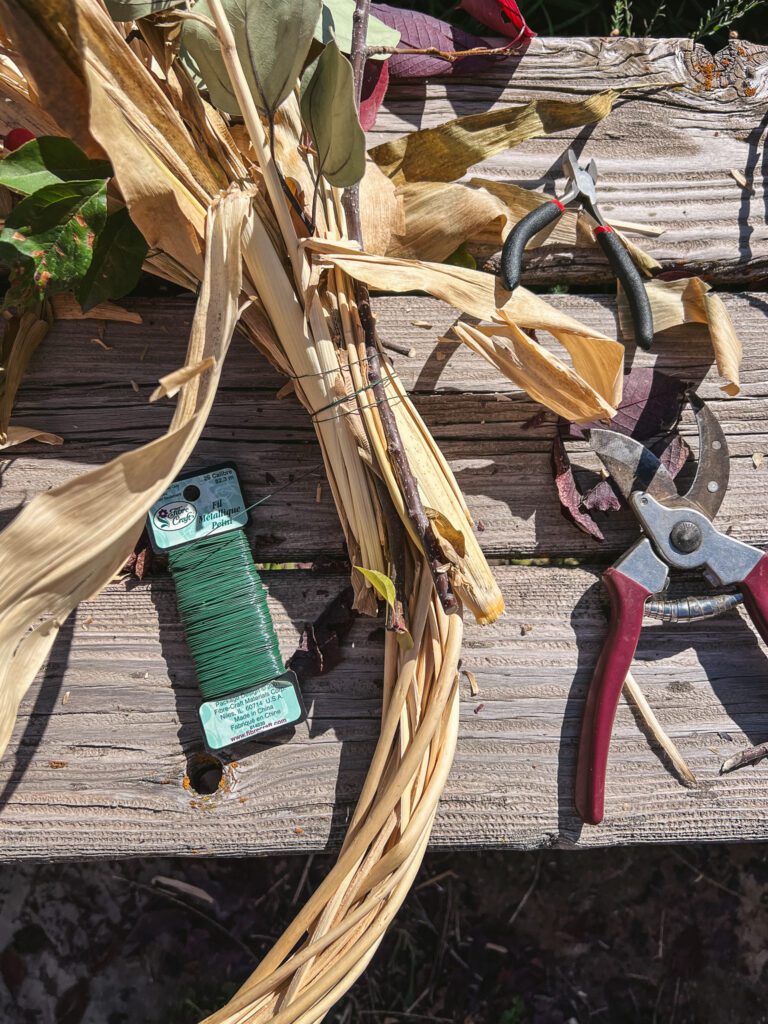
If you haven’t noticed from my former tutorials, I like to play around and do what works best for me. I encourage you to do the same! I wanted to be able to reuse this wreath form again in the future, so I didn’t want to use hot glue. But if that is in your wheelhouse, go for it! If you’d like to use wire, but would feel more comfortable methodically making bunches and then individually adding them one piece at a time, you do you.
This is your wreath and your creative pursuit.
There is no right or wrong here.
Fluff Wreath
Once you’ve got all the bunches attached and secure, now is the time to fluff. Tuck in little twigs or sprigs in empty places. Fill holes, tug, and place to your hearts content. Maybe tuck some spiders in for Halloween or add some autumn colored gingham ribbon for Thanksgiving.
Whatever makes you smile.
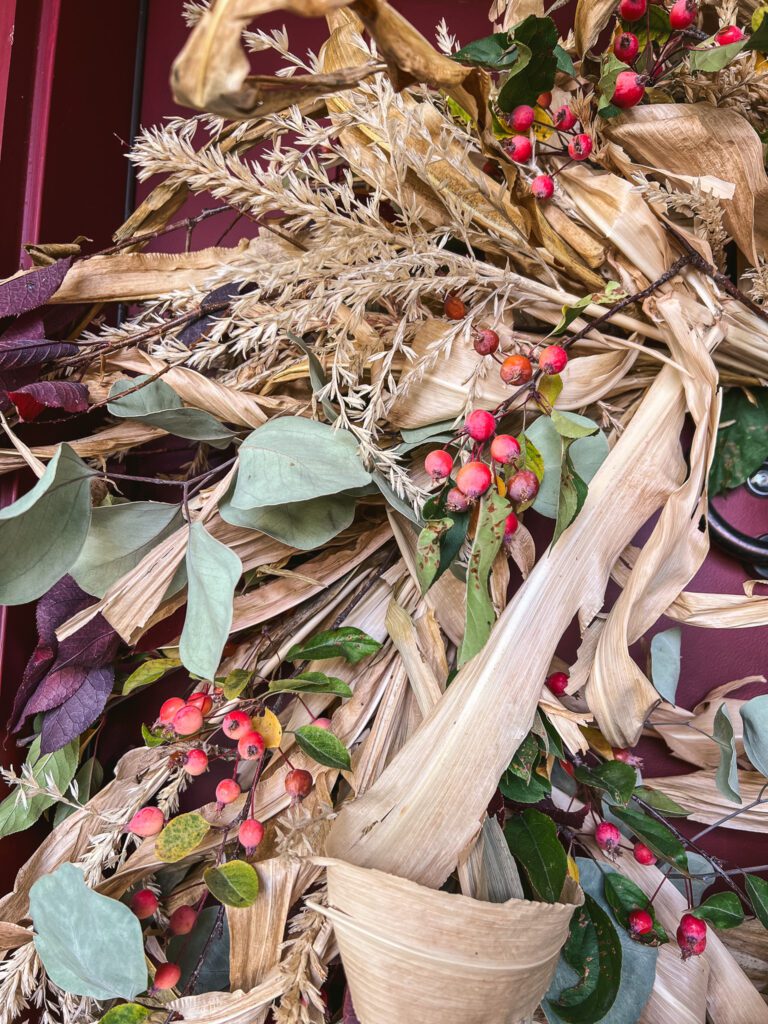
You might need to secure a loop of wire to the back of the form to hang your wreath, so don’t forget that if necessary!
When we went to hang our wreath on our front door, we realized just how carried away we had gotten! It was massive and much too big for our little door. Full on cackling ensued! Nothing that a snip snip here and there from the scissors couldn’t fix. But, in hindsight, I probably should have paid more attention to the size of the wreath form. It was from a former project & I was working with what I had. If you don’t have a very large area to hang your wreath, stick to a form that is smaller than 16 inches.
But you know, we needed the laugh so it’s all good.

Store or Set Free
The beautiful thing about this corn husk wreath is that it is a visual representation of your home in this very season. It doesn’t get much more local than that! Organic, sustainable, seasonal decor made with heart, by your own hands. That is a lovely thing. Your wreath tells a story of your yard, your garden, your life. It’s yours and only yours. And just like no two gardens are alike, neither are these wreaths.
If you used dry husks and you have the space, you can store your wreath for use at another time. My sweet girl and I talked it over and decided, instead, we are going to take ours apart and return it to the land. Then next year, if the mood hits and accidents happen, we’ll have an excuse to pull out our supplies and our creativity too.
Have a blessed last few weeks of autumn, my friend.
P.S. Our handmade corn husk wreath was inspired by the gorgeous ones made by Jessica over at Jessica and Co Vintage. I’ve drooled over the ones she makes for her barn sales for years and have been wanting to try my hand at my own version. I wanted to give proper credit to her as thanks for years of uplifting inspiration. If you love vintage and are in need of a smile, stop over to her site or instagram feed.
