Homemade vanilla
Welcome to my happy place of DIY, homemade, homegrown, handmade, nourished & crafted, whole hearted living. Finding magic in the mundane & growing some roots in the process.
This post may contain affiliate links. If you click on a link and purchase an item, I will receive a small commission. For more info, please see my disclosure on my Connect page.
I thought I’d have this fun little Christmas Star DIY up on the blog last week but my computer had a spasm. I gave Santa Claus my biggest, best puppy eyes and asked for a laptop under the tree on Christmas morning, so cross your fingers he comes through! Speaking of puppies, mine destroyed my pretty evergreen front door wreath then pulled me along the cement on my side. I’m trying my hardest not to make dog for dinner, but every day I am tempted. SO tempted. People think I’m exaggerating the puppy insanity but it’s all true.
You can’t make up the stuff this dog does!
Thankfully, I’ve kept her away from our Christmas Star project long enough to get some photos! Now hopefully we can gift them all out before she finds them and makes star toothpicks.
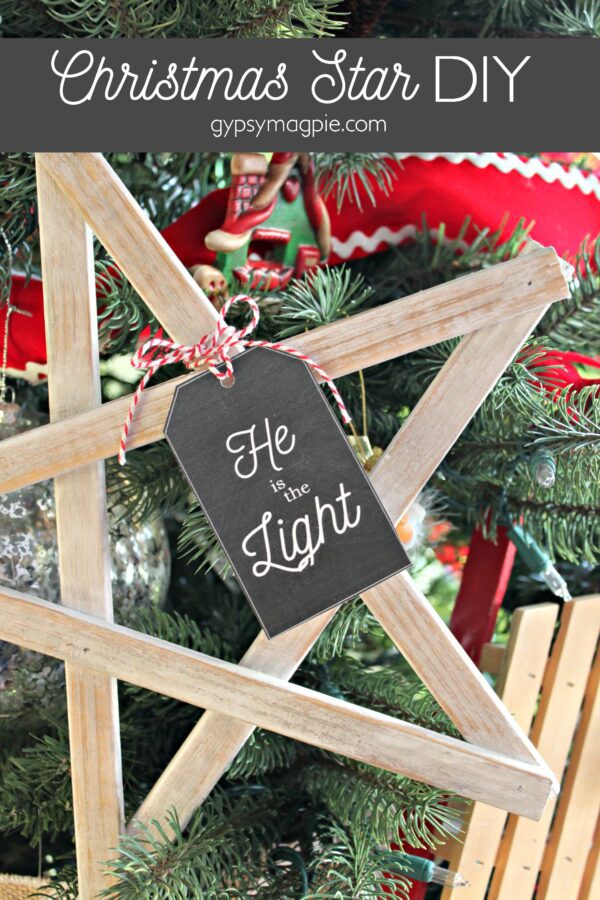
Christmas Star DIY
When I heard that my church was focusing on sharing the light of Christ through service this year, I immediately thought of the star that shone on the night of the Christ child’s birth. The symbolism of that star shining brightly for all the world to see has always been tender to me. It seemed only fitting to celebrate Light the World by making and giving away the glorious symbol of His birth, a Christmas star. I chose a simple design that could be easily recreated by families of all skill levels out of basic, inexpensive building materials, and that could also be completely customize-able.
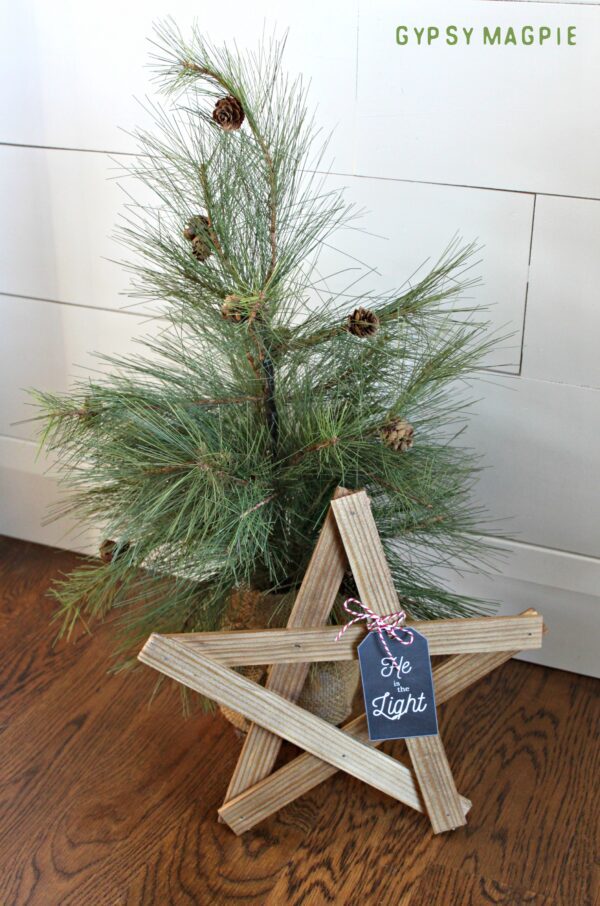
The shape and design of these wood stars has been around for generations and I love that. It’s something you might have seen at grandma’s house when you were a kid.
Supplies:
Before I say anything else, I want to stress one thing. This is YOUR Christmas Star DIY. Remember that it can be as simple or as complex as you choose to make it. I know I keep saying that, but I’ll probably keep saying it until y’all finally get that what you create and how you create it is perfect! When I say customize-able, I mean it! If cutting and nailing together wood isn’t your thing, you can grab twigs from your back yard and hold them together with twine. If that’s still too much, paint Popsicle sticks and hot glue them into the star shape. Seriously, you can use barn wood, a pallet, scrap wood, rulers, whatever you have.
Decide how you want to craft your stars and that will tell you what supplies you need.
For my stars, I used cheap lattice moulding and screen bead. If I lived in the south and had access to tobacco sticks, I’d use those in a heartbeat but Utah just isn’t known for tobacco. Go figure.
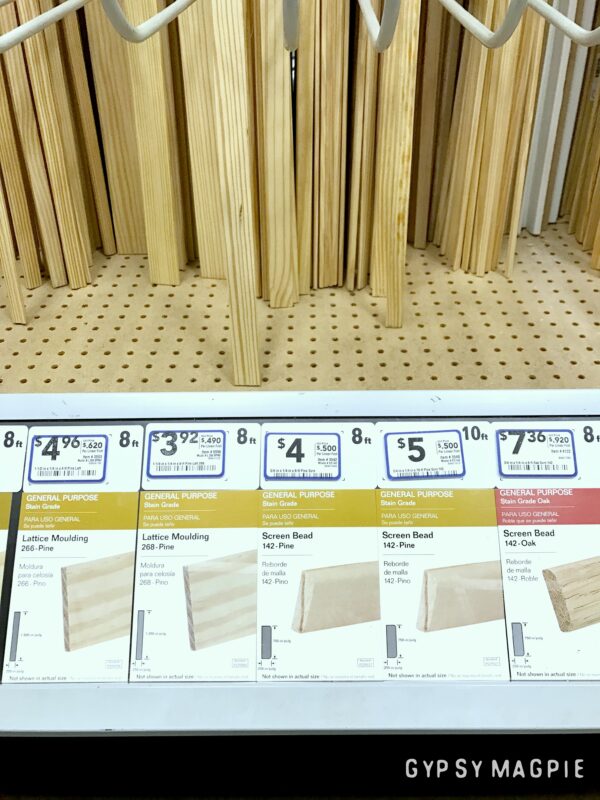
I used my miter saw, brad nailer, hot glue, (Don’t forget to check out my DIY-her gift guide for more info on my favorite DIY tools!) a bit of walnut stain, a little white chalk paint, and some clear wax to seal. I started with wood glue but I am impatient so I ran and grabbed my glue gun instead. Hot glue is the bomb and works slick to stick things together for nailing.
Instructions:
I’m not going to write out a big step by step tutorial for this one because, like I said above, there are so many different ways you can create these stars. How you put them together will have a lot to do with what you choose to build them with.
Here’s what I did…
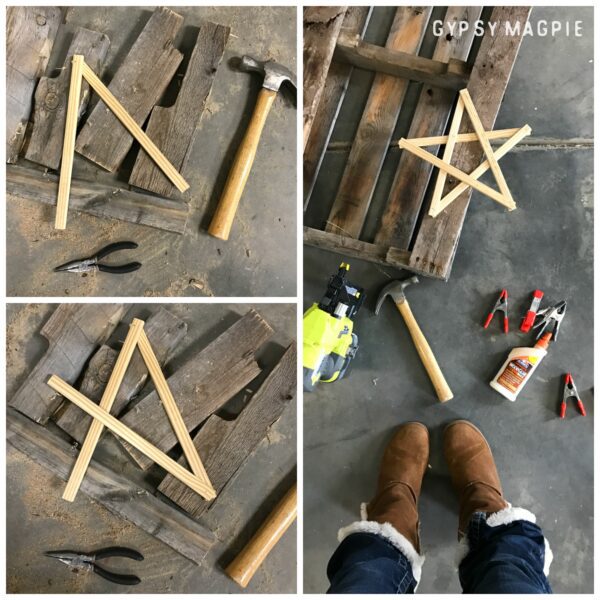
You can just nail your strips together but I found it easier to tack the strips together with glue when nailing. Nail two strips together, then go from there creating a star shape as you go. I did my first few stars by nail them together and then added some glue to loose joints later. That worked just fine too.
If you are wanting your stars stained or painted, I suggest staining/painting your strips before you build your star. That’s what smart people would do. I on the other hand like to do things the hard way and built my stars before painting. It worked, but it was more of a pain than it needed to be. Learn from me, mmkay?
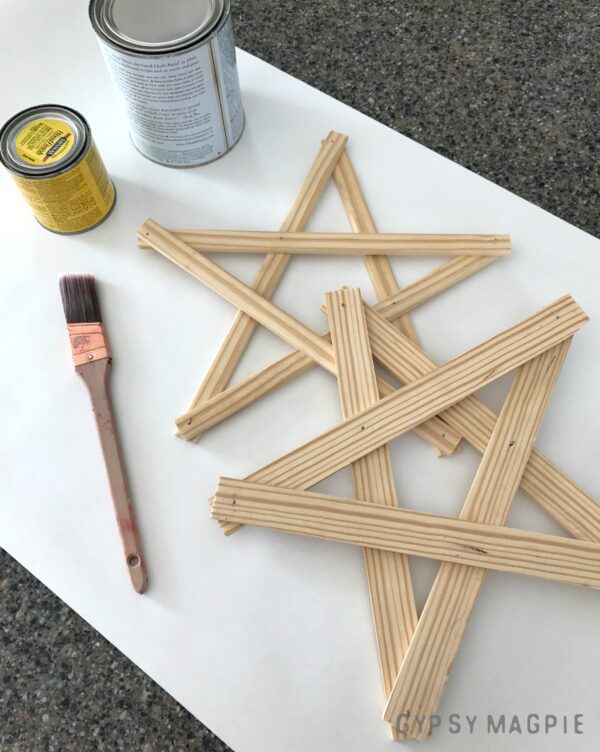
Let me rephrase that, here’s what you should do…
- Cut and sand wood (or prep your wood, popsicle sticks, twigs, whatever)
- Stain or paint (and seal) if desired
- Nail, glue, or tie your star together (shimming if necessary)
- Tie on a gift tag and give to someone special
Here’s a diagram of the best method I found to put my stars together:
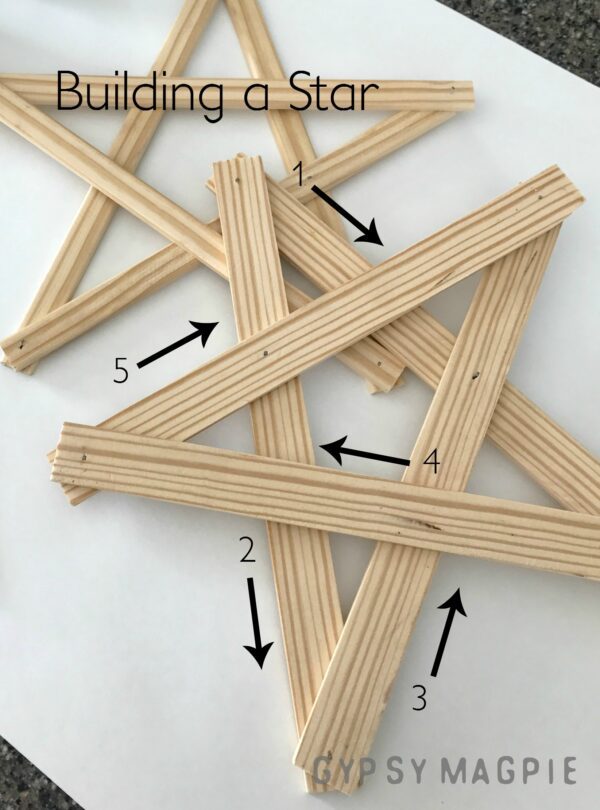
By following that pattern, I was able to put my stars together without having to use a shim to fill space. On my bigger stars, especially my big barn wood star, I had to use a shim anyway but it’s really no big deal if you do have to shim it. The extra piece of wood is just there to fill the gap and will blend in. So, don’t stress. You can make your own shim by cutting a small piece of wood then sticking it in between the two slats that are gapping. This will add stability which is awesome because nobody wants a shaky star!
Finished Stars
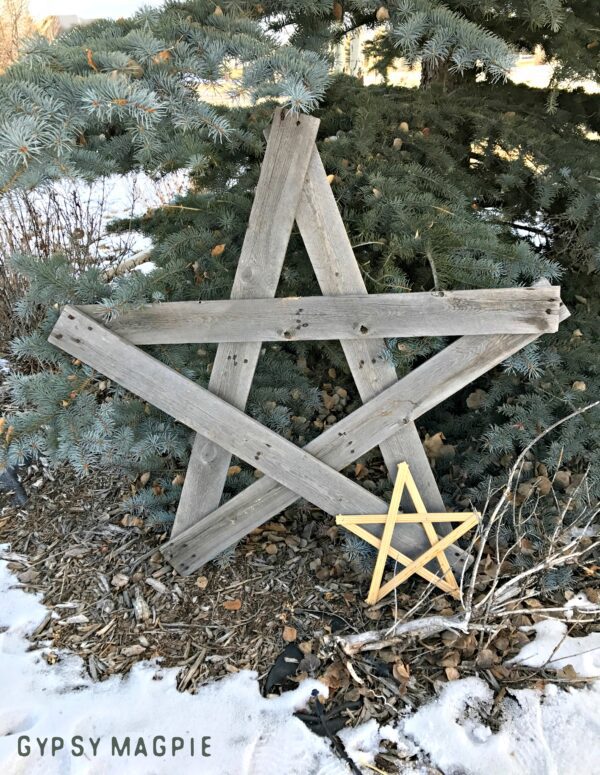
I finished my stars in several different styles because I’m weird like that. Some I stained, some I painted cleanly, some I sanded heavily, and one I made from an old broken pallet that was hanging out in the back field. I don’t think there is a single star I don’t love! They are as unique as the people we are giving them too and I am very happy with how they turned out.
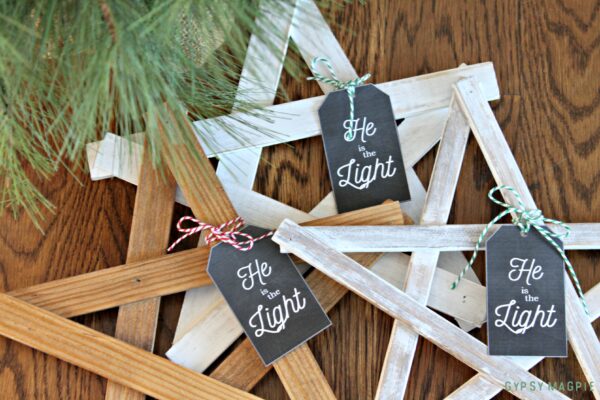
Once they were all put together, I created some little chalkboard style gift tags. I printed them on cardstock, cut them out, hole punched the tops, and tied them to my Christmas stars with baker’s twine. I’m not the greatest graphic designer but I’d love to share my free printable tags if you’d like some! Just click, save, and print.
Download He is the Light Gift Tags Here
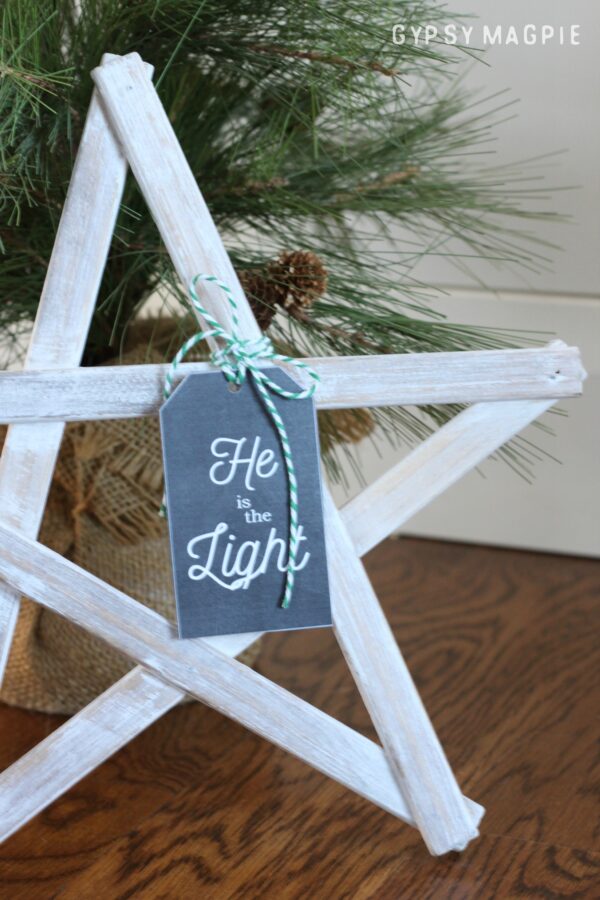
Two of these sweet little stars went with us last night on a Light the World service mission. My kids planned a special version of Silent Night that we sang to our beautiful widow friends as we gave them their gifts. As I played my guitar along to my 9 year old’s little solo part, my eyes filled with tears. Even though life is far from perfect, for one brief moment it felt like it was. In that instant I was reminded that because a baby was born centuries ago, all is well. It was a magical moment that I will never forget as long as I live.
He truly is the light.
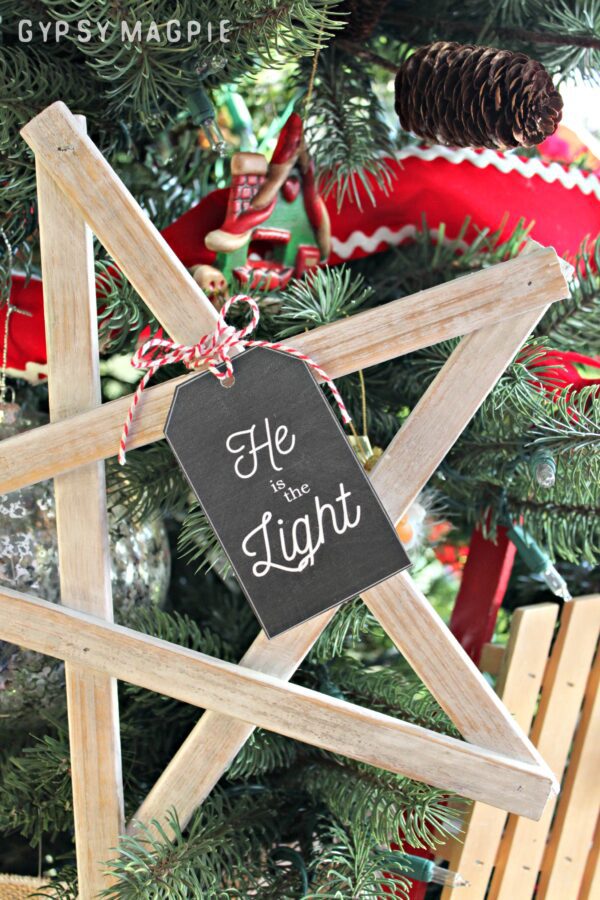
May we remember that He lives, that He loves us, and that we can share His light by loving and serving others.
Merry Christmas, my friends.
All is well.
Save
This is such a cute project, would love it as an ornament or tied to a neighbor gift! Thanks for sharing your talents 🙂
XO
Thank you ladies! My kids really enjoyed this project and the service we did with them. Made for a special Christmas. Thanks for the love!
Love this one too! You can personalize it whether big or small and you can paint it in different colors too based on your preferences. I am sure this will be a great activity for the kids since Holidays are just around the corner. Thank you for sharing this idea Missy.
Thanks for you guide. i’ve looking for this tips for long. For this decor it really inexpensive everybody can do it.
thanks for this great idea!
How long were each of the sticks on your big stars?
Hi Kari! I believe I made my largest stars from an old pallet that I pulled apart. I’m guessing each slat was around 36 to 40 inches. Hope that helps!