Homemade vanilla
Welcome to my happy place of DIY, homemade, homegrown, handmade, nourished & crafted, whole hearted living. Finding magic in the mundane & growing some roots in the process.
This post may contain affiliate links. If you click on a link and purchase an item, I will receive a small commission. For more info, please see my disclosure on my Connect page.
*This post may contain affiliate links which help me keep this creative little happy place going*
See my Disclosure page HERE.
Now back to the post…
While trying to make some sense of the mess of pics on my computer, I ran across a bunch of photos that I totally forgot that I had! Remember on Tuesday when I told you about the rocking chairs that I had made over as baby gifts for my pregnant sisters-in-law? (Sister-in-laws? Whatever, the English language is a fickle beast.) Well, while going through photos I found a bunch of phone snaps of this bentwood rocker! I was so excited!
My little niece is getting ready for her first birthday so this little story is beyond late, but I love it so much that I’m going to share it anyway. So here you go, the story of how I took a well-loved Bentwood rocker and gave it new life with a bit of paint, fabric, and a sprinkling of modern farmhouse magic.
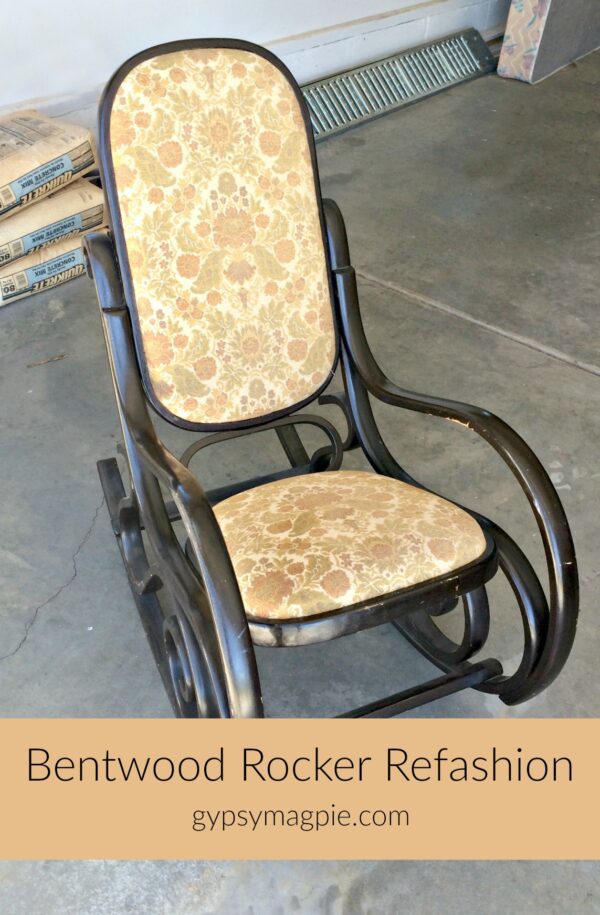
BEFORE:
I bought the bentwood rocker for $12 off my local yard sale page from a sweet older lady who lives about 5 miles away. It was totally dated, the finish was scuffed, and it was NOT my style whatsoever, but it was sturdy with beautiful curves, and I knew that I could give it new life. It sat in my garage for a long spell until my brother and sister-in-law moved into their new home. My sister-in-law was expecting a baby and was due at any time. She didn’t have a rocking chair for her new nursery but I just so happened to!
See, it pays to hoard prepare.
The first thing I did was remove the upholstered sections from the bentwood rocker. I was able to remove the bottom piece with no issue but the back was a completely different story. It cracked right down the middle. I may have thrown something, but that’s neither here nor there.
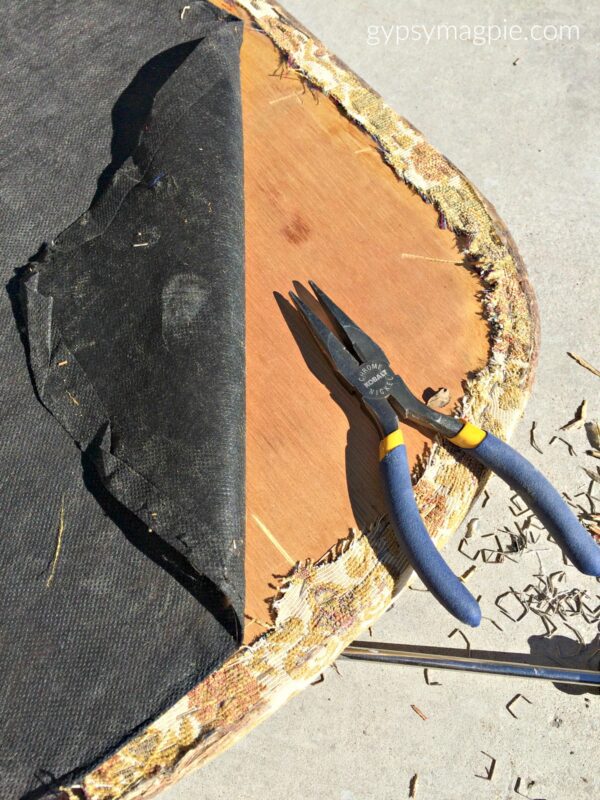
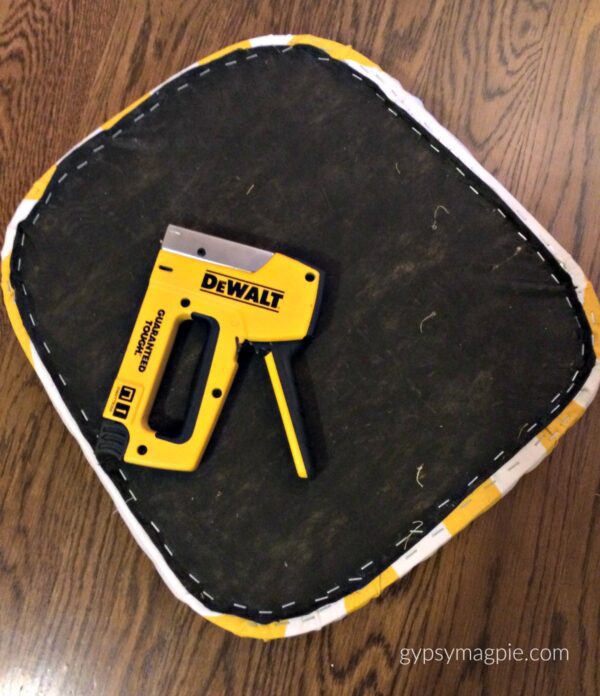
After I got the pieces out, I started ripping out staples… and staples… and more staples…
If you’ve ever worked on reupholstering a piece of furniture, you know just how many staples are hiding in there just waiting to give you blisters and a headache. I won’t lie, I hate that aspect of re-upholstery, it bites.
SO MANY STAPLES!
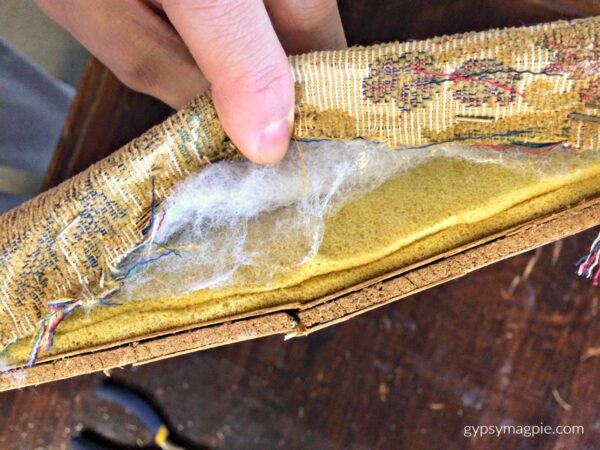
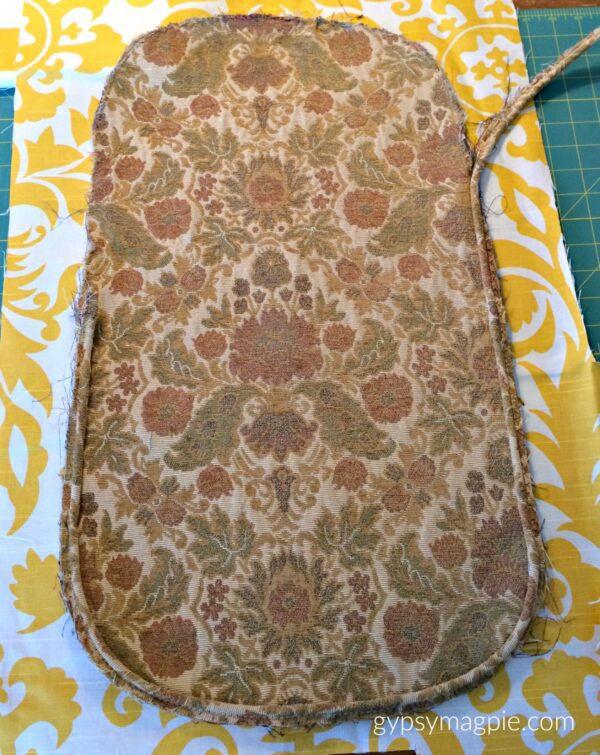
Once the staples were finally gone, I carefully peeled apart and separated the layers of fabric, batting, and wood. Saving the layers for stencils was key as it saved me a lot of measurement time.
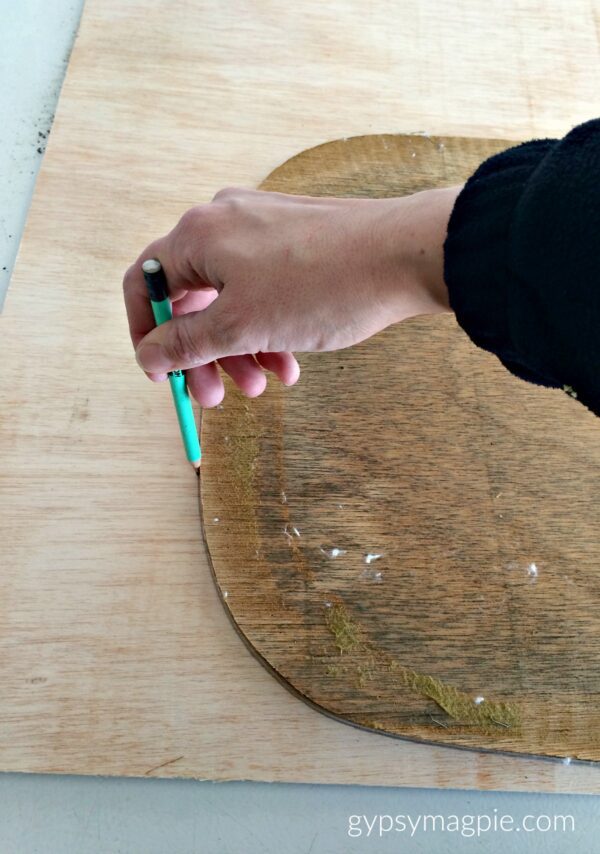
I used the broken piece of backing for a template to cut a new piece of backing. I also cut a new seat because once I got the batting off the old one, I found it to be nearly rotted through. It was basically being held together by fabric and staples.
I traced around the old back then used my jigsaw to cut the new backing from a piece of thin underlayment I had in my wood stash.
I think they run about $9 at the big box store, found near the plywood.
Once you have your wood cut, it’s time to start on the upholstery.
Before I even start, I just want to point out that I am in no way a master upholsterer, I have just kind of figured out what does and doesn’t work for me over the years of doing DIY projects. So, if you know how to properly do this or have a better way then by all means go for it. Just like everything here on Gypsy Magpie, make it your own.
UPHOLSTERY
Ok, now that has been said, back to the project!
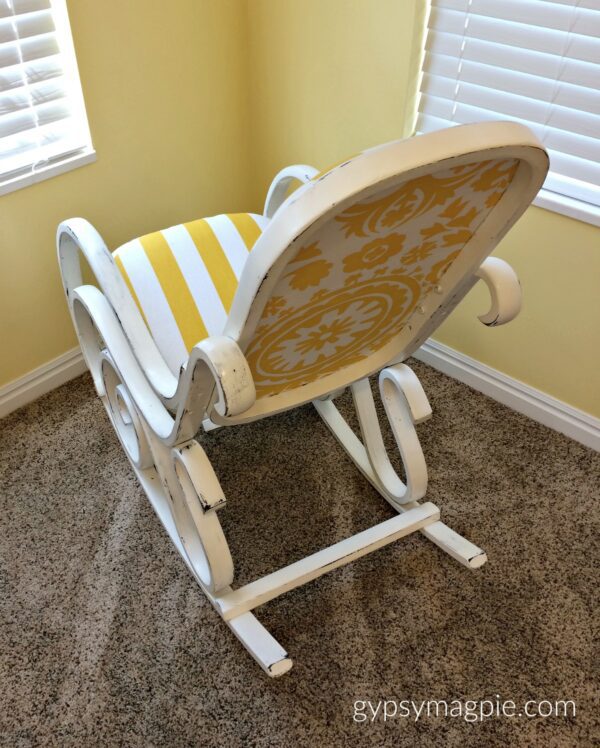
Just like I did with the backing, I used the original layers to trace my new fabric. I chose a striped fabric for the front and then a fun Suzani fabric for the back because this old bird needed a little wow factor.
I bought both of my fabrics off fabric.com, reused the same foam that was in the original upholstery along with some thin hand-me-down batting that my grandma didn’t want anymore. It makes me laugh that my family knows to ask me about random stuff before they throw it away. They love me.
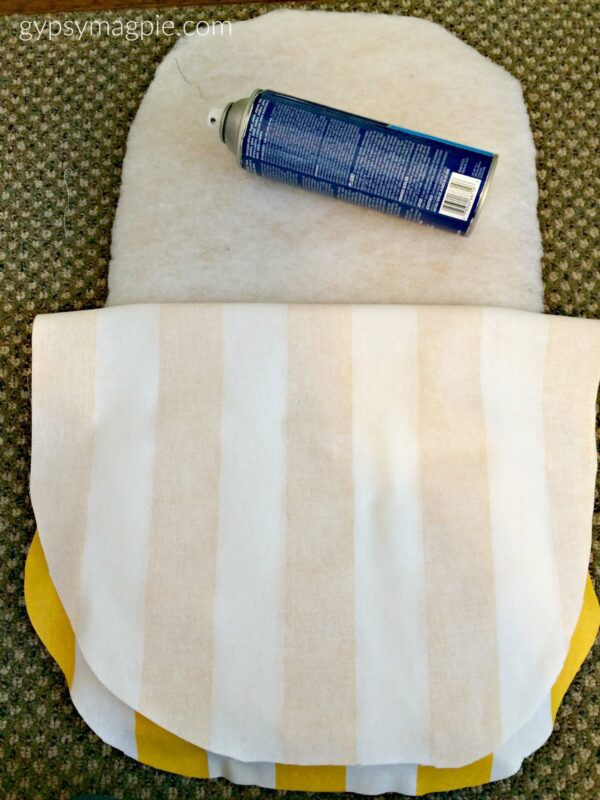
To make everything come together you’re going to take some spray adhesive to adhere the foam/batting to the backing piece, smoothing it from the middle to the outside to remove any bubbles. Spray both the backing and the foam for a nice tough bond. I had left the original foam on because it was in great shape but I layered a thin sheet of quilt batting over the foam for extra plushness.
Once secure, spray the batting and then your fabric piece. Carefully line up your fabric and adhere it to the batting layer. You are making a sort of fabric, batting, and wood sandwich. After you’ve got it all put together, set it aside to dry while you start the same process on the seat.
MORE STAPLES:
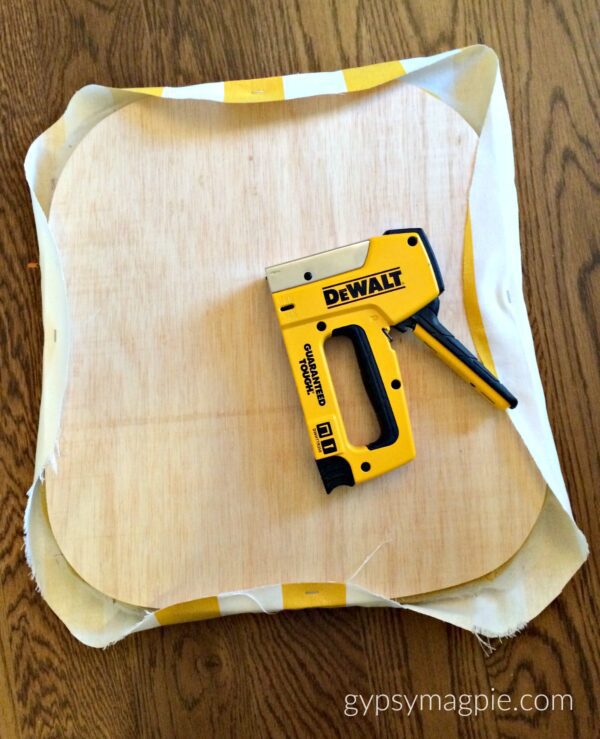
Once you have the seat done, it’s time to start stapling.
It is much more fun adding the staples than it is pulling them out!
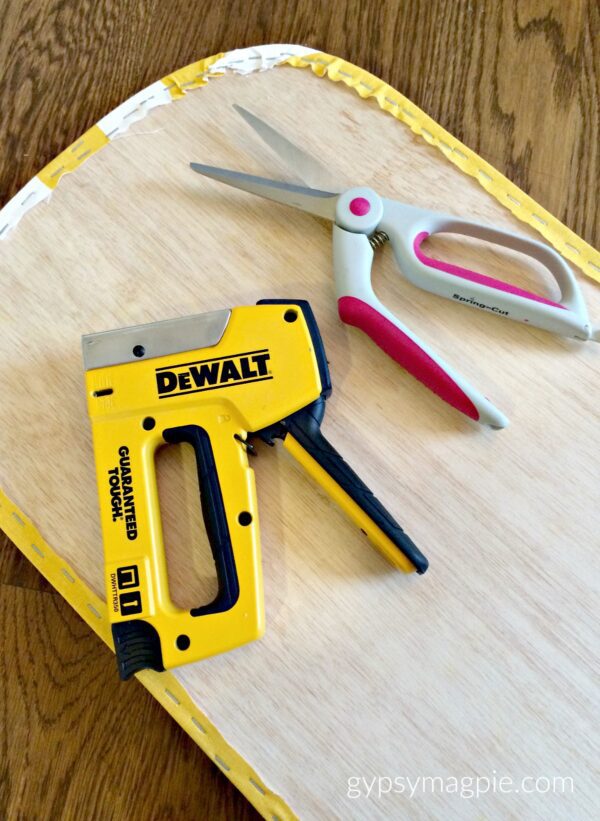
I like to start in the middle and work my way out, finishing at the corners that I wrap like a present. Make sure to pull the fabric taut the whole time you are stapling as you don’t want wrinkles or loose bits. It will take some time and if you are just starting, you’ll probably want an extra pair of hands.
Once you get it all stapled, trim the excess fabric.
I saved the original cambric to finish off the bottom of the seat and keep dust and bugs out.
Don’t look too close because it’s not perfect but it’s the very bottom underside of the rocker so who is going to car
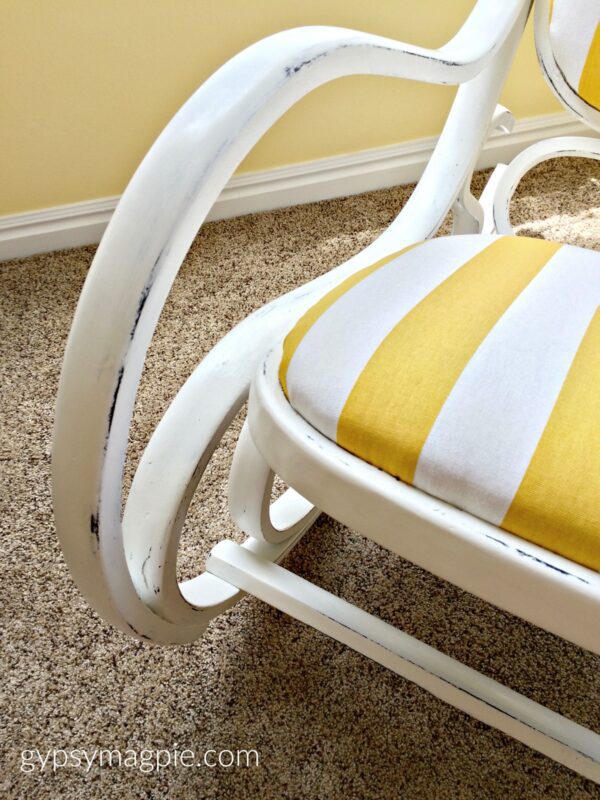
I gave the frame of the rocker a good cleaning then I filled some cracks and holes. I did a little bit of sanding then wiped it all down and painted it with Annie Sloan Pure White chalk paint. Then I gave the whole thing a distressed look and waxed it with clear wax to give it a nice soft finish. My sister-in-law wanted an old farmhouse look which the paint worked perfectly for. The great thing about this finish is that kids can ding it or chip the paint and it will only enhance the charm.
Once everything was done, I glued the back and seat into the bentwood rocker and then hid it in my brother’s van to surprise the new mama!
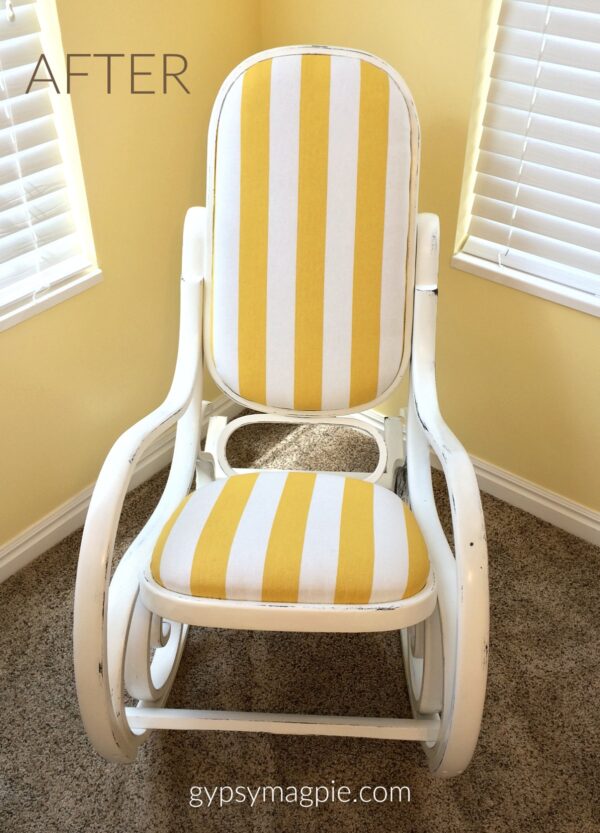
AFTER:
It was a lot of work but I am so happy with the way it turned out! It couldn’t have matched the cute yellow, purple, and white nursery more perfectly.
Surprising Val was the best part!
I still love the contrasting fabric on the back.
I mean, really?
How fun is that!
Oh, hey! In case you’re worried, the fabric was sprayed with a light coat of Scotchguard, making it water and stain-resistant. Scotchguard is a lifesaver when you are working with furniture for little kids’ rooms. Another coat can be added down the road when the first starts to wear off. It’s such a pretty chair and I wanted the new mama to feel safe sitting in it.
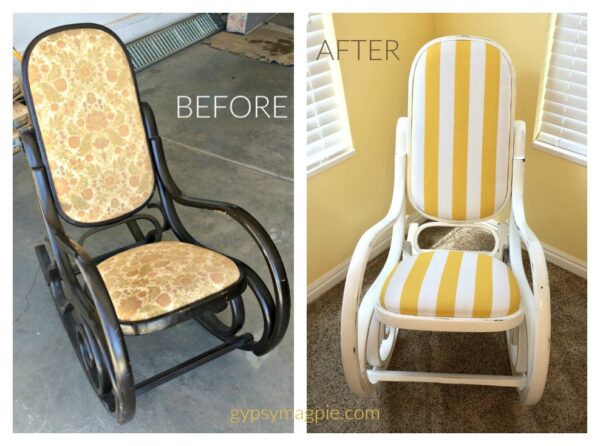
And, just because I love a good Before & After, here’s a side-by-side of just how far this old gal came!
She looked so tired and sad before.
Now she’s a happy, bright thing!
Do you have one of these old Bentwood rockers
kicking around in the corner of your basement or attic?
It is 2 1/2 years ago…..I am doing the same now and cannot find info on how to attach the fabric on the back of the chair back. You don’t say or show in your video..
Hi Pat! You are right, I didn’t explain that part. If I remember right, I used spray adhesive to attach the fabric to the backside of the rocker.
Help!! i just bought one of these GORGEOUS rockers for my nursery and gor the life of me i cant figure out how to get the back and seat of it apart!
Hi Samantha,
Sounds like it is probably glued together pretty good. I broke the backing on mine when I was trying to push it out. It’s not a huge deal if it breaks, you’ll just need to cut a new back or seat to replace it. You may have to get pretty aggressive to push it out. As long as you don’t bust up the actual rocker frame, you’ll be fine. If you can’t push it at all, try using a hammer and starting on one side, hammer around the oval from the back side/underneath. Eventually, it should start to move. Good luck!
When reattaching the cushions to the frame, did you simply glue the fabric to the frame? I have the same rocker, trying to figure out a way to keep the fabric from moving independently of the wood backing with use when I reupholster mine.
Hi Mike, I’m not sure I totally understand what you are asking. When I did the rocker, I stapled the fabric and batting to the wood backing by first wrapping it to the back side and then securing with upholstery staples. Then I used spray adhesive to secure more batting and fabric to the back, this hid the staples. Then I glued the whole upholstered piece into the rocker frame. Does that make sense?
HI! What kind of glue did you use to glue the back & seat to the frame? Thanks!
Ooh, Wendy, that’s a good question. I don’t remember, but I’m going to guess I used Liquid Nails or some heavy-duty hot glue. I cut the backs so tight with the frame that the glue really just added strength.
My husband is worried that 1/4 inch underlayment won’t be strong enough for a seat or eventually break. What has your experience been with this since it appears that’s what you used. How’s the seat holding up?
The rocker is still going strong, so it worked great for us. When I tore the original rocker apart, the seat was pretty much the same thing and it was from the 70s and had held up that long. But if he’s worried, I’m sure you could use a thicker plywood.