Homemade vanilla
Welcome to my happy place of DIY, homemade, homegrown, handmade, nourished & crafted, whole hearted living. Finding magic in the mundane & growing some roots in the process.
This post may contain affiliate links. If you click on a link and purchase an item, I will receive a small commission. For more info, please see my disclosure on my Connect page.
So, remember back in May when I told you about my Repenting Bench Project that I was working on?
Yeah, it’s been finished for months… and months… I possibly got distracted and forgot to post the results. Imagine that! Me, distracted. Yeah, wow. Shocker!
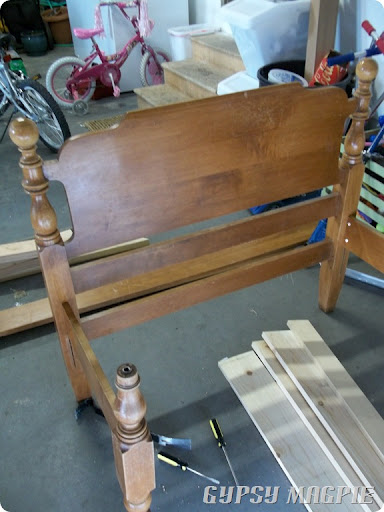
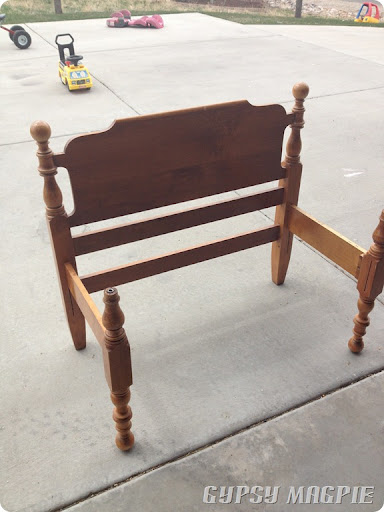
I had an old twin bedframe hanging out in our basement and just couldn’t part with it because I loved the cute old shape of it. And, let’s be honest, I had memory attachment syndrome because it was the bed my oldest daughter had used. When you love something, but don’t need it anymore, sometimes the best therapy is to turn it into something that you do need! I had been seeing all these cute benches made out of old beds on Pinterest and on My Repurposed Life and figured, what did I have to lose!
Don’t you just envy my sparkling clean garage!
I started by cutting the footboard in half and attaching it to the headboard. Because of the odd height of the footboard, I turned it upside down in order to have the seat at a normal height off the ground. I attached it using glue, and double threaded screws that I got at my local hardware store.
After I attached the footboard pieces to the headboard with the double threaded screws, I put 2 regular screws in at an angle- those two white shiny dots in the pic above- on both footboard sections.
My bedframe had side rails, so I cut those down to use for the sides of the bench seat. That worked real slick, and since the bed was made out of crazy hard wood, I knew it would be strong. Next, I used some old 2×4 pieces we had in the scrap pile and tried to frame out the inside the middle a bit, adding another piece of wood across the middle for stability. I don’t know if that is what you are supposed to do, but it worked for me.
Yeah, and ignore the fuzzy pictures. Remember that my camera is all screwed up. Oooh! But I just got me a real big girl camera! So, be patient while I learn to use it… which you and I both know could be a while the way I learn…
SQUIRREL!
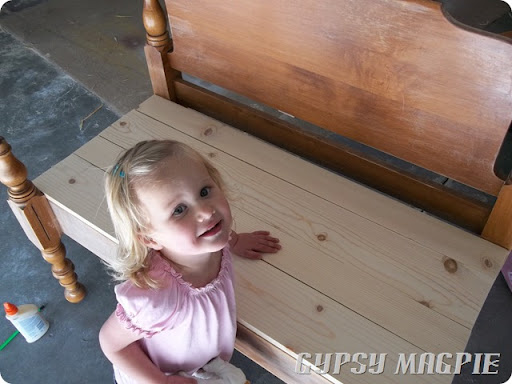
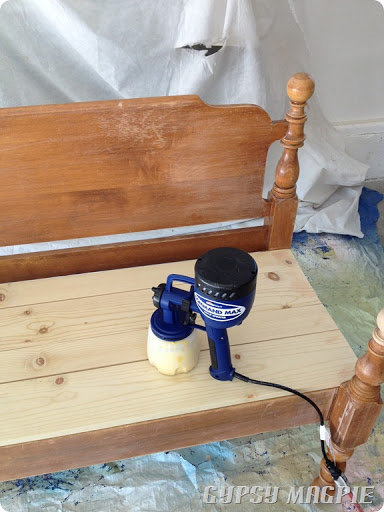
Next, I used some other scrap wood and made a seat. You could totally use one solid board for the seat, I just happened to have these pieces of wood and I thought it was kind of cute to have the slat style bottom. This is right before my little helper spilled that nice bottle of glue there on the left.
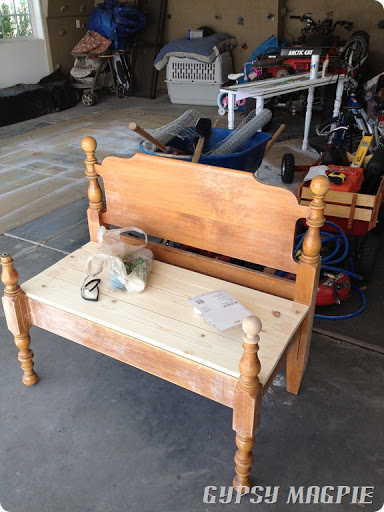
After I cleaned up the glue, I glued and nailed on some raw wood curtain rod finials to mimic the headboard. If you remember, I had to turn the footboard upside down to make the seat taller, so I had some ugliness sticking up that I had to do something with. Next, I puttied around the finials and also all the holes and spaces that used to be used to put the bed together, like that lovely vertical slit there on the left above said bottle of glue. After the wood putty dried, I sanded it all down real good then wiped everything down. Then I got distracted and cleaned out the garage, made some cookies, worked in the garden, played on FB…
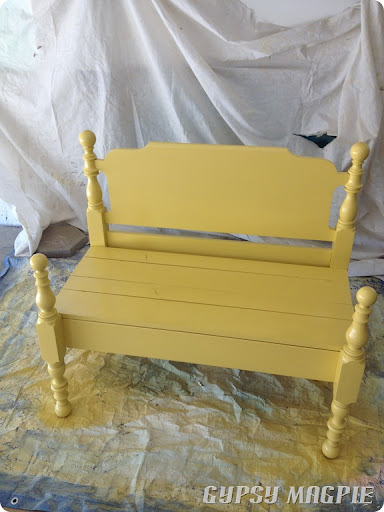
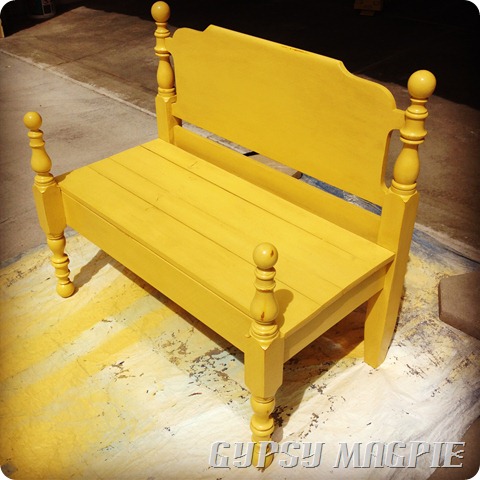
A few days later, I pulled out my rad Command Max HVLP Paint Sprayer from HomeRight and painted my bench a really pretty mustard yellow. I antiqued it a bit with some brown glaze and then distressed it because this bench is for my munchkins and munchkins destroy EVERYTHING. So, might as well make it look aged so they don’t get the satisfaction first, right?
Then, I put a finish coat on it to try to protect it from total destruction. This pic makes it look WAY brighter than it actually is! Oopsies.
We lugged it upstairs to the hallway first. It just didn’t seem at home there. Baby Girl thought it was all fun and games until she slapped her sister and finally figured out what “repenting bench” actually meant! Ha!
Look at her looking all cute and innocent.
{Give her 5 minutes.}
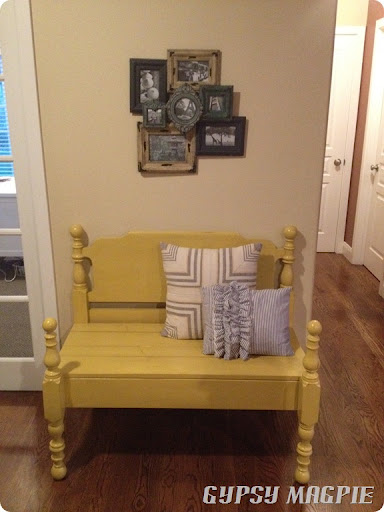
Our little bench found it’s way down to our entry way and has been happy in her new home ever since. Needless to say, the natives have spent many a minute sitting on this pretty little seat “thinking” about their actions and what they could do better next time! Poor littles!
Guess it could always be worse, I could always pull out the old wooden spoon.
Long story short, if you’ve got an old bed hanging around that you don’t need anymore, but just can’t seem to let go of, get out some power tools and CREATE!


Missy! Love the bench! You did an amazing job. Yellow is such the happy, fun color. Here’s what I want to know. . .who started the wooden spoon? My mom always threatened us with that as well. All she had to do was open the drawer and we would scramble!!
It looks so incredible! You are so talented and creative 🙂
Amazing trasformation! Your bench looks awesome, Love the new look of your bench! Top quality furniture company
This comment has been removed by the author.
Beautiful transformation! i really love your creativity, you did an amazing job.UK Cheapest Online Beds Store
[…] The mirror that I had really loved and had originally been planning on got hung in the entry above our darling little REPENTING BENCH. […]