Homemade vanilla
Welcome to my happy place of DIY, homemade, homegrown, handmade, nourished & crafted, whole hearted living. Finding magic in the mundane & growing some roots in the process.
This post may contain affiliate links. If you click on a link and purchase an item, I will receive a small commission. For more info, please see my disclosure on my Connect page.
Cold weather hit hard and the hubby was out in the big rig for a couple weeks so that left winterizing Mountain Meg to me. This is definitely not my favorite chore, but when the weatherman calls for negative temps you put on your big girl pants. What does it mean to winterize a camp trailer? In a nutshell, it’s clearing all the water from the pipes and getting the trailer safely closed up and put to bed for winter.
Winterizing a Camp Trailer
Before I start listing off my steps, I just have to put out there that I am not a pro. This is what my 85 year old grandpa (who has spent 40+++ years in the Squaw Peak chapter of the Good Sams and a lifetime of camping) taught me. I’m not saying this is the perfect way, it’s just what works for us so I thought I would share. If you want professional winterizing, you’ll probably want to hire someone and not DIY. So there’s your heads up.
Anyhoo, here’s what I use and do.
Supplies
- blow-out adapter
- air compressor
- hose to pipe attachment
- socket wrench and socket
- rags
- gloves
- cleaning supplies
- bucket
- hose + water
- RV antifreeze
- fuel stabilizer
- mouse poison (if necessary)
- spray foam (if needed)
- tire covers
Clean the camper:
Before I do anything else, I make sure I’m starting with a clean camp trailer. It’s much easier to clean things up when you’ve got water. I usually scrub down everything at the end of each camping trip so this step goes quickly for me. I just give the trailer a once over and make sure all the crumbs and grime are wiped away and everything is tidy.
Empty the black and grey water tanks:
Once clean, you’re ready to get going.
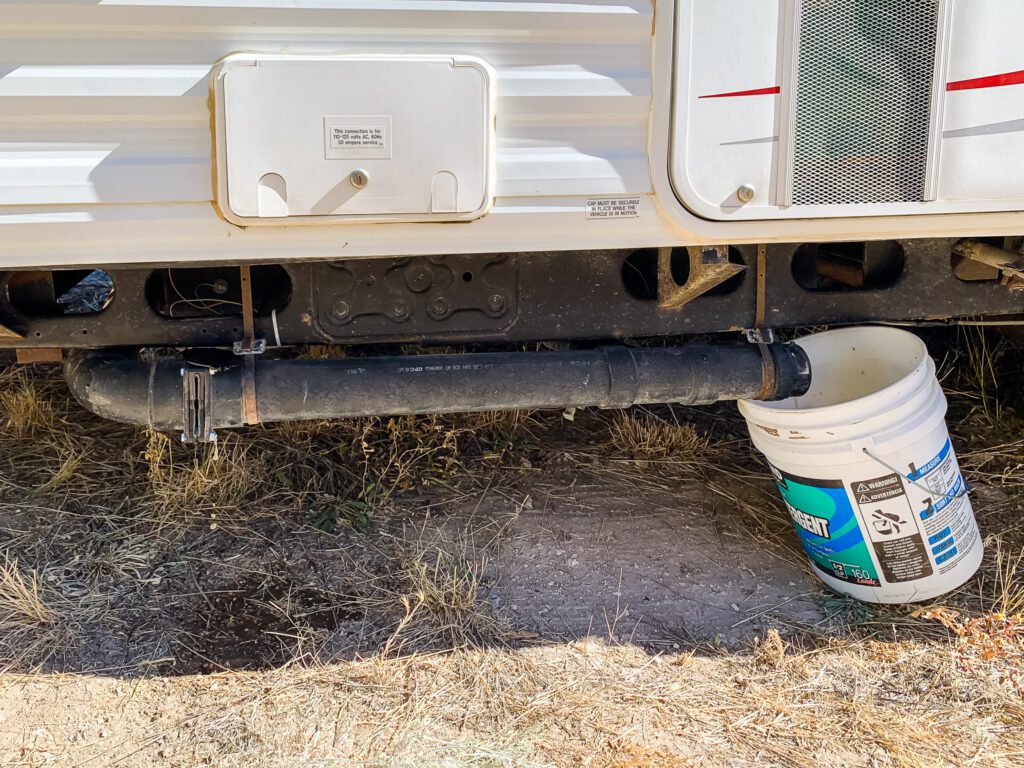
Start emptying the black and grey water tanks by opening the valve on the bottom of the trailer. Put a bucket under the pipe to catch the yuck. You can shove a hose up the pipe and try to clean things out, but THIS little snap on attachment my friend Beka showed me makes things so much easier! You attach it to the end of the pipe and then attach your hose to the fitting. It shoots water up the pipe and cleans out any residual junk. Totally worth 20 bucks. Leave the bucket under the pipe until the end of your winterizing sesh to continue catching leftovers.
Drain the water heater:
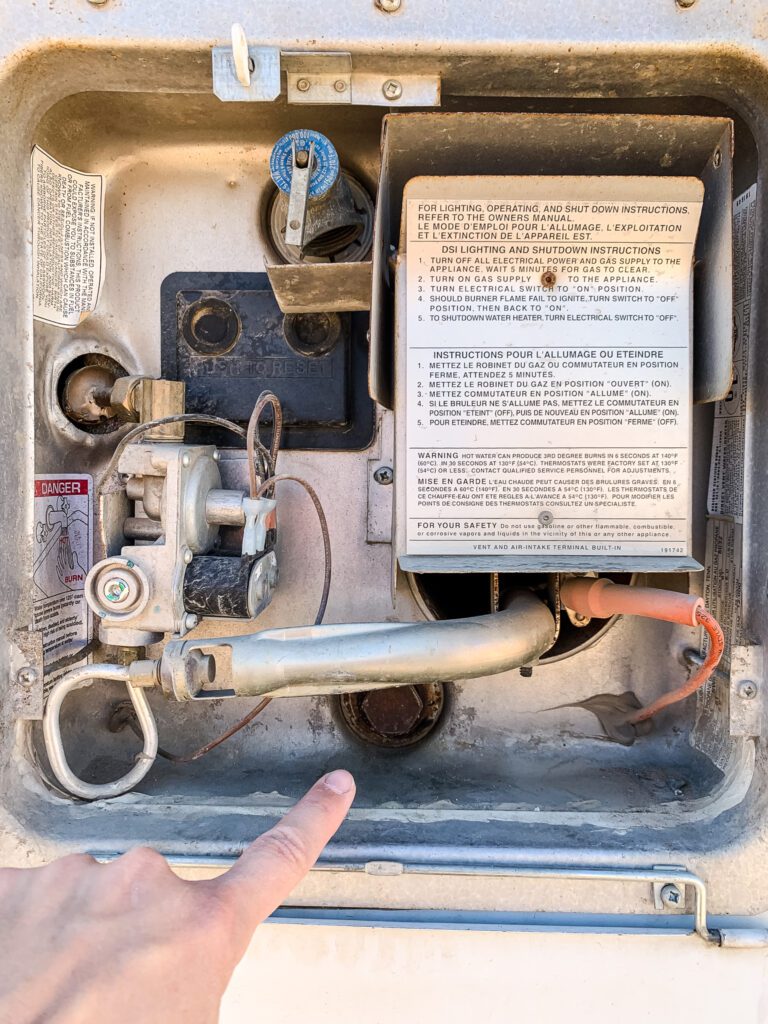
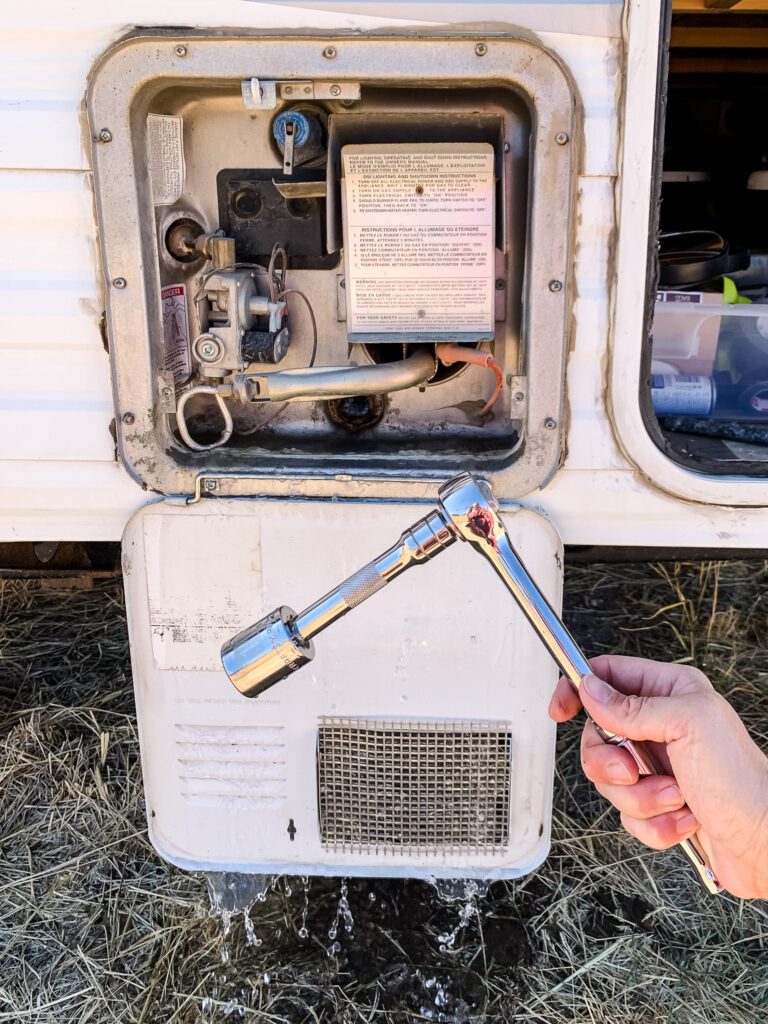
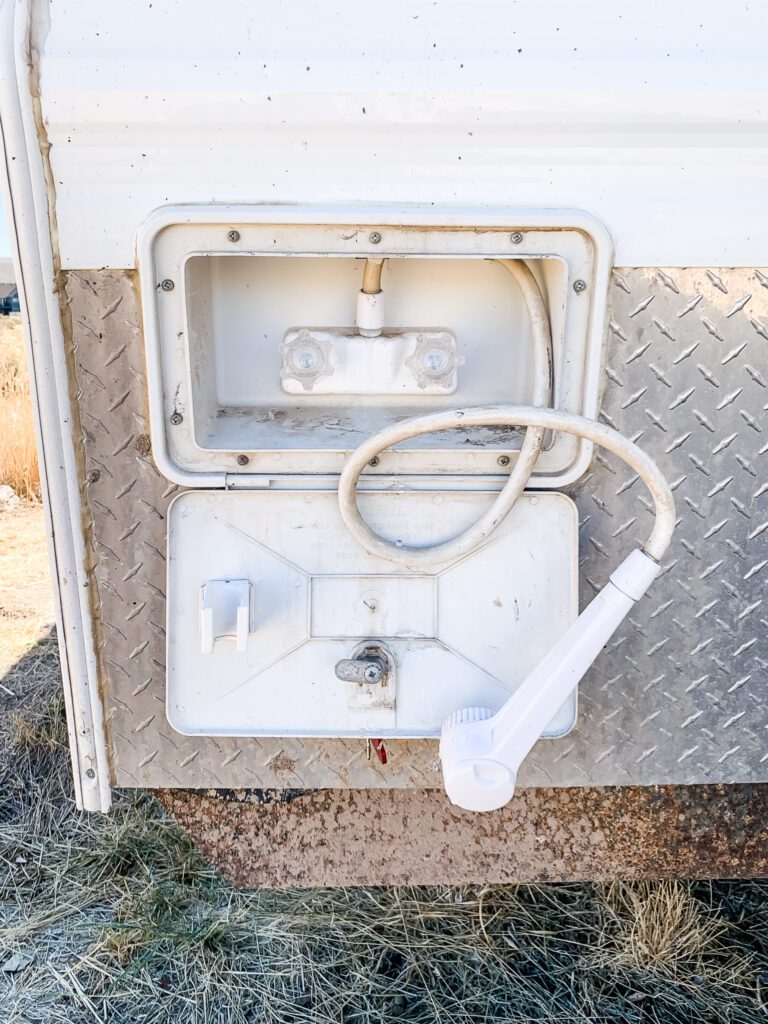
Remove the big bolt (I think it’s actually called an anode rod but I’m just a little old mountain mama so don’t quote me) from the water heater on the outside of the trailer and drain the water out. I bought a socket wrench and socket that fit my bolt and keep it inside our trailer storage compartment. That way we aren’t searching for a socket that fits each fall.
Our bolt takes a 1 1/16 socket with an extender on the wrench.
Drain the fresh water:
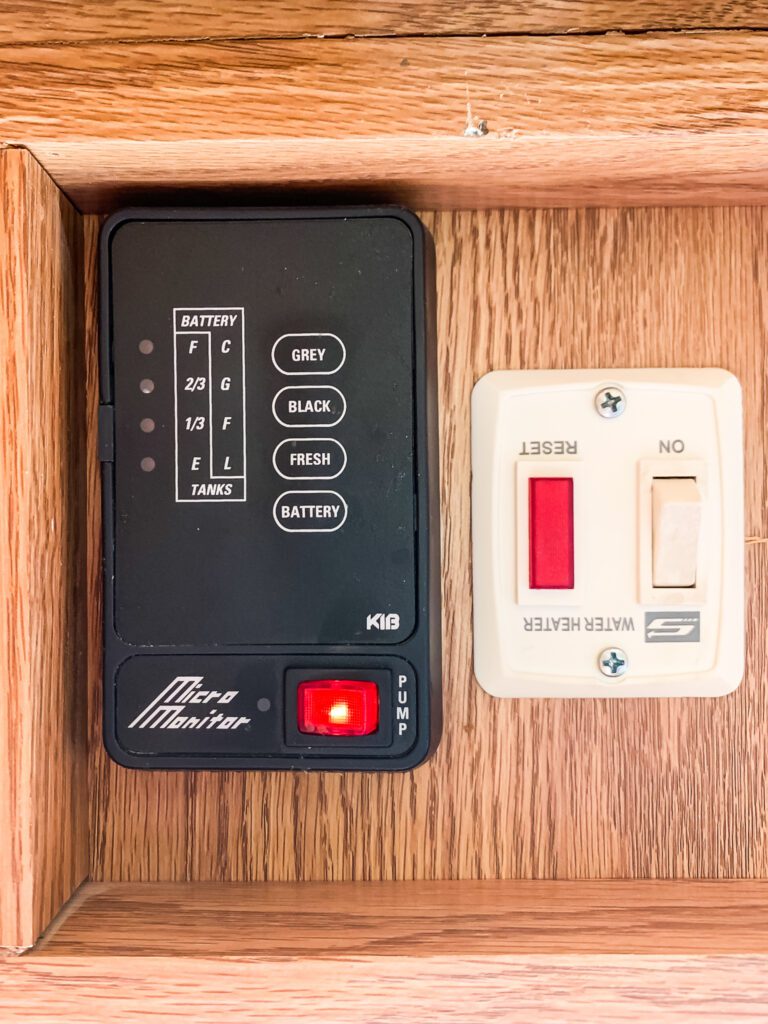
Go inside the trailer and turn the water pump on.
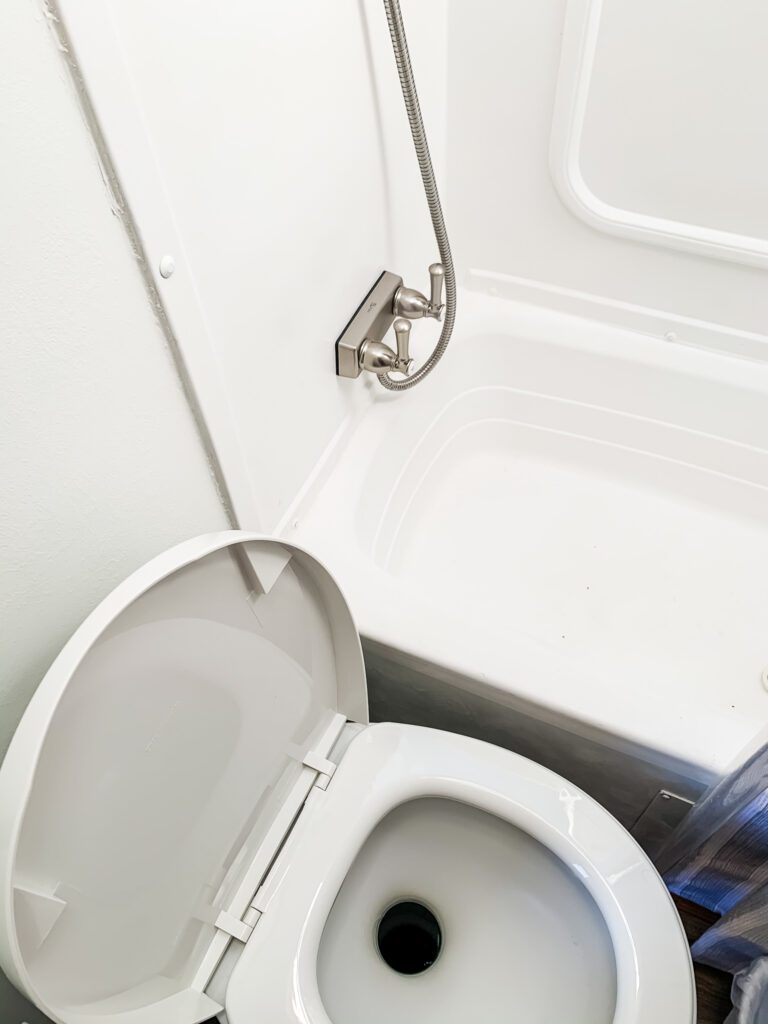
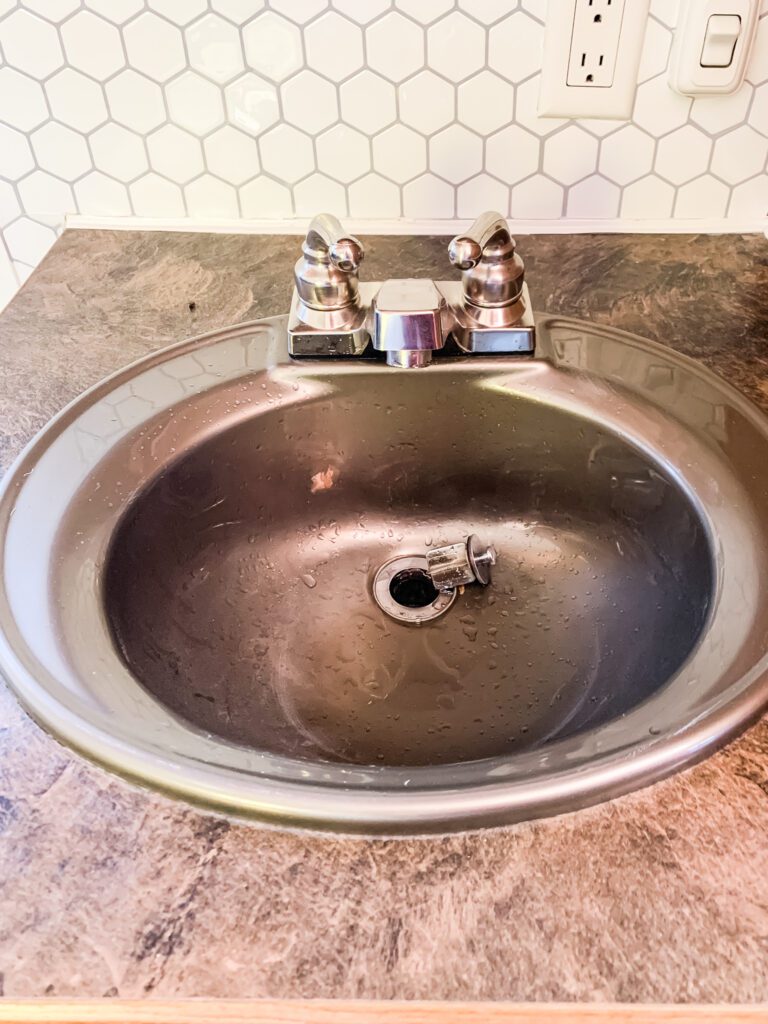
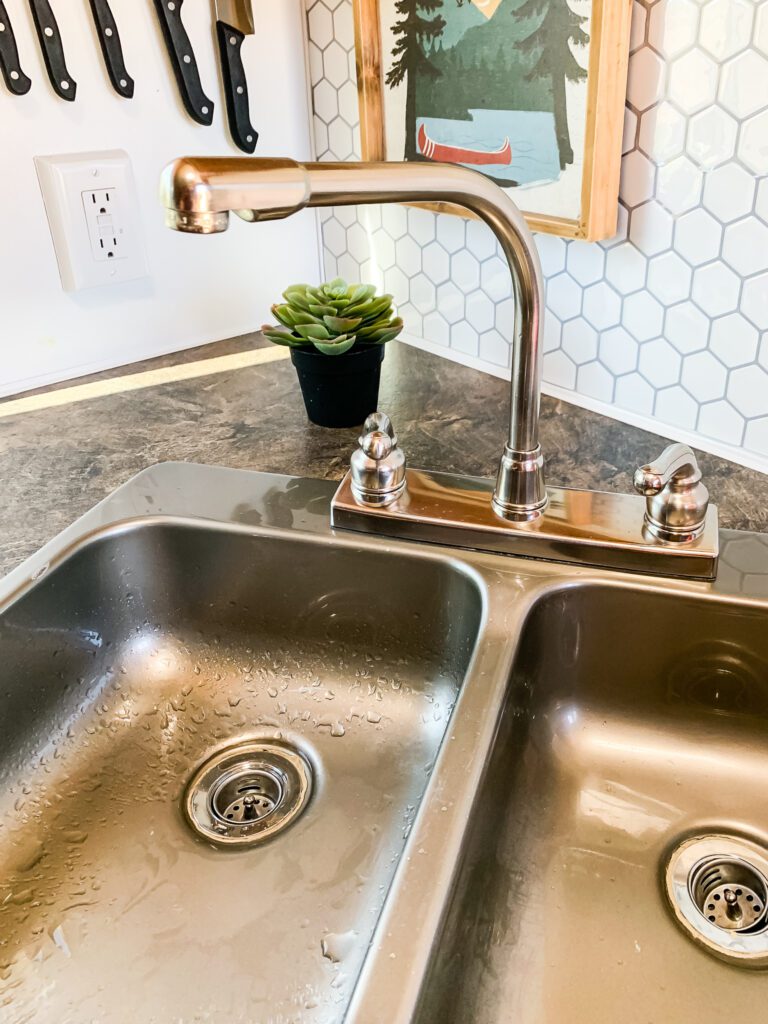
Open all the faucets and shower heads, plus press on the toilet pedal. Drain all the water out of the pump and lines. Don’t forget to open the faucets on the outside shower, if you have one! Turn off water pump and shut faucets.
Blow out lines:
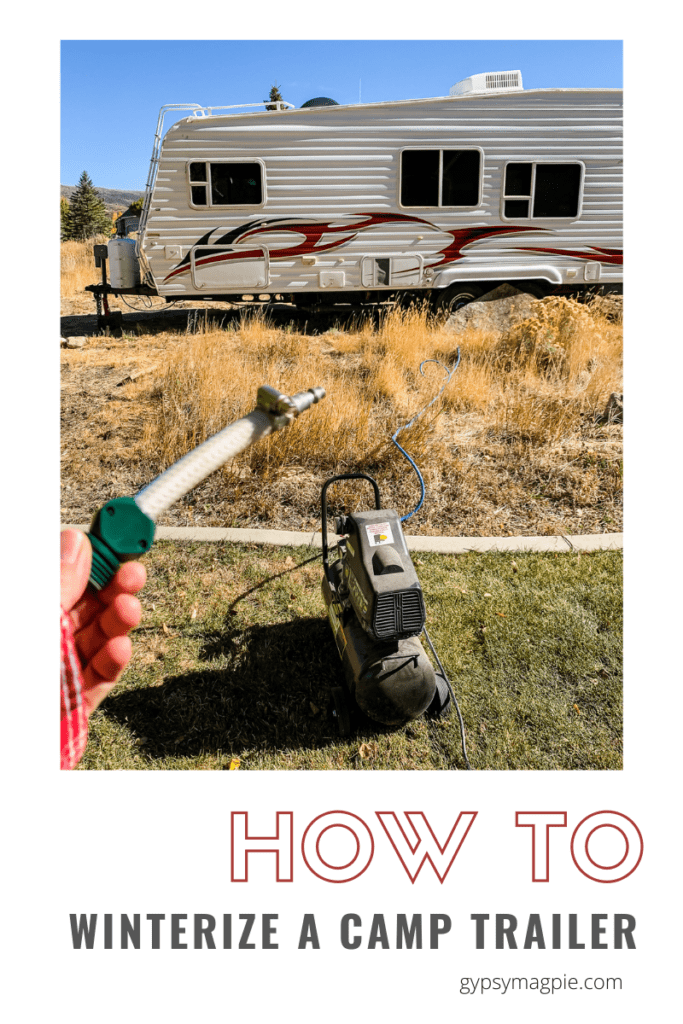
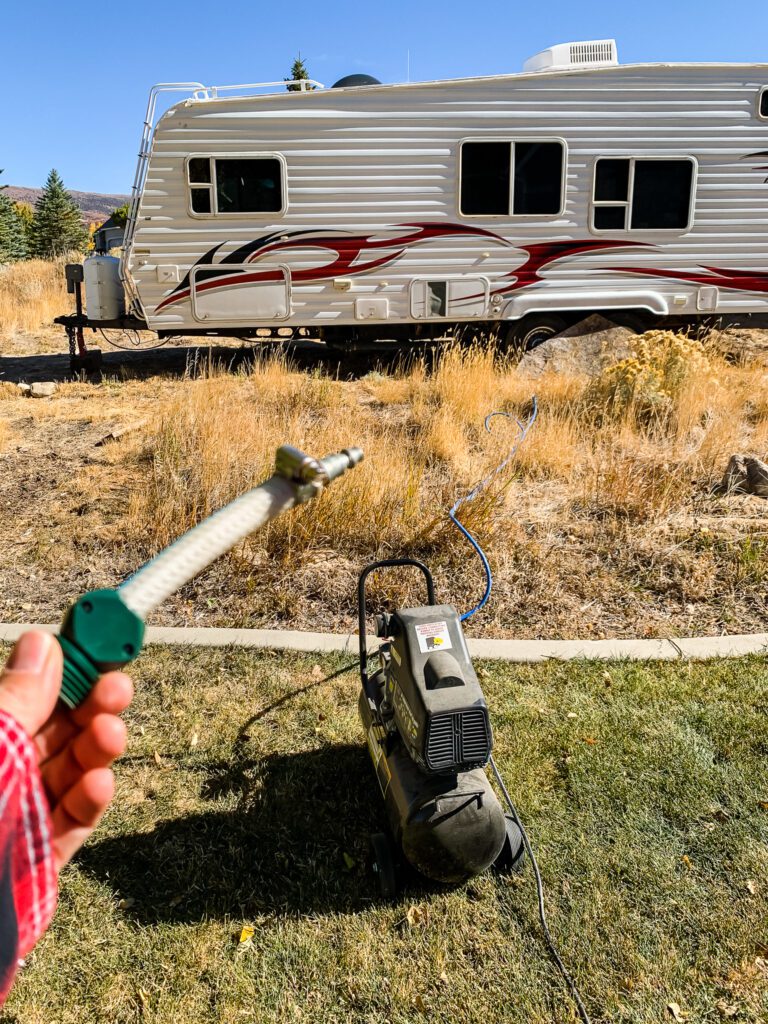
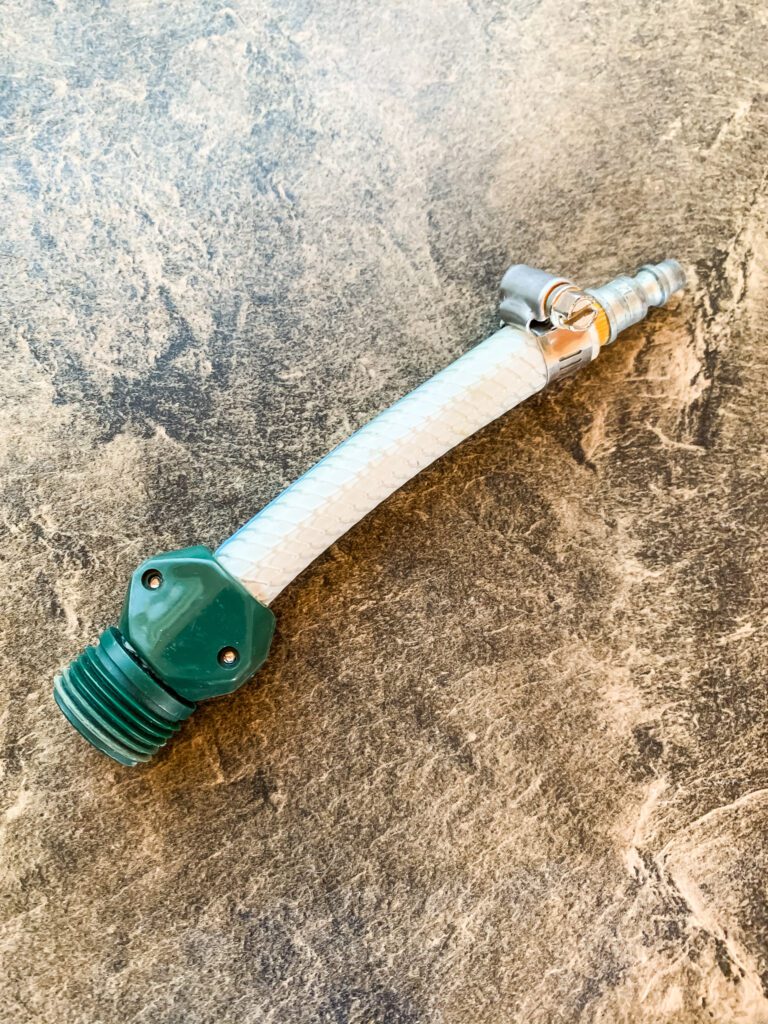
Attach a blow-out adapter to the water inlet valve on the outside of the trailer. Then attach an air compressor hose to the end of the blow-out adapter. Turn on air compressor to blow out the water lines. Go inside and open each faucet. Water and air will come spurting out. Leave them open and allow the air to push out any remaining water.
This takes a while so I winterize the rest of the camper while the compressor is doing its thing. My grandpa gave us an adapter and I don’t know where he got it, but THIS one would do the job. I keep the adapter in a drawer inside the trailer for safe keeping.
Clean out cupboards:
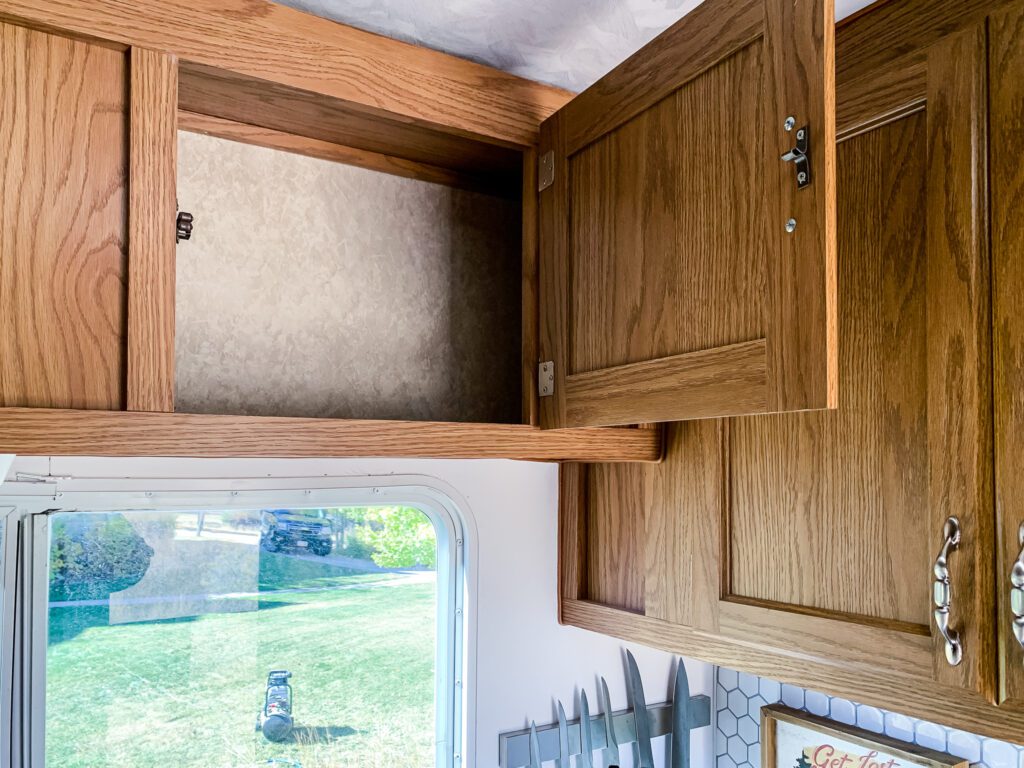
Take all food, cleaners, and supplies that will get ruined by the cold out of the cupboards and remove from the camper. We had mice last year chew their way in and eat up all my towels, so this year I took all my wash cloths and towels out of the drawers too. We sealed up any holes with spray foam and put some mouse poison under the sink just in case.
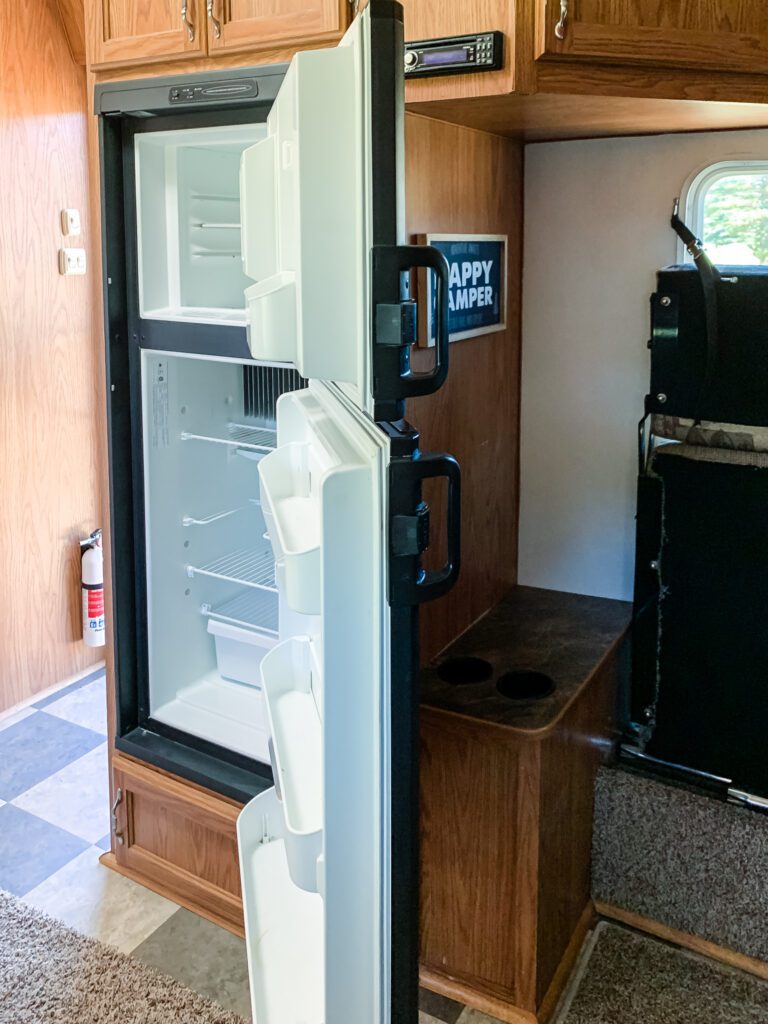
Prop open fridge & freezer:
Scrub down the fridge and freezer, then prop the doors open so no mold grows over the winter. It doesn’t sound like an important step, but things will smell so much better in the spring if you’ll give them a little air.
Remove batteries:
Unhook the batteries on the front of the camper and store them in your garage or basement for the winter. Keeping them out of the elements and winter freeze will help them last longer.
Treat gas:
If you have a toy hauler, you’ll want to empty the gas tank or add a stabilizer.
Propane tanks:
Make sure propane tanks are turned off completely.
Turn off air compressor:
Once the lines are dry and only air is coming out, turn off the compressor. Shut off all the faucets and replace the bolt on the water heater.
Remove the bucket and close the outside water valve while you’re at it. If you are like me and don’t have a RV connection to your sewer, you’ll have to carry the bucket into the house and dump it down the toilet. Ew, but we do what we gotta do.
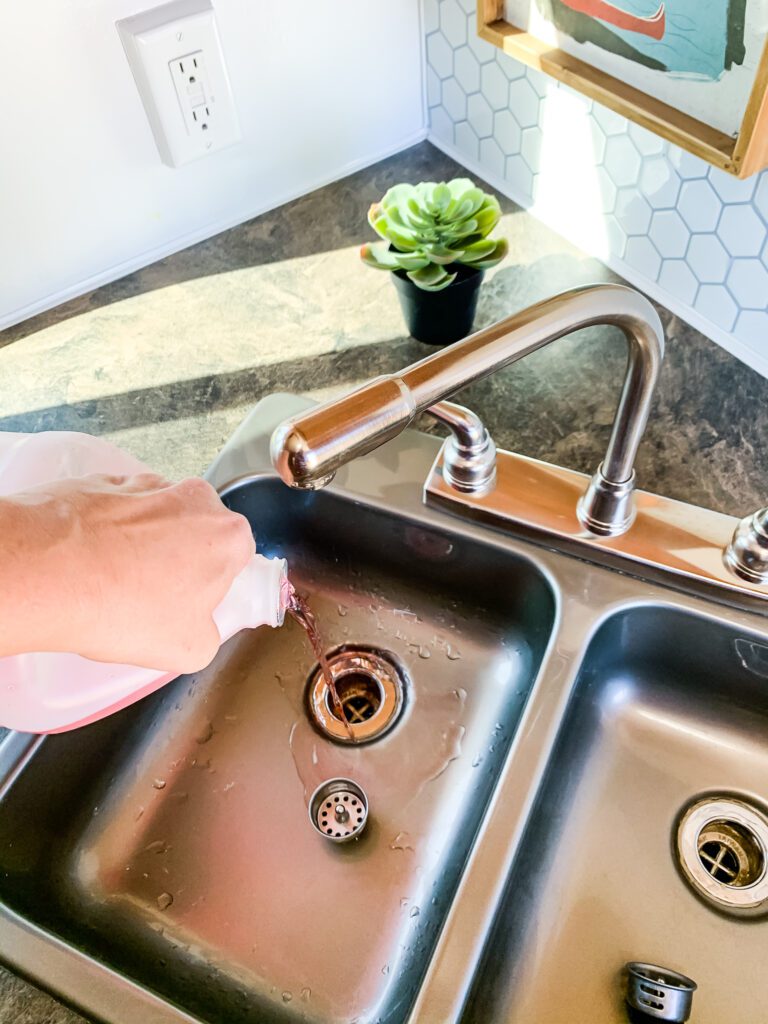
Pour antifreeze down drains:
Pour a little bit of RV antifreeze down each drain in the camp trailer- including both sides of the kitchen sink, the bathroom sink, the shower, and toilet. It doesn’t take much antifreeze. I pour around a cup of antifreeze down each drain.
Lock the trailer and compartments, cover the wheels, and do whatever else you might want to do then you’re gold. The trailer is now winterized and ready for some hibernation.
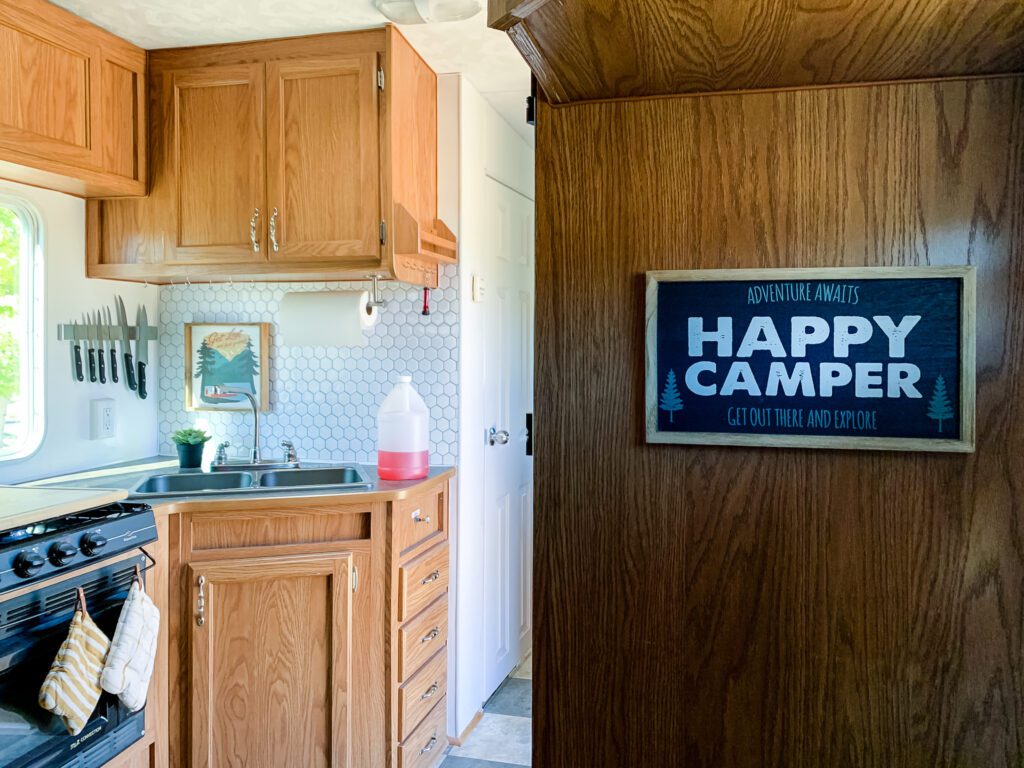
Yep, Meg’s a happy camper.
So punny. Sorry, sometimes I can’t help myself.
Pin for later!
