Homemade vanilla
Welcome to my happy place of DIY, homemade, homegrown, handmade, nourished & crafted, whole hearted living. Finding magic in the mundane & growing some roots in the process.
This post may contain affiliate links. If you click on a link and purchase an item, I will receive a small commission. For more info, please see my disclosure on my Connect page.
You know those projects that the minute you see them the thought comes to mind to run, as fast as you can? This dresser was one of those.
Oh, man!
My friend grabbed me at church one morning and told me that she had an old dresser on the side of her house that she wanted gone and wondered if I wanted it. Her ex-husband had built it years ago and she was ready to say good riddance.
Free Dresser
So of course, never able to resist the words “furniture” and “free” I found myself covered in mud and snow dragging the dresser to my SUV. I should have ran instead of loading it in my car. I should have ran when I saw the rusted drawer glides or the peeling laminate top. But, I just couldn’t help myself. Again.
I have issues.
Remove Laminate
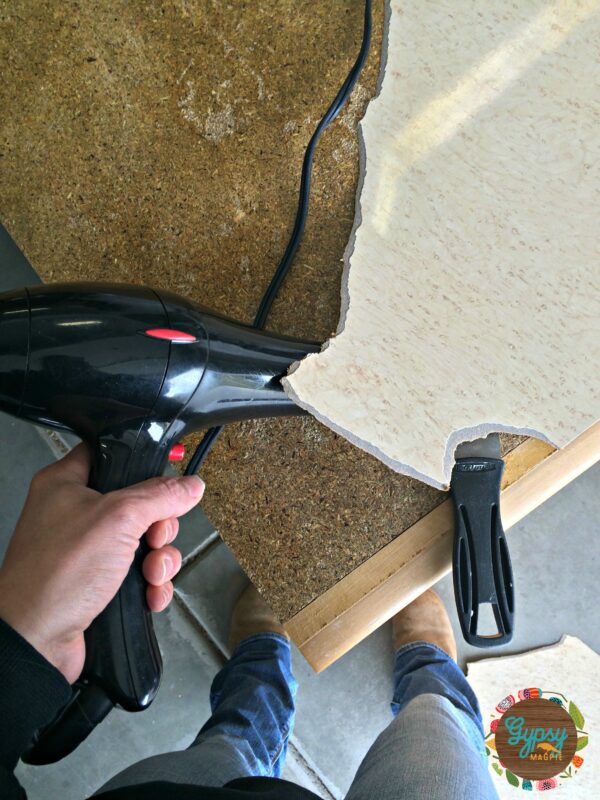
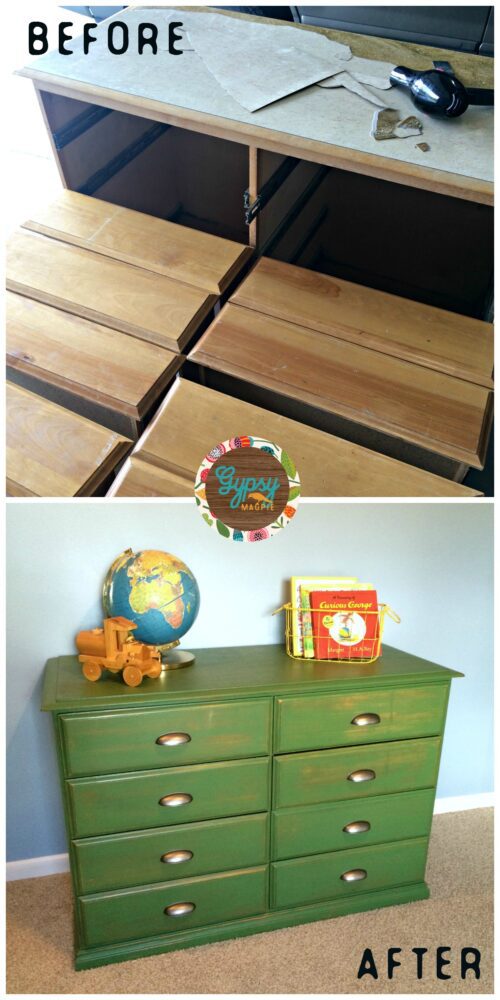
After I got it home and unloaded, I wiped it down then cleaned it really good, and let it dry out for a couple days. We had recently had a big snow storm and this thing was completely soaked. Once it was good and dry, I got to work ripping the peeling laminate off the top of the dresser. Someday I’ll invest in a good heat gun, but in a pinch a trusty blow dryer works just fine. The secret is to heat the glue under the laminate so it softens and you can begin to pry it up.
Wear gloves, your hands will thank you. I’m a dummy and forgot so yeah, my hands weren’t happy. That crud get’s sharp!
Cut New Top
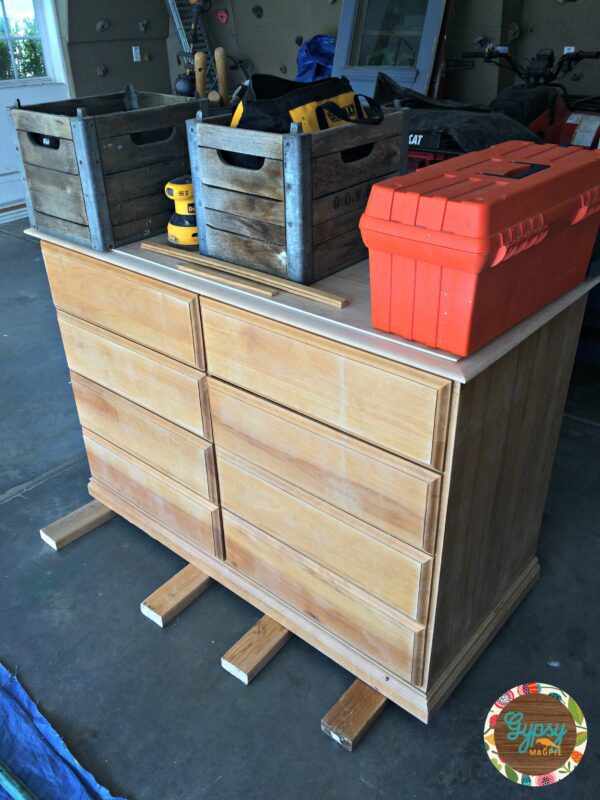
I cut a 1/4″ smooth piece of poplar plywood to fit (you can buy a 2’x4′ sheet from the big box store for about $10) and glued it to the top where the ugly exposed rough plywood was. My trucker was around that day which helped a ton. It is much easier to get something flush with two sets of eyes and multiple hands. I love when he is around, things go so much faster!
After it was dry, I gave it all a good sanding to get what remained of the old finish off.
Drawer Glides
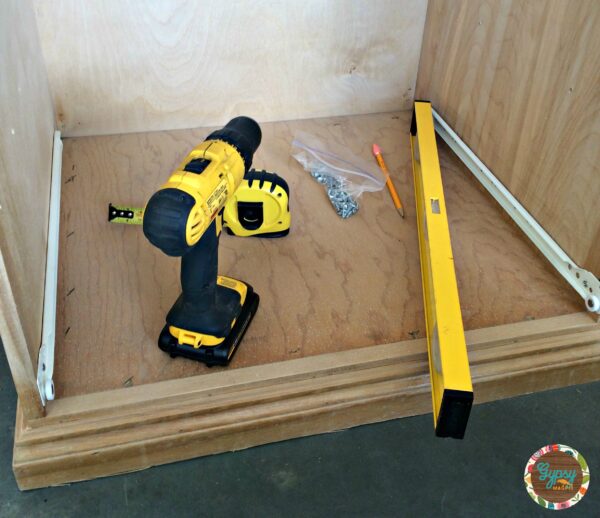
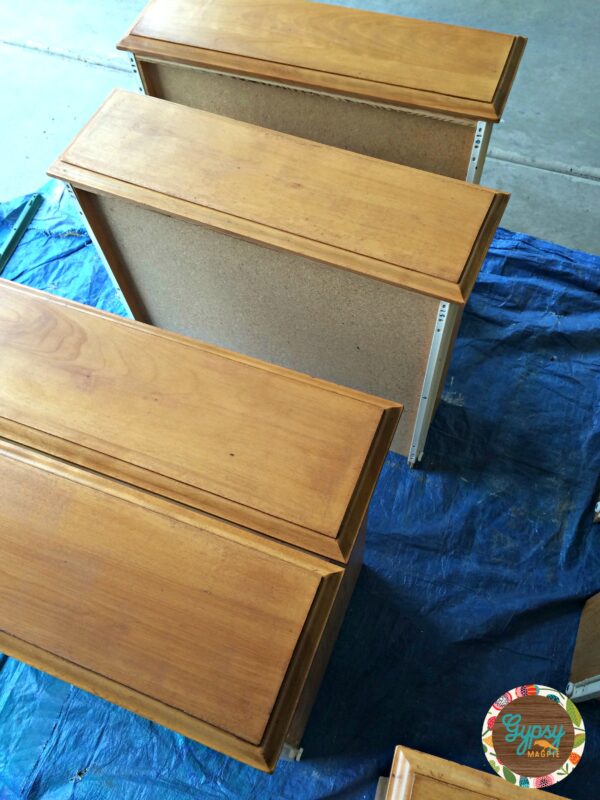
I removed all the old rusted up drawer glides and installed new ones. This is a pain in the fanny. If possible, avoid at all costs.
I was waiting in line at the store with my arms full of glides, while my little girl did figure eights through my legs, and an old man asked if I ran a cabinet company. “No Sir, I just don’t know how to turn down a project.”
Stain
Once the new glides were in, I vacuumed and wiped down the piece to prepare for stain. I chose General Finishes’ Nutmeg Gel Stain. I really like gel stains, and General Finishes is by far my favorite. It’s easy to apply and give fantastic color. I love gel stain isn’t runny like normal stain is.
Nutmeg gives a rich medium warm tone which is exactly what I was going for.
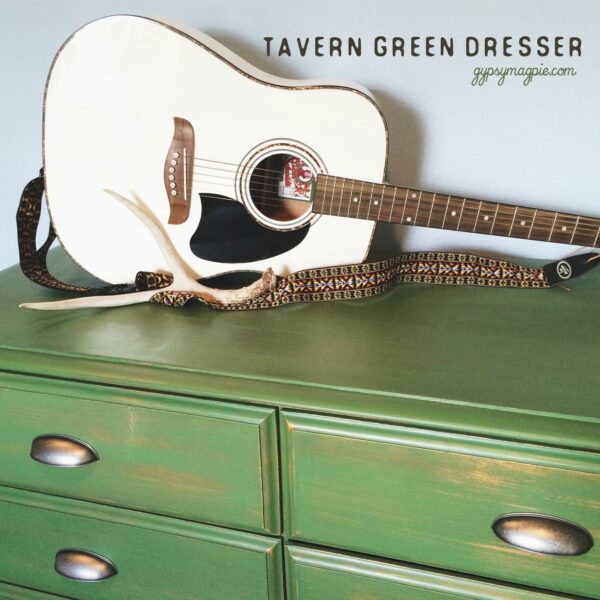
Tavern Green Milk Paint
Once the stain dried, I went over it with some Old Fashioned Milk Paint in Tavern Green.
I love that green color, it is lovely! I didn’t end up taking any photos of the painting process, it was dark and my phoned died, and I still don’t know how to work that nice camera of mine. Yeah, so, anyway I just tell you about it. I wanted this piece to have an old world, collected sort of feel so I kept my paint coats thin and imperfect. I didn’t use any extra bond, but I did spray a light coat of shellac over the dresser to seal the stain before painting. Milk paint has a crazy way of doing whatever it wants. If you haven’t used it before, keep in mind that it isn’t like your regular latex can of plastic paint from the hardware store.
Milk paint has a mind of it’s own, which is fun when you are doing an imperfect, fun piece like this one.
Oil Wax
When I got the paint the way I wanted, I sanded to get the surface smooth, did some light distressing, wiped it all down, then sealed it with Sweet Pickin’s Oil Wax. I have been dying to try that stuff out, so since this piece was for me, I gave it a shot. It was really easy to work with, I was quite surprised! My only complaint is that it stinks for a long time, like days, but it dries to a nice hard surface. Once dried, I buffed it to get the sheen I wanted. It really added a rich depth to the green paint.
After the oil wax was good and buffed, I added the hardware.
Hardware
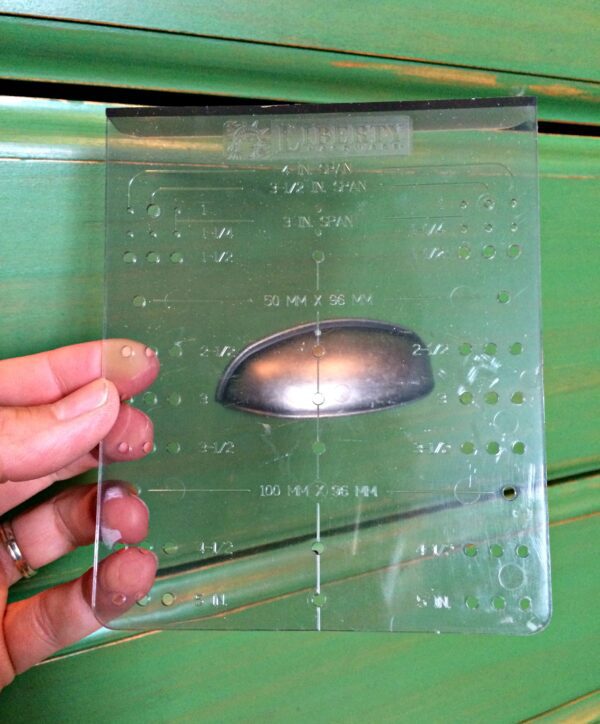
If you have ever put new hardware on an existing piece or tried to change them out on old cabinets, you know how frustrating it can be to get everything lined up correctly. I STRONGLY suggest buying yourself an alignment guide to help you place everything. It’s like a little ruler but for hardware. They even come with a drill bit just the right size. These guides are only a couple bucks and well worth it. I got 8 drawers drilled and cup pulls installed in 15 minutes, yay!
I got my cup pulls from D. Lawless Hardware. They have tons to chose from and aren’t the stuff that everyone gets at the craft store. They have rad customer service and I have been really pleased with them.
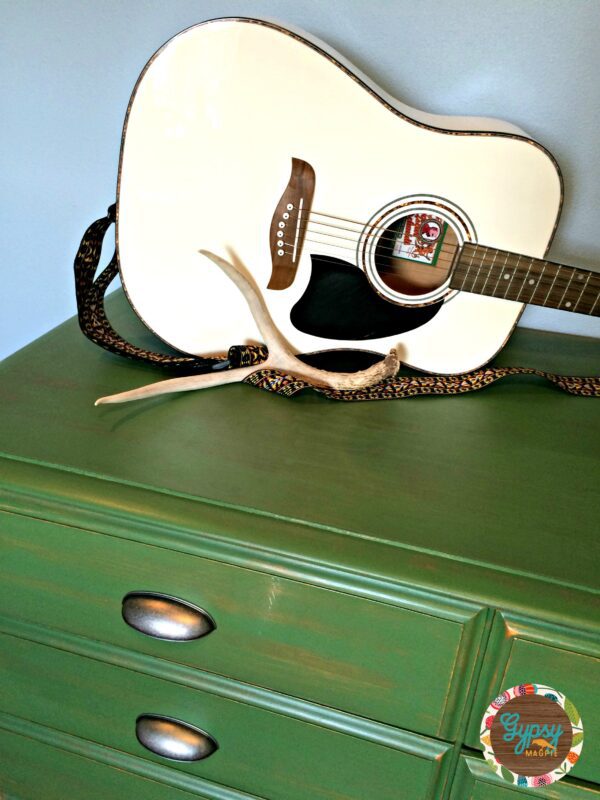
After all the work, I’m pleasantly surprised at the results.
My son has had the same dresser since he was born and could only fit 2 pairs of pants in a drawer. He saw me working on this old thing in the garage, then gave me puppy eyes and asked for it. He has been a huge help to me these past several months of trucking, I don’t know how I would do it without him, so I figured he deserved a grown up dresser.
After
He helped me carry it to his room where I started staging it with some fun kid toys to take these pics and my son put his foot down and said now way. What a nerd.
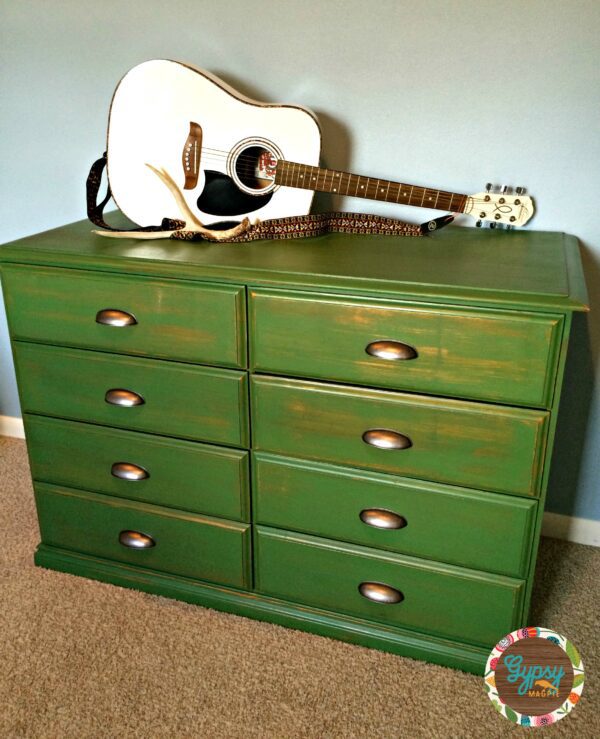
So, I grabbed my guitar and an antler to make it look a little more manly for my ever growing man-child.
We had a little accident getting the top left drawer into the room, it sort of… kind of… maybe smacked into the door frame coming into the room but I dig the added white scratch. I mean, this dresser is a character so why the heck not?
Well, there you have it. Too much work for a piece that my friend probably should have made a bonfire out of and invited me over for s’mores. But, my son loves it and I learned so much working on it. I do have to say, I’m glad this one wasn’t for sale because I’d have never made a dime off this green guy. But hey, it’s all good. We live and learn.
Happy Son = Happy Mama.
For another fun dresser refashion, check out THIS post!
It may have been a lot of work, but it looks great! I love the Tavern Green color.
Thanks! It’s a really fun color! Now I’m trying to figure out what else I can paint with it! 😉
This is wonderful! I love how it turned out. The green is really great and I love the rustic feel to it. We are building a house right now and we need lots of furniture, but it will be expensive. I’ll have to start looking for drawers and try this out!
We moved in to our home several years ago and I’m still trying to get all the furniture we need! It’s such a process, isn’t it? But someday it will all come together! Good luck with your new home and thanks for commenting!