Homemade vanilla
Welcome to my happy place of DIY, homemade, homegrown, handmade, nourished & crafted, whole hearted living. Finding magic in the mundane & growing some roots in the process.
How to Make an Old Fashioned Gingerbread House
December 3, 2014
This post may contain affiliate links. If you click on a link and purchase an item, I will receive a small commission. For more info, please see my disclosure on my Connect page.
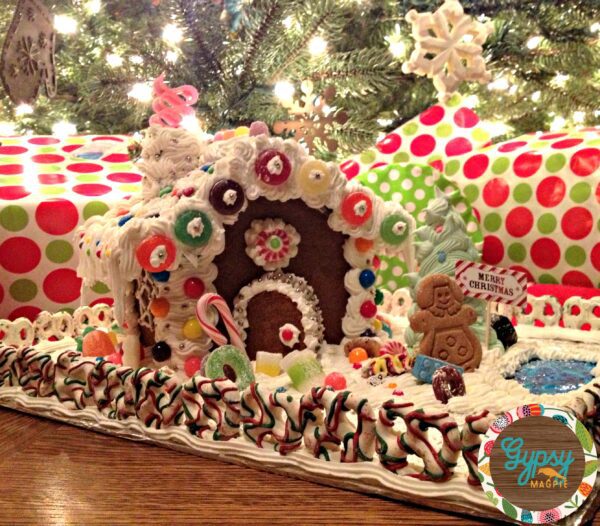
In the 1960’s, my grandmother {aka Nana} and a group of ladies from her church used to make gingerbread houses to raise money for their ward building fund. She was even in the Sacramento newspaper once for all the houses she had made! I so wish I could find a copy of that newspaper article. What a treasure! Thankfully, in the middle of that craziness, Nana taught her daughters.
Years later, my mama was a young mother living 2 states away from her parents. When she was wishing she was home for the holidays, rather than here in Utah, our home would be filled with the spicy scent of ginger as Mom would bake and frost her homesickness away.
And so, a long held tradition of gingerbread houses was created.
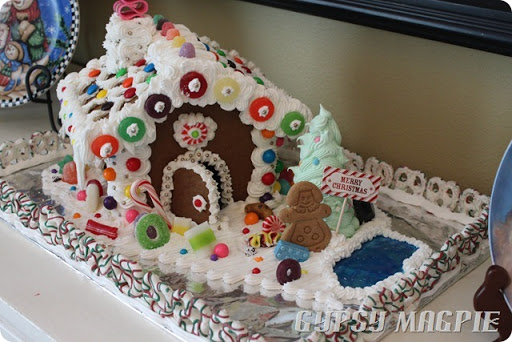
I still remember each December, lovingly carrying a freshly made gingerbread house into my classroom to give to my elementary school teacher. Yeah, that stopped when there were 3 of us in school and Mama couldn’t keep up! I can’t blame her, I cringe just thinking about getting gifts for all my kids teachers, let alone spend hours decorating a gingerbread house for every single one!
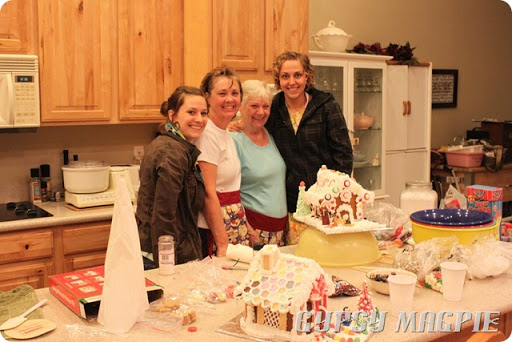
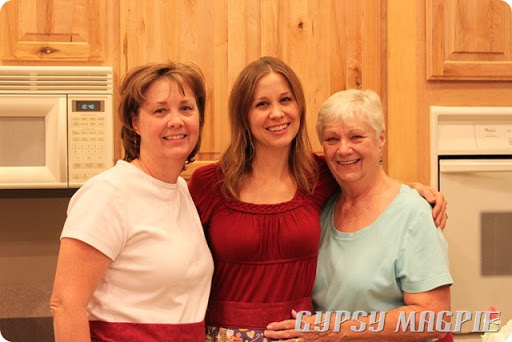
Now that Nana lives near by, the tradition has escalated. Each November, you’ll find many of Nana’s daughters and granddaughters decorating gingerbread houses together, laughing, sneaking candies, making a mess, and memories too.
They are a lot easier than you would think… here’s what you do.
1. Make Gingerbread Dough
A few days before the big decorating day, you’ll need to make your gingerbread.
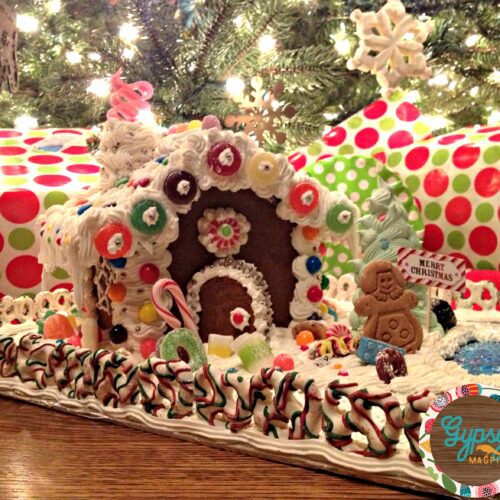
Nana's Gingerbread
Ingredients
Instructions
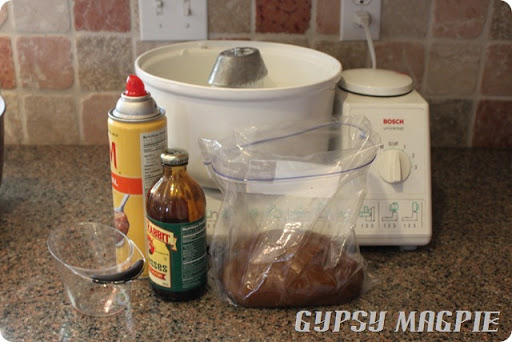
I like to put my dough in an oiled zip top bag, then I let it sit overnight in the fridge.
That way it isn’t too sticky when you try to roll it.
2. Make Pattern
While you let that chill, you can make your house pattern. We use a cereal box because they are free and the slick side doesn’t stick to the gingerbread when you are trying to cut it out.
Just trace on the cereal box and cut out your shapes.
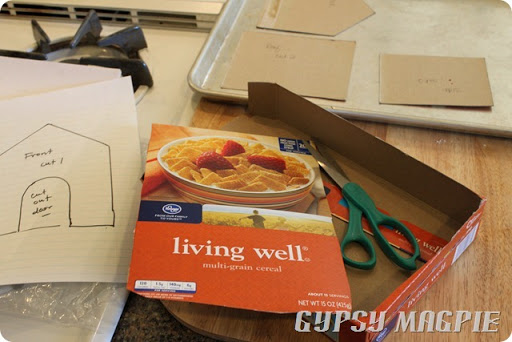
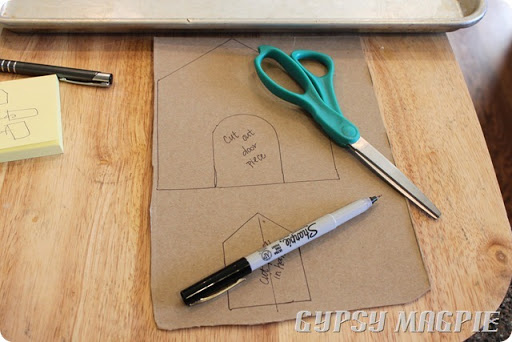
Keep in mind that these are gingerbread houses, not architectural blueprints for a skyscraper. They don’t have to be perfect!
This is for fun, remember?
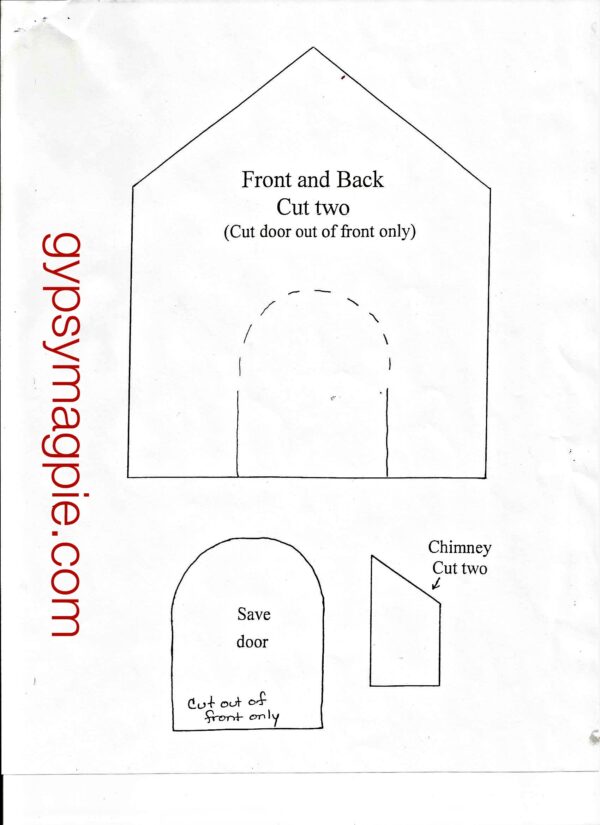
The door is seriously freehanded, and it doesn’t even matter because you are going to cover that sucker up with frosting anyway. Frosting can hid a multitude of mess-ups. So don’t stress.
3. Bake Gingerbread
After your dough is nice and chilled, roll it out in an oiled jelly roll pan (one of those big heavy duty cookie sheets) and bake at 300° for 20-30 minutes. Remove from oven and place pattern on HOT gingerbread. Cut immediately.
You’ll use this pattern in the download to layout your pattern pieces on the hot gingerbread…
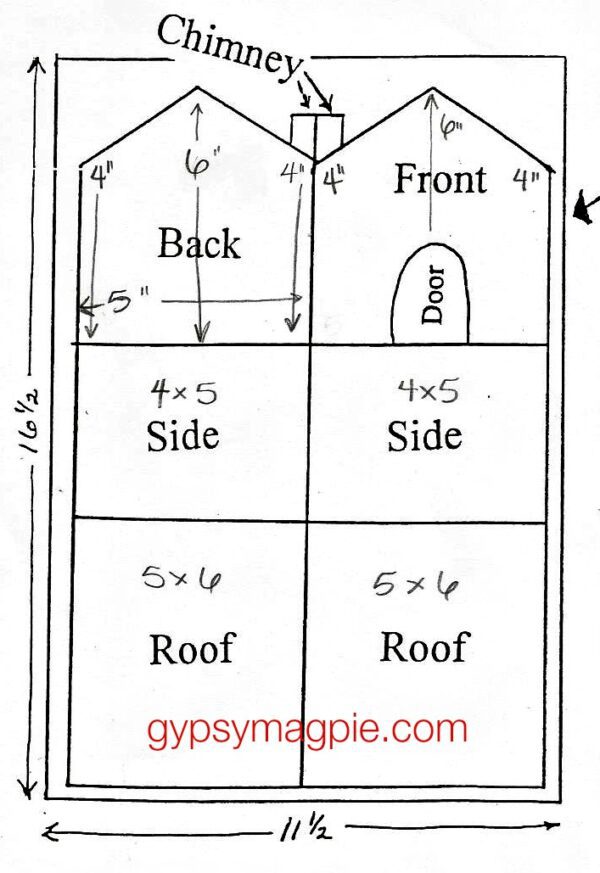
Cut 2 roof pieces, 2 sides, 2 chimney pieces, a front piece, a back piece, and a door.
Remove leftover edge pieces first, then remove house pieces from pan with a spatula and place on wire rack to cool. The gingerbread should be VERY HARD when cool. If not, return to cookie sheet and bake for an additional 10 minutes or more. Do not bake gingerbread on a rainy day!
When cool, stack flat between pieces of paper towel. Do not keep air tight and do not freeze!
*FYI: It’s best to bake and cool a few days prior to decorating so it can be hard and ready to withstand all that frosted candy awesomeness.
4. Gather your Best Girls, Your Supplies, and Buy a MASSIVE amount of Candy
Supplies:
- base
- tweezers (for small candies and sprinkles)
- large pastry bags
- decorator tips- we like to use a #4 or #6 round writing tip and a #32 large star tip but use whatever works for you
- candy, cookies, ice cream cones, pretzels, colored food gel, figurines, etc.
- powdered sugar
- egg whites
- cream of tartar
The base is made from tin foil covered cardboard and can be any size you please. We like to get the packs of cardboard cake bases from the Wilton section of the craft store with our 40% off coupons. Just wrap a piece of cardboard with aluminum foil and tape it on the bottom. Or, you could use a cookie sheet, piece of Plexiglas, whatever you’ve got! If you want to be fancy, you could totally use a cake stand! Just make sure whatever you use is sturdy.
Please excuse the badly lit photos… I still don’t know how to work my fancy camera and we do these things at night when all the little munchkins are in bed. From what I’ve heard, that is naughty because kids should get to help, but you know, sometimes mamas need a little time to play, too! So, if you want, make a pretty one for your family and then help the littles make another one out of graham crackers that they can decorate for themselves. They’ll love it!
Now back to the candy.
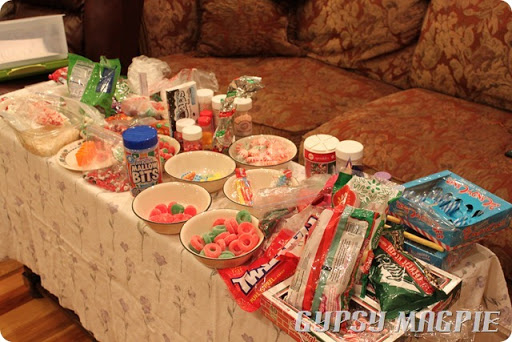
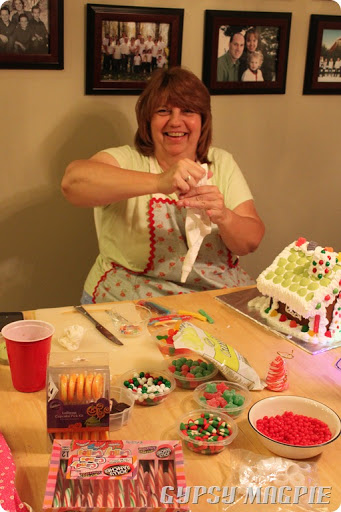
We like to set everything out on a big table so we can share, that way there is more to choose from. Some of our favorite candies to decorate with are old fashioned ribbon candy, star-burst mints, lifesavers, gum drops, candy canes, rock candy, sprinkles, Necco wafers, licorice, and non-pareils. But, you can do whatever your can dream up with this!
One year, when Nana was kicking breast cancer’s butt, my aunt made the most amazing pink house! The whole thing was decorated in pink candies in Nana’s honor. It was the most meaningful gingerbread house ever! This year, my aunt did a blue one and my cousin made a red one, for the local BYU/Utah college rivalry. {Forget that! Go Aggies!}
5. Frosting
In an electric counter-top mixer, beat together:
| 2 lbs. powdered sugar, sifted |
| 6 egg whites |
| 1 tsp. cream of tartar |
Beat for 5-10 minutes or until the shine disappears. We set the timer for exactly 8 minutes and it comes out perfect every time.
Put frosting into a piping bag and you are ready to go!
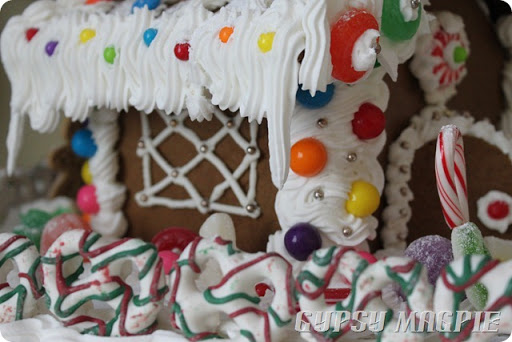
I like to use a piping tip size #4 to do my windows very first thing, before I even put the house together. It’s much easier to pipe them while the side of the house is laying down rather than when it is up. You can do a cute little lattice pattern like I did, or whatever you want. A couple years ago, one of my aunts made stain glass out of melted hard candy and that was beautiful.
After you finish the windows, put on a star tip and slap your house together! Hint: you’ll need an extra set of hands. Sorry I don’t have a pic of the process. I can’t frost and photograph at the same time. It’s easy but you have to move fast! Just stick frosting along the edge and bottom of your side pieces and then stick them to your front and back. Make sure you frost them to the base so the house won’t go flying off. Once you have the 4 walls complete, put on your roof the same way.
Random side note, don’t lick your fingers. This ain’t buttercream, people! If you are anything like me, you will probably catch yourself doing it over and over without meaning to, just don’t say I didn’t warn you. Yuck.
Lastly, you’ll add your door and chimney. We usually leave the door partially open. It’s warm and inviting. *Insert Hansel & Gretel reference here*
For the chimney, you will frost the two tiny separate pieces together, then frost that now bigger piece to the roof with the angled side facing down. And, no, there isn’t a specific place that the chimney needs to be. That’s totally up to you. If there are a lot of you, you’ll NEED a designated frosting maker. Nana has taken that role these days. Squeezing the piping bag gets really hard on your hands after a couple hours. There is no chance in heck that we could bust out as many houses as we do in one night if we didn’t have Nana running the frosting brigade! She is the best. {Jealous? You should be. The woman rocks.}
6. Let your Imagination run WILD!
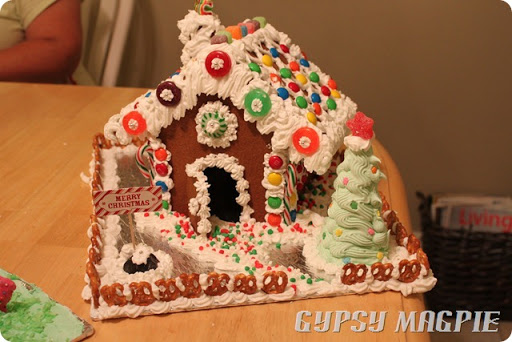
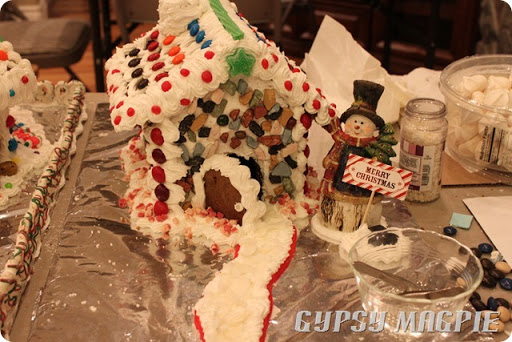
Here are some of the houses that we made that night. Each one is as cute and different as the gal that made it, that’s the best part!
Every one is unique.
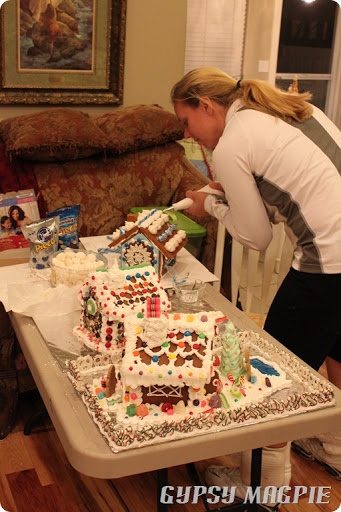
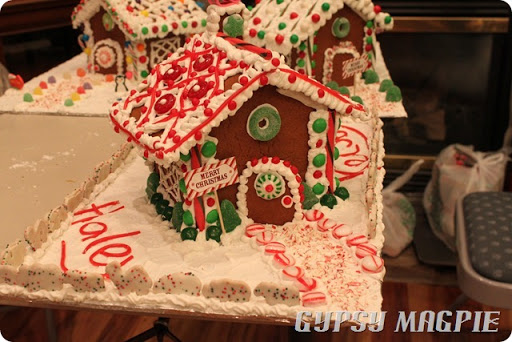
Red and green theme plus a darling animal cracker fence
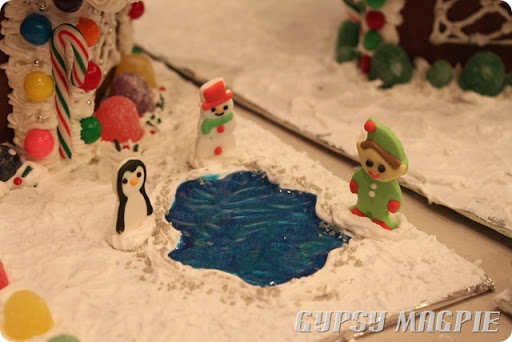
How cute is this little pond made with blue decorator gel!
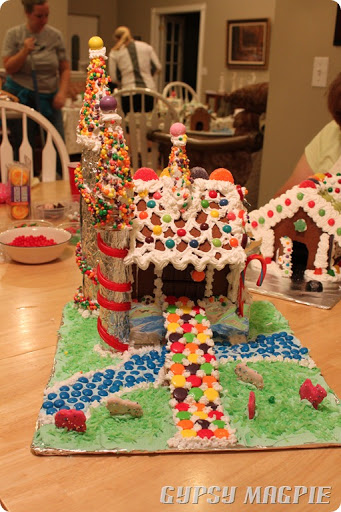
Rapunzel couldn’t have lived in a prettier tower!
But, wait, there’s more…
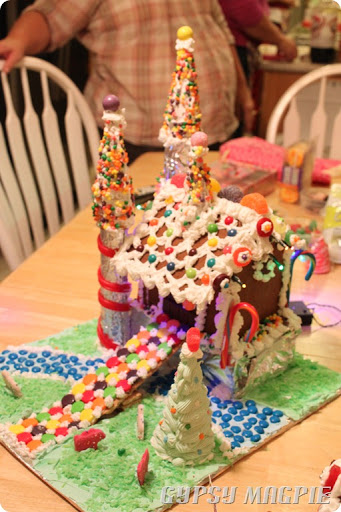
Is that… ?
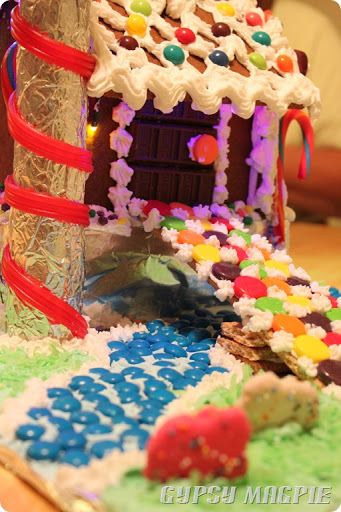
Yep, that dang over achiever even put on Christmas lights!
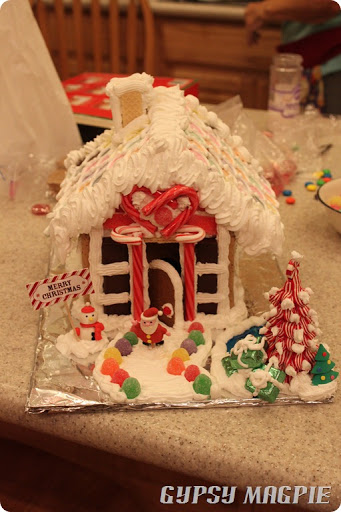
The candy cane portico is pretty sweet, too!
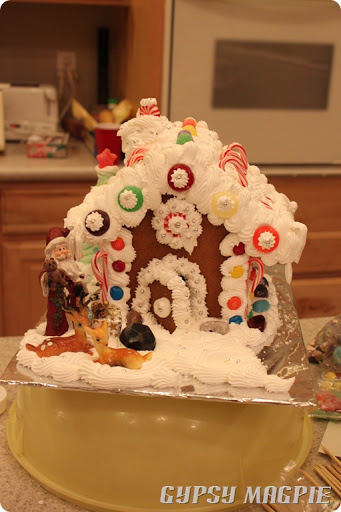
This one is my mama’s.
Those darling little deer in the lower left corner are older than I am.
I better inherit them one day or there will be gingerbread mutiny… I’m just saying.
7. Enjoy it
Every year my house ends up a little different, but some things stay the same. There is always a green sugar cone pine tree, an open front door, little silver dragees, and a frosting pathway.
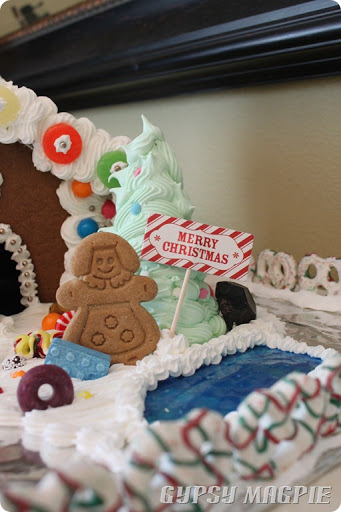
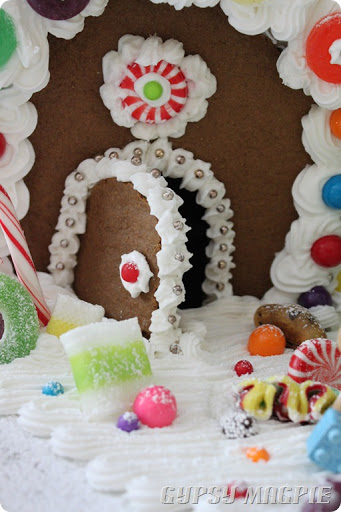
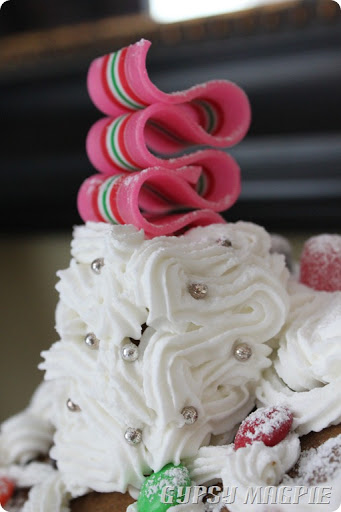
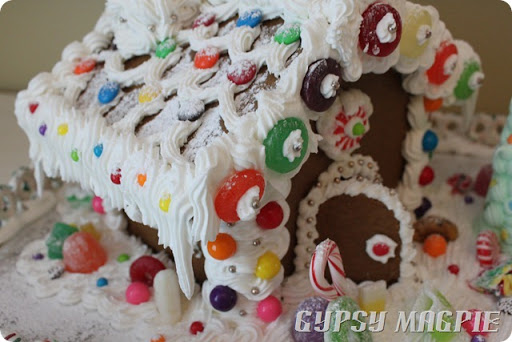
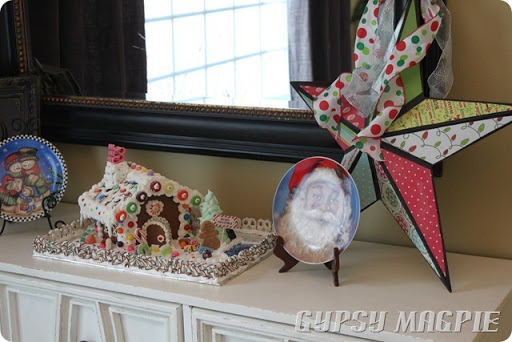
And every year, there is the feeling of excitement when we start, and exhaustion/relief when we’re done! Be prepared for some flat hair, sweat, and some crazy cramped hands, too. Think Jim Carrey in Liar Liar. “It’s the claw!”
You might be able to write like a 1st grader the third day after, I said might.

Rapunzel tower….still the coolest one I ever made! So glad you got good pics of it 🙂
I think so, too, girly!
you are so talented, I am referring to your ability to make a story come alive. The gingerbread house are wonderful too. So where do I click to follow
Hi! Thanks for commenting and for the compliment! There is a green band along the bottom of the page that has a spot to enter your email address. That will subscribe you to posts. Good luck with your surgery! I’ll be thinking of you!