Homemade vanilla
Welcome to my happy place of DIY, homemade, homegrown, handmade, nourished & crafted, whole hearted living. Finding magic in the mundane & growing some roots in the process.
This post may contain affiliate links. If you click on a link and purchase an item, I will receive a small commission. For more info, please see my disclosure on my Connect page.
*This post may contain affiliate links which helps me keep this creative little happy place going*
See my Disclosure page HERE.
Now back to the post…
As I type this, snow is on the ground and everything is under a blanket of white so it seems only fitting to show you a sweet little furniture makeover featuring one of my favorite white paints.
I bought this set of tables last year at a yard sale and they have sat in the corner of my basement since.
I had big plans but things just kept getting in the way, life is like that I guess. We all have big intentions and then they fizzle out and get replaced by something more pressing.
Tell me I’m not the only one that gets distracted like that, please!
At the beginning of the summer I carried them up the stairs and out to my garage.
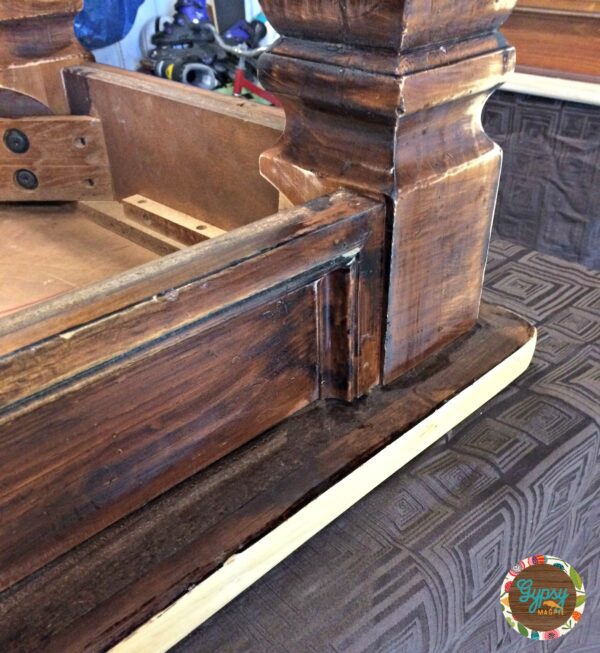
I cleaned and sanded them but then realized they were in much worse shape than I had remembered so they sat in the garage most of the summer while I worked on other things. When the forecast said snow and my husband put his foot down, I finally pulled out the Citristrip and tried to clean away the layers of horribly applied gel stain that the owner before me had attempted to murder them with.
I can’t seem to find my before pic, but this photo from after a lot of work on my part will still give you a good idea of what gel stain should NOT look like. You’ve probably been told to just slap that stuff on without any prep, but that’s not how it is intended to be used.
Real beautiful wood takes effort, it’s not just going to happen in 5 minutes.
Moral of my rant?
Take your time and be patient.
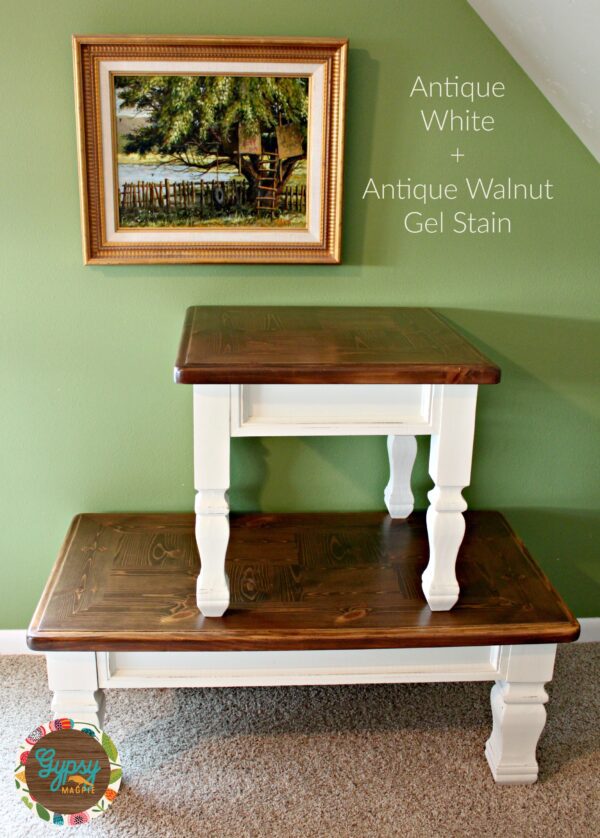
Once it was stripped, sanded, and wiped clean I started painting the bases of the tables.
I used General Finishes Antique White milk paint because I wanted a nice warm white to go with the rich Antique Walnut gel stain I was planning for the tops. I LOVE their products because they are made specifically for wood and furniture unlike the latex you buy at the big box store. I like to buy my General Finishes products at Woodcraft in Sandy, Utah but you can buy them HERE too.
I was hoping that I wouldn’t need a primer because I was planning a distressed/farmhouse look but after one coat of paint the wood tannin started bleeding through in several areas. So, I pulled out a can of Shellac and gave the tables a couple coats. Shellac is a great for stopping bleed through. I also use it for giving paint something to stick to and sealing in smells.
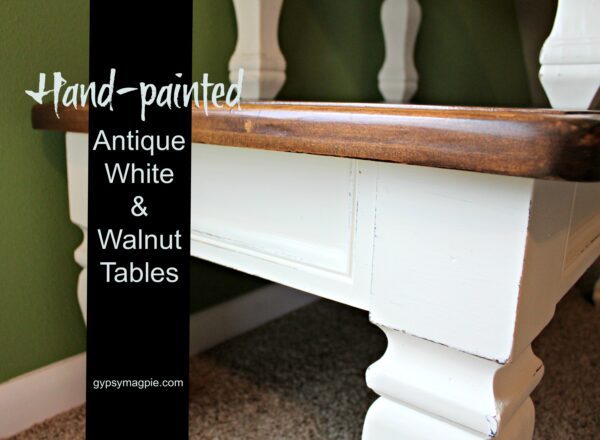
Since I was going for a farmhouse look, I chose to hand-paint the bases of the tables. Hand-painting gives an imperfect texture that I really dig. It looks real and worn, and gives off the feeling that it’s been passed down for ages from grandma to granddaughter. If you want perfect, go with a sprayer, if you want history hand-paint.
I applied 3-4 coats of paint, letting each coat dry according to the directions on the can, letting the last coat dry overnight.
To play with the farmhouse finish, I hit the edges with a sanding pad and roughed it up with my little paint scraper I told you about on Instagram. Remember to go after the places on the wood that would normally get wear and tear like the edges and feet. Less was more for me on these pieces. I wasn’t wanting to go full out chippy, just a little wear and tear.
Once the bases looked the way I wanted I moved on to refinishing the tops.
I applied the gel stain with a stain pad kind of like this one, but you can use a foam brush or even rags. I thought about doing a picture tutorial of applying gel stain, but I was hurrying to beat the snow so I’ll just give you some quick tips. Plus, there really isn’t a reason to reinvent the wheel since the folks at General Finishes have filled their website with a bunch of great video tutorials that show what to do in action. P.S. They aren’t sponsoring this post, they just have really great products that I love and use.
*Watch the gel stain video by going HERE.
My tips:
- Wear gloves as this stuff doesn’t come off easily… just trust me.
- Gel stain is very thick, like pudding, dries very quickly and is highly pigmented so always work in small sections, like a leg or a 2 foot square section on a table top.
- If you are wanting to see the wood grain, like I did on these tables, wipe on a bit of finish then wipe it off with a rag, making sure there is a nice even coat and no streaks. Move on to the next section following the same procedure until it’s all covered.
- Let dry then reapply another coat if necessary.
- You can go to the General Finishes website HERE to learn more.
Once everything was good and dry I sprayed on 4 coats of top coat over everything to seal it all and give protection.
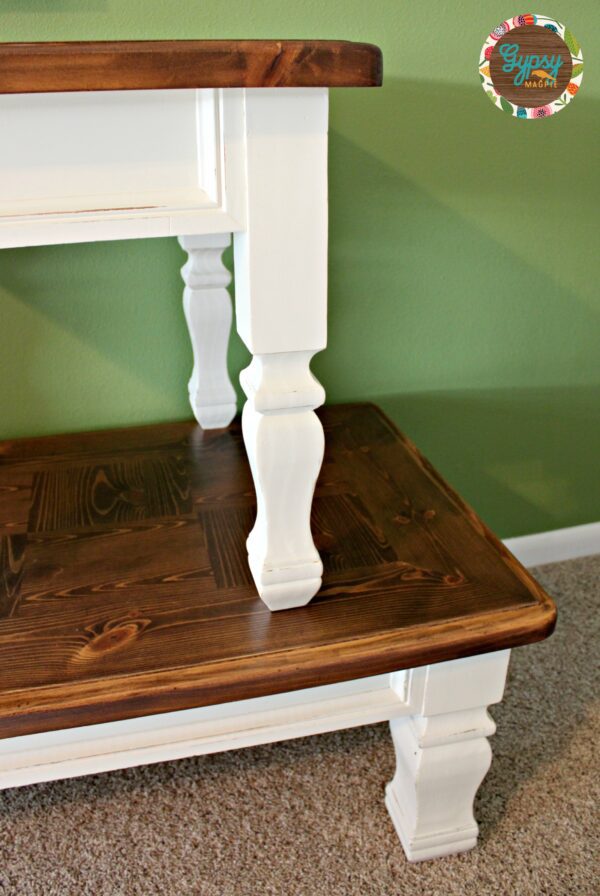
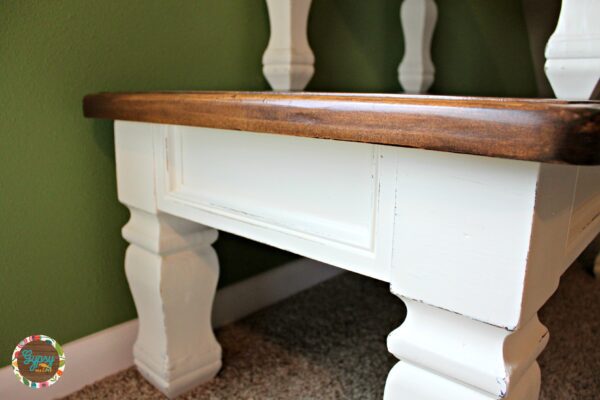
Here are the hand-painted results…
The lighting doesn’t show the distressing very well, darn it.
I’m working on my photography but I still have a long way to go.
Gotta take one bite of that big old elephant at a time, right?
On a side note, I have been wanting to tackle that green wall since the day we moved in. It’s up in a room that nobody other than family really sees so it keeps getting bumped down the to do list. I do have to say it looked pretty fun behind the pretty white tables and warm wood. Not pretty enough to keep forever, death by paint brush is still in it’s near future, but with my favorite painting it made me smile at it for the first time in 5 years so that’s something.
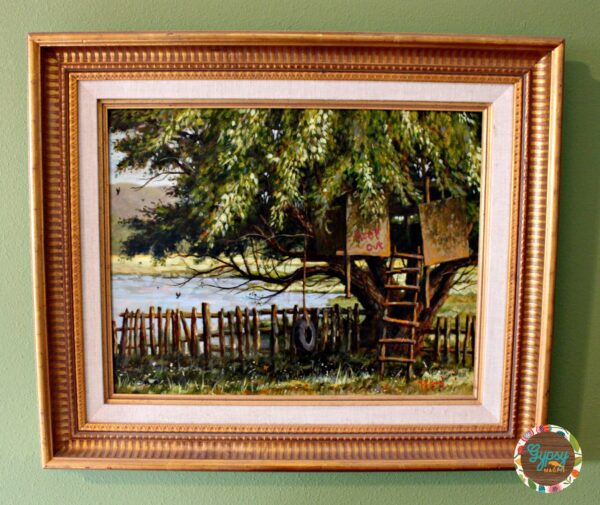
That gorgeous painting was a gift for our wedding and it’s one of my most precious things.
My neighbor growing up painted it just for me. He said every tom-boy, no matter how grown up and womanly, needed a reminder of her childhood and who she once was. I tend to agree. It is the stuff of freedom and daydreams. Sometimes on hard days, I sit in the family room and get lost in that sweet painting that is brimming with my favorite colors and memories. No amount of fancy dishes, pyrex, or pie pans could ever touch that handmade wedding gift in my eyes.
It’s the gifts given from the heart that mean the very most.
Hopefully the owners of these re-loved tables place them under a favorite painting or picture to compliment the rich wood and handed down aesthetic. May it become a favorite place to sit and think of happy days.
Now on to the banker’s desk so I can pull my ice covered car into the garage.
*If you are married, what was your favorite wedding gift?*
These tables are amazing! Way to go, miss you!
Miss you too. Let’s play!