Homemade vanilla
Welcome to my happy place of DIY, homemade, homegrown, handmade, nourished & crafted, whole hearted living. Finding magic in the mundane & growing some roots in the process.
This post may contain affiliate links. If you click on a link and purchase an item, I will receive a small commission. For more info, please see my disclosure on my Connect page.
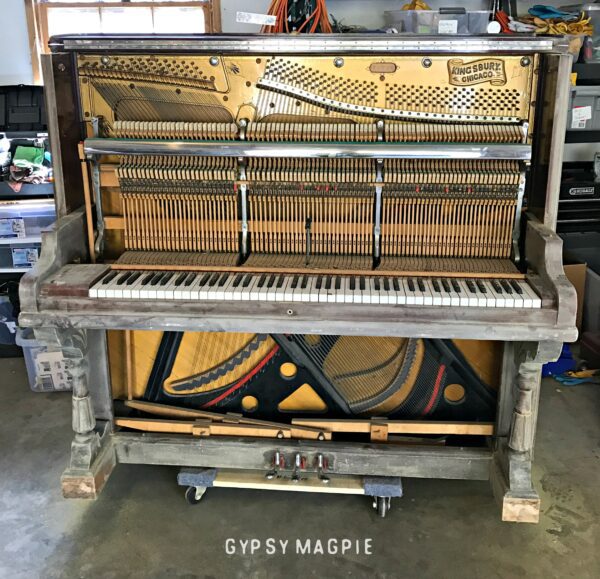
Do y’all remember THIS antique Kingsbury piano that I was working on for a friend of mine last fall?
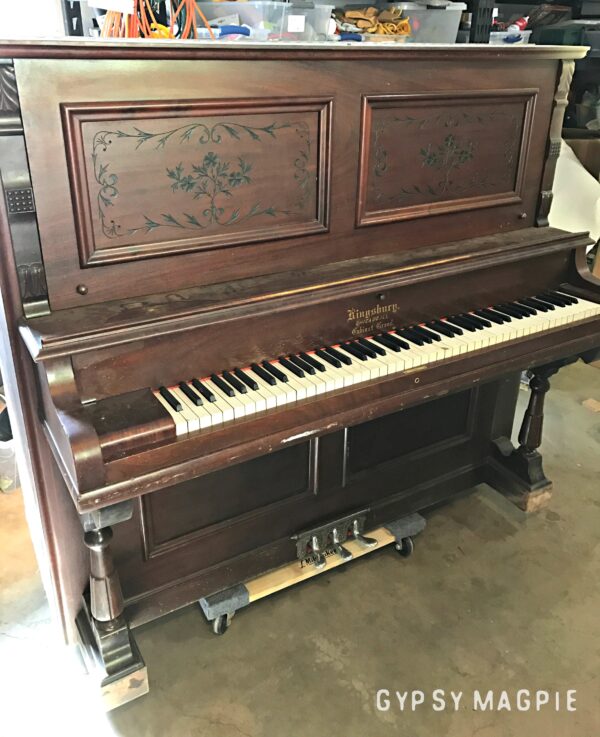
That tired, worn out piece got a whole lot of tender loving care and eventually became the sassy red painted piano she was meant to be. I finished it months ago but wasn’t able to get pics until recently because my dear friend has been at war with the cancer beast and the middle of treatments just didn’t seem like a good time to invade her haven for some silly photos. I’d love to tell you that my friend is all better and the beast is in remission but, sadly, that is not the case. She is still very much in the midst of battle but my girl keeps on fighting, loving, and inspiring. My friend radiates light and no foe can EVER take that from her. We’re talking one seriously rad woman.
Well friends, that rad woman is now the owner of a rad red piano…
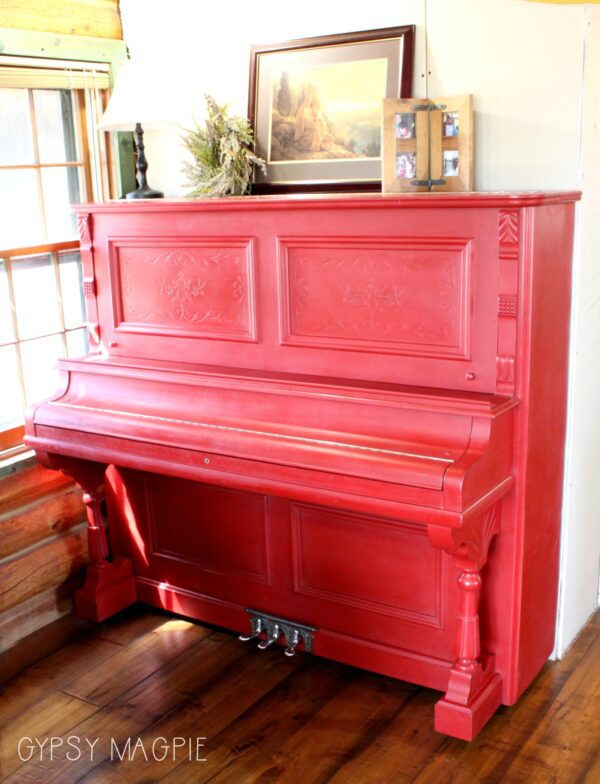
I would have loved to stage this piece, but hauling a bunch of garland and props into my friend’s house seemed a little excessive so instead you get to see this painted pretty as she really lives, in her happy home.
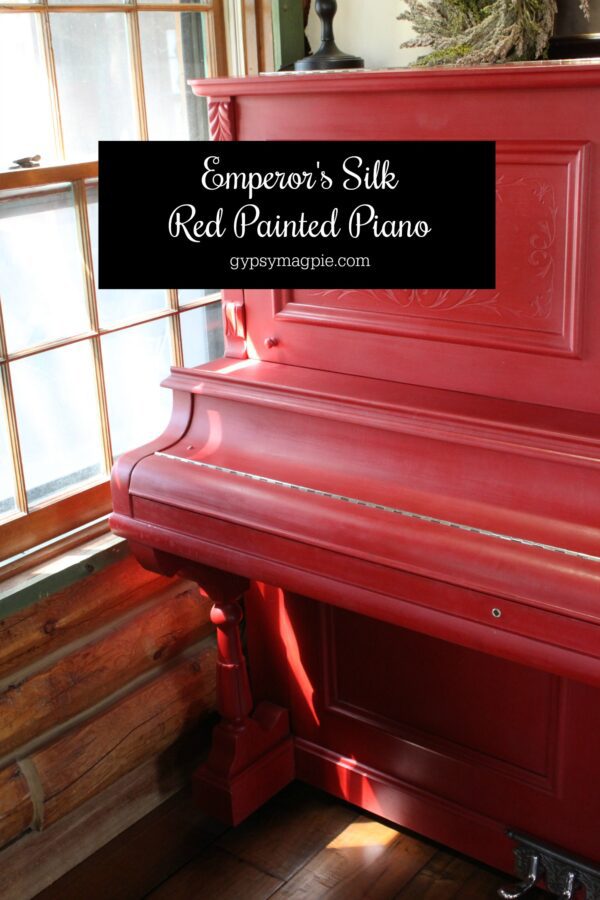
This photo gives a truer representation of the gorgeous color.
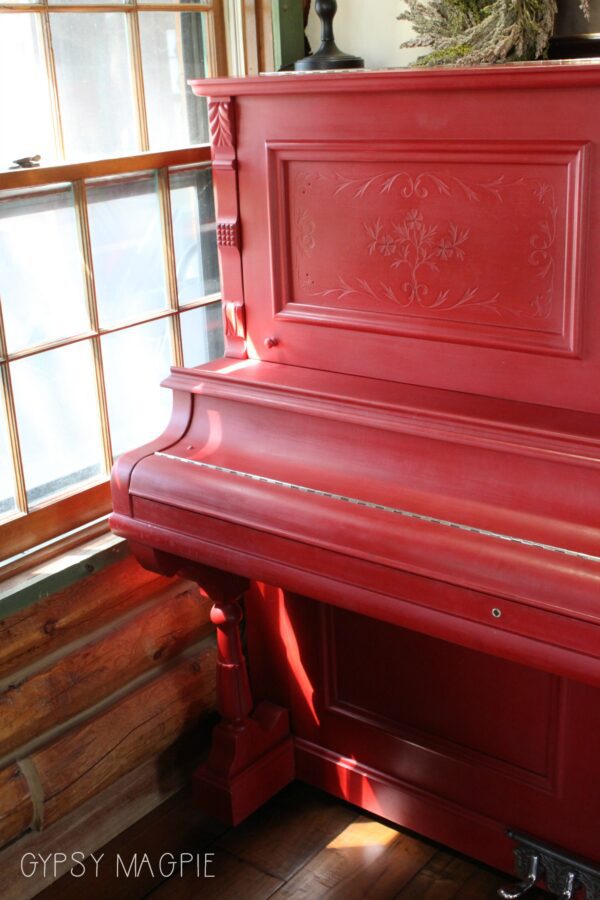
I’ve got to tell you, when my friend said she wanted a red piano I was a bit leery but when I stepped back after my final buffing of wax I fell in love. This painted piano just fits her and I love it!
This post contains affiliate links which helps me keep this creative little happy place going
See my Disclosure page HERE.
Now back to the post…
Lessons I learned from this project:
*It is so much easier to work in your own space.
I didn’t have a way to get the piano to my home so I drove back and forth to my friend’s house to work. This made the project take a lot longer than I had planned. I didn’t realize how many times a day I sneak out to work on a piece in between football practice carpool and ortho appoints. Having to make a special trip and hauling my tools all over wasn’t ideal.
*Bondo is the bomb.
While working I kept hearing David Spade’s voice from Emperor’s New Groove in my head. “What is holding this woman together? What the? How long has that been there?” Bondo, the answer is Bondo. An entire can of it.
Remember when you are working with any filler to be patient. If you’ve got major holes like I did, you’ll need to fill it in layers. Do a rough patch, sand, Bondo, sand, and so forth until you get the shape and look you want. I use painter’s tape as a mold to get straight lines while rebuilding certain areas. It won’t be perfect when you pull the tape off which is fine. Sand the rough parts back and you’ll be golden. Oh, and after the Bondo dries, shellac or prime. This helps the paint go on evenly.
*Chalk paint is fantastic for imperfect pieces.
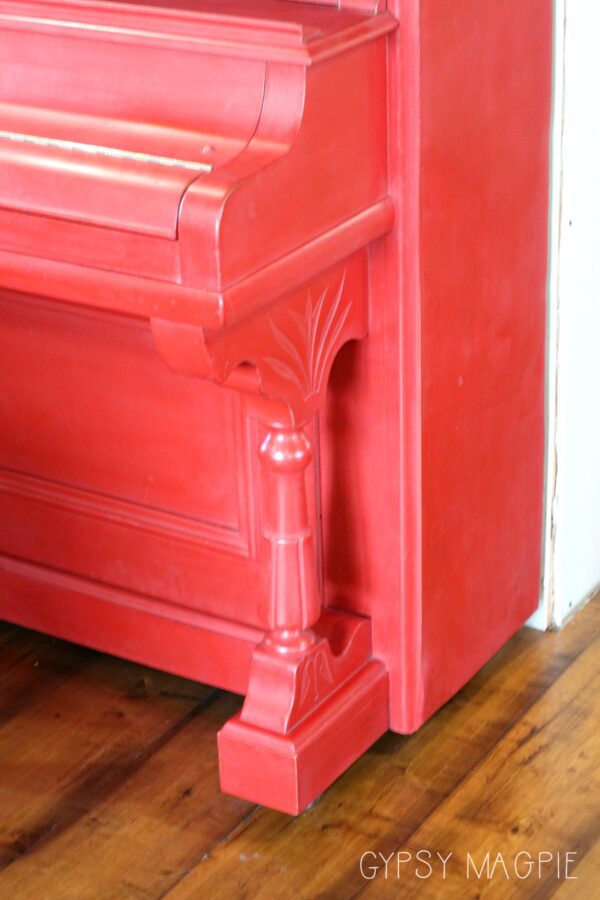
There were so many imperfections on this piece but chalk paint covered beautifully. It fit the age and style without being overwhelming. I lightly distressed to show the old wood through the red, which gave it dimension.
I love how fail proof this type of paint is!
In a world where neutrals are all the rage, a bright happy color is invigorating.
I have painted a ton of white and grey the past couple years. Getting to paint this old girl in a vibrant red was so fun! The rich color pulled out the details of the carvings and gave the whole piece a cheery feeling of youth.
Products Used:
- Bondo
- Shellac
- Annie Sloan Chalk Paint in Emperor’s Silk
- Annie Sloan Clear Wax
- And, a truckload of sandpaper. Sheesh.
You Do You
I know I’m going to get some painted furniture poo-pooer’s (Word? Sure, why not.) on this post, but oh well. Yes, this piano is over 100 years old and back in her heyday she was no doubt one heck of a looker but, guys, the decades weren’t kind. In the words of my grandpa, “this old gal was rode hard and put away wet!” I am a major antique junkie and because of that, I generally choose not to paint a piece unless it is too far gone to save. To completely restore this worn out piano to her former glory would have cost thousands of dollars and months of work. One quick glance at the antique piano market shows that my friend would never be able to recoup that kind of investment.
So it comes down to this; would you rather see an antique dumped in the landfill or fiercely adored?
I choose the later. One of the cutest tweens I know now has a bright, cheery place to practice her music in the middle of a family cancer war. And for that, I’d paint this piano again any day of the week. Painted pianos bring joy. You do you and I’ll do me.
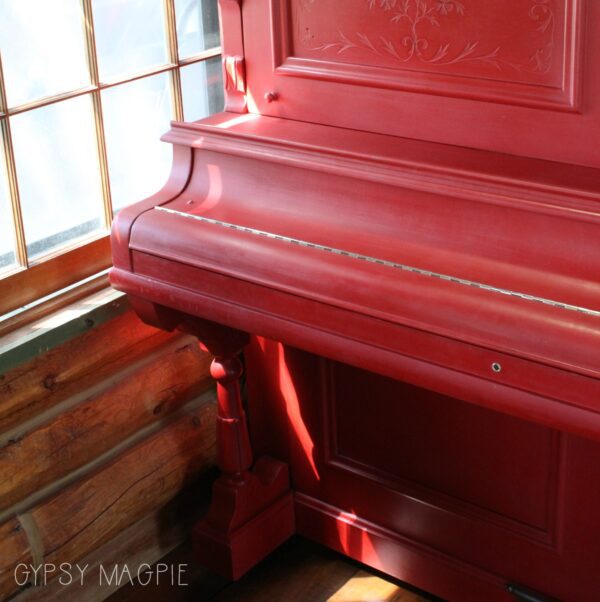
This pretty girl is living the good life in a wonderful home.
She’s proof that with some love, beautiful things happen. It was a pleasure to have a part on this project.
I hope this sassy red piano brings joy to a family that I love for many years to come.
Inspire My Creativity

I almost forgot, it’s the 2nd Wednesday!
Know what that means? It’s time for some Inspire My Creativity link party fun! If you can’t already tell, this month our theme was chalk paint. Stop by each host’s site to see what she did with chalk paint and hopefully get some inspiration to tackle a project of your own.
If you’ve got a killer chalk paint project that you are proud of, make sure to link it up below!
Brought to you by these awesome ladies!
Stop by on the 2nd Wednesday in September for all things autumn.

Wow! It looks amazing! I love how bold it is!
What a beautiful piece. I would have never thought to paint a piano red, but it looks perfect!! Amazing job!
Wow! That’s amazing! I wouldn’t have thought I’d like a red piano but I really do! You did an awesome job!
How beautiful. Even though the piano is an antique you know if it has value, So I think you made the right call.
I LOVE how this turned out! I’m not a fan of red, nor do I play the piano, but now I want to go out and get a piano to paint red LOL.
I LOVE LOVE LOVE this! The color is amazing and I love the detail all over it. I would love to know how you do the waxing. I was not successful when I tried it so I stay away. You have got such talent!!
Thanks friend! I’m really picky about what wax I’ll use. I haven’t found one at the big box that cuts mustard. I use a big wax brush and work the wax in a circular pattern then go back and forth over it. Don’t use too much wax, a little goes a VERY long way. Once applied, I let it dry for a bit and then buff with a lint free cloth. If it still feels tacky, there is too much wax and needs to be buffed some more.
Thanks for sharing. That looks gorgeous now.
What a meticulous job of painting and how beautiful the restored piano looks. I hope someone was good enough to restore the inner-works as well. I would be a treasure. I own a 1923 Sebastien Erard grand piano that was restored inside and out by a pro and it is my pride and joy. Nothing sounds as good or looks as beautiful. True, I didn’t paint my red but you did such a wonderful I can’t complain. I hope it gets lots of play time.
This piano has been very loved. My sweet friend, the owner who I worked on it for, passed away from cancer last year. I’m so glad her kids have her piano to remember her. It’s so tender to my heart.