Homemade vanilla
Welcome to my happy place of DIY, homemade, homegrown, handmade, nourished & crafted, whole hearted living. Finding magic in the mundane & growing some roots in the process.
This post may contain affiliate links. If you click on a link and purchase an item, I will receive a small commission. For more info, please see my disclosure on my Connect page.
*This post may contain affiliate links which helps me keep this creative little happy place going*
See my Disclosure page HERE.
Now back to the post…
![]()
Many years ago, my husband’s aunt gave us a little manger and a baggie full of straw as a Christmas present and it has been the centerpiece of our dining room table and Christmas traditions every year since. This little manger represents the love of Jesus. In the weeks before Christmas, we do small acts of secret service for each other then quietly place a piece of straw in the manger to soften the bed of the Christ child. This simple tradition has become one of the most cherished parts of the Christmas season for me. I look forward to the feeling of kindness and love that ever so gently and silently comes with it.
The last few years, our little manger, which is simply a few pieces of balsam laid on top of each other, has started to look a little shabby and dated. If you remember, our Family Focus this month is on Our Savior so we have been trying to do activities and make moments that keep Him in our hearts. I laid in bed the other night thinking of what more our family could do to focus on our Savior and this sweet little tradition came to mind. I realized it was time to create a new manger and maybe, in the process, inspire a few of you to make one too.
Like I said above, our manger is our centerpiece so I wanted something that could really stand on it’s own and catch your eye, but also blend nicely with our other Christmas decor. I like a bit of a rustic, vintage Christmasy feel so I knew the new manger had to feel old and worn. Barnwood would have been the perfect material but I didn’t have any available, so I grabbed several pieces of pine from my wood pile and some Weatherwood stain.
(You can read more about how to use Weatherwood and what I’ve done with it HERE.)
I just kind of made it up as I went, so it isn’t perfect but I think that makes it even more beautiful. When I imagine the bed that Mother Mary laid her precious baby in, I don’t picture perfection.
I imagine a rustic, well worn structure meant for animals not a heavenly king.
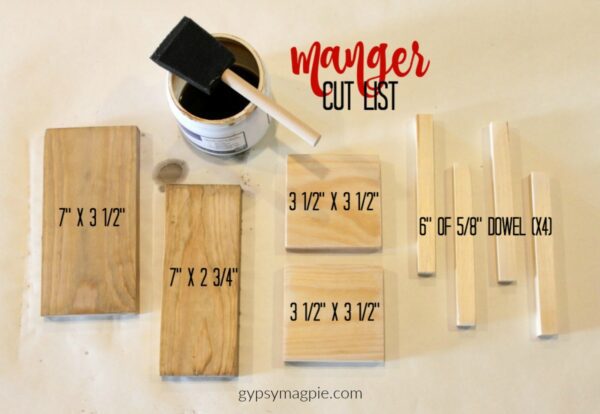
Here is what you will need…
It really doesn’t matter what kind of wood you choose to use, I used pine because I had several pieces in my basement. If you have barnwood, that would be lovely! I guessed and played around with my measurements until I found what worked for me so don’t feel like you have to make your manger the same. Just like any project I post here on Gypsy Magpie, this is just an idea/inspiration. Find what works for you and your family.
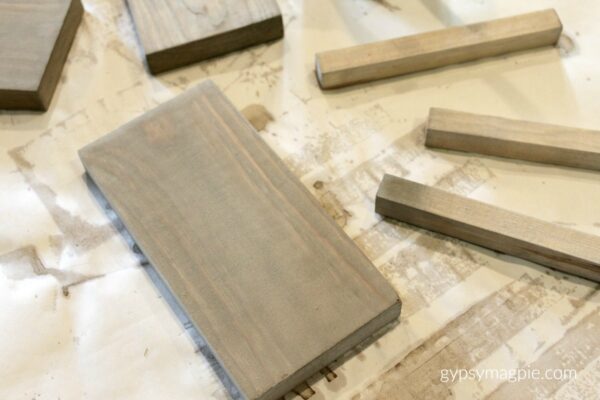
I cut my boards, lightly sanded, and then stained them with Weatherwood. Once they were dry, I headed out to the garage with my brad nailer and put the pieces together. If you don’t have tools or they scare you, feel free to use hot glue. Like I said, make it your own! I have a Tim the Tool Man Taylor thing (Yeah, let’s just pretend I look like Heidi from Tool Time, alright?) with power tools so that’s what I always reach for first.
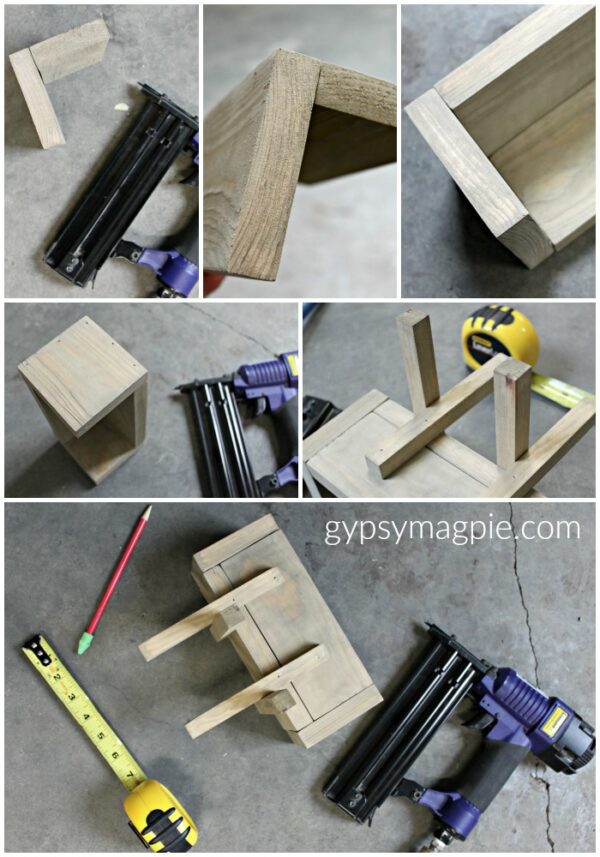
With my brad nailer and some 1″ brads, I had this knocked out in 5 minutes.
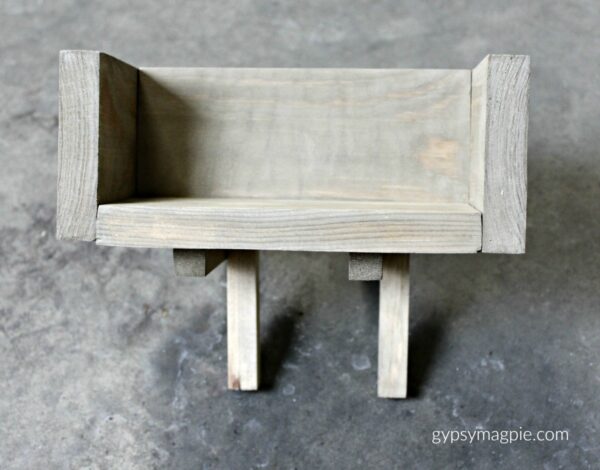
Start by making a V shape with the two long pieces, then add the square pieces to both ends.
Lastly, attach the legs. I inset mine 2″ in on both ends.
Note: I don’t love the look of the symmetrical legs that I did on this one, so the next manger I make will have mirrored legs instead. (If you happen to be one of my close friends or family pretend you didn’t see that! Mmmkay?) I just put my little manger together as I went so there was bound to be a mistake or two, right? I’m weird, so that may not bug you like it does me but if it does, change it up by simply mirroring the legs on the right to the legs on the left instead of alternating the leg placement in a pattern.
Honestly, it really doesn’t matter as long as the legs hold it up!
I left the pin holes untouched because I like the rustic look but you could fill them with wood putty if they bothered you.
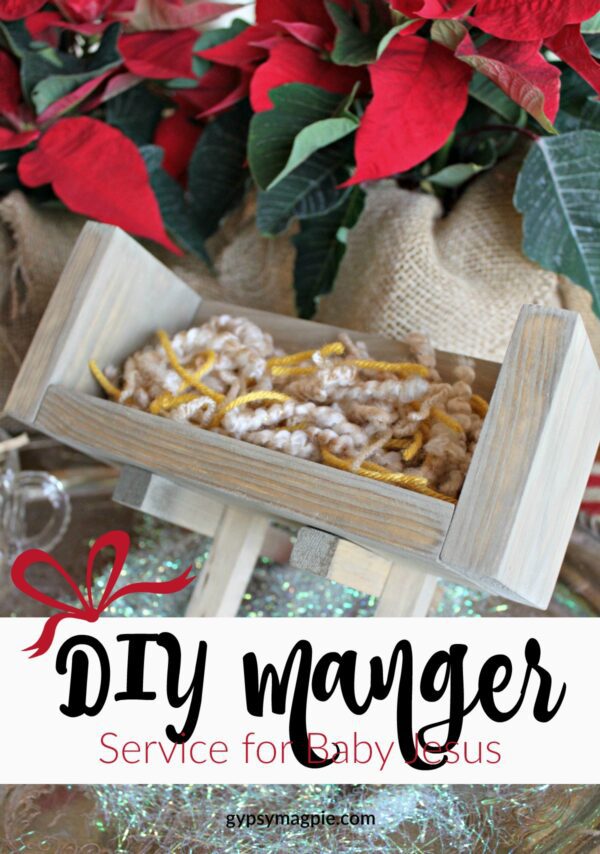
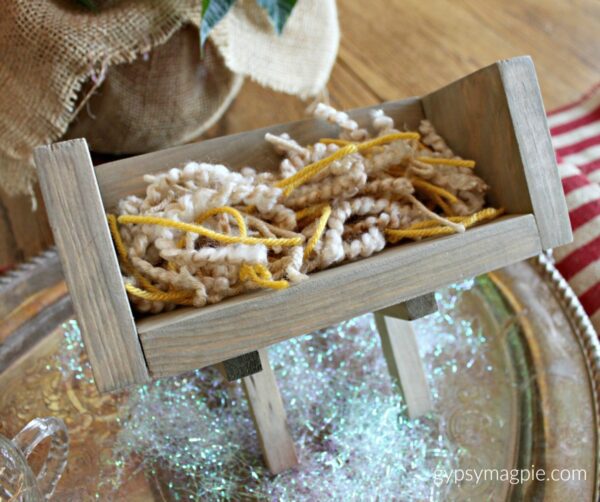
Here it is all put together…
I love the grey wood but if you aren’t into that you can always use another color of stain or even paint. You don’t even need to put anything on it if you have a pretty old wood that you love. The finished result is completely customizable to your taste and home. I think a white wash would be really fun and I may or may not have a beautiful walnut stained one 3/4’s of the way done in my garage.
It’s really pretty if I do say so myself!
Once the manger is all put together it’s time to make a soft bed.
I like the look of straw or raffia, and we’ve used that for years, but I thought it might be fun to change things up and use yarn for a homespun touch so I ran to our local store and bought a few skeins.
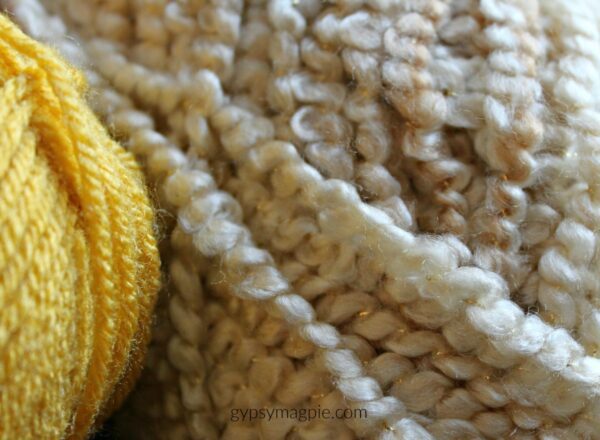
I chose a light beige, a soft mustard, and a glittery, textured yarn with gold flecks in it.
I love the combination of the three.
Just look how pretty those little flecks are!
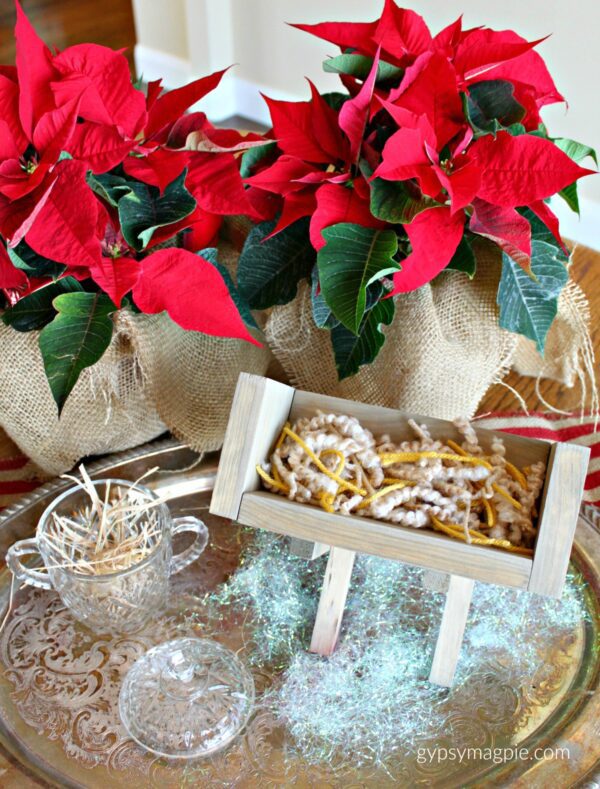
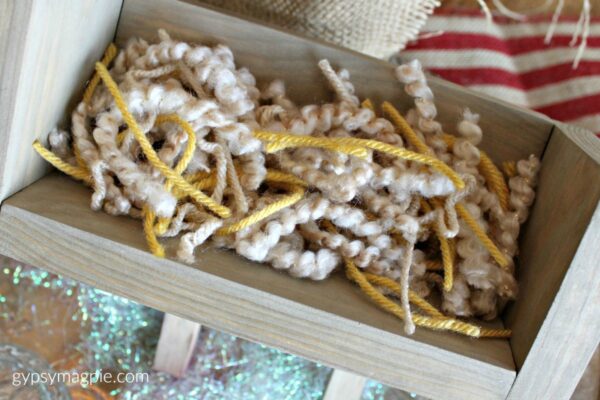
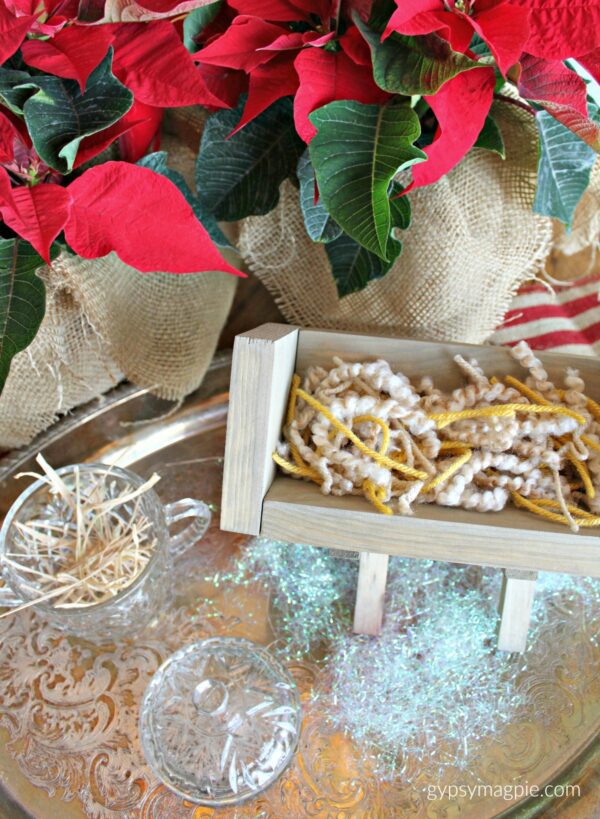
I cut the yarn into pieces and added them to the manger so it was nice and fluffy.
I’m going to place our “straw” in an old crystal sugar dish but a pint sized mason jar would also be darling.
I left some raffia in our sugar dish so you could get an idea of what that might look like if you weren’t wanting to use yarn.
Once you have your manger made, plan a short lesson on the birth of Christ to share with your family.
Here is a rough draft for a family night-
Opening Song: Away in a Manger
Opening Prayer:
Message: Read from the Bible the story of Christ’s birth, pausing to talk about the how there was no room for them in the inn. Ask how we might make room in our home for the Christ child. Point out the gifts the Wise Men brought from afar for the newborn babe and explain how we too can give gifts to the Baby Jesus. Ask your family what gifts they might give our Savior this Christmas season. Talk about how Christ went about doing good, and ask how your family might serve. Present them with the empty manger and the pile of “straw” and invite them to do service for one another. The goal being to make a soft bed for the Baby Jesus by Christmas Night.
Closing Song: Silent Night
Closing Prayer:
Treat:
Place the empty manger in a prominent spot in your home.
As your family goes about the next few weeks, quietly remind them to serve.
When they serve one another, remind them to place a piece of “straw” in the manger then on Christmas Eve take a moment to sit with your family near the manger and talk about the gifts you’ve each given to our Savior throughout the Christmas season. Share your feelings on the birth of Jesus Christ and what it means to you.
This tradition has become a special part of our Christmas and it all started with a gift from a loving aunt. Who knew such a simple project could have such a lasting affect on a family and home!
As we enter this glorious Christmas season, may we ever focus on the birth of the Savior of the world.
May His spirit touch our hearts and fill our homes.
“Joy to the World, the Lord is come.
Let earth receive her King!
Let ev’ry heart prepare Him room, and Saints and angels sing.”
How can you invite the Spirit of Christ and Christmas
into your home this holiday season?
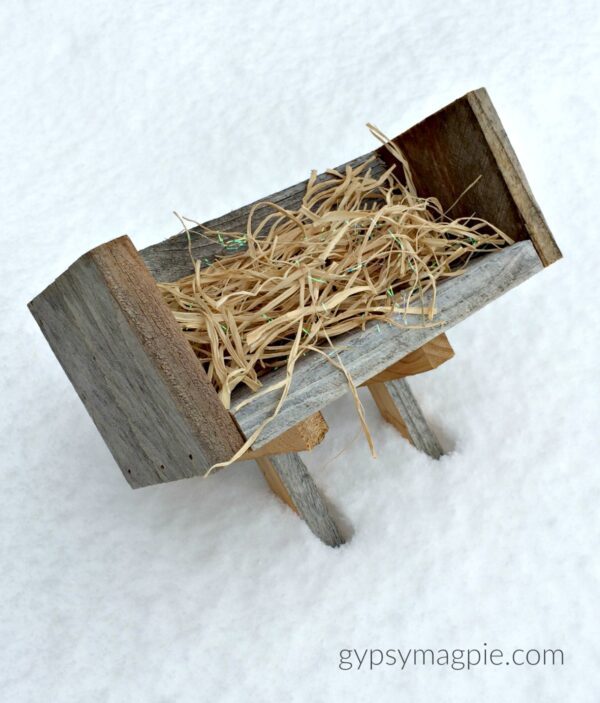
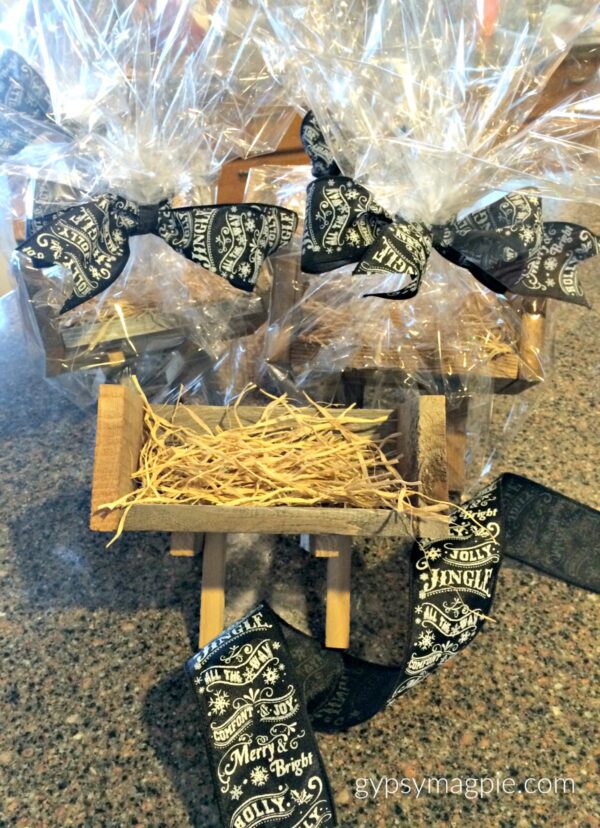
*Update: I ended up finding some old fence slats in my backyard so I made some mangers and they are hands down my favorite! Here’s what they looked like…
And, here is what they looked like all packaged up and ready to give to some of the families that we love.
I’m so happy with the way they turned out!

I just LOVE this! Thanks Missy for the great idea!
I’m glad you like them Steph! Your kiddos are the perfect age!
You know you should sell these, I would buy one. I have a brother who makes wooden toys but for my I would not have the first clue. This is reall beautiful, I love weatherwood!