Homemade vanilla
Welcome to my happy place of DIY, homemade, homegrown, handmade, nourished & crafted, whole hearted living. Finding magic in the mundane & growing some roots in the process.
This post may contain affiliate links. If you click on a link and purchase an item, I will receive a small commission. For more info, please see my disclosure on my Connect page.
Once a month, the women in my mama’s family get together and have a girls night. Everybody brings a project that they are working on {Sewing, mending, coupons to clip, photos to organize, fingernail polish, whatever they want to do!} and we sit together and chat. It’s the one time a month that we can just enjoy each other’s company, relax, and eat chocolate with no kids, men, or stress allowed.
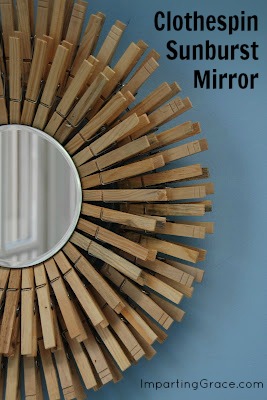
via Imparting Grace
In March, I found this great tutorial for a CLOTHESPIN SUNBURST MIRROR {Don’t forget to click on the capitalized blue link to see her great step by step tutorial!} over at IMPARTING GRACE and knew I had to have one in my laundry room. So, I ran to the dollar store and bought all my supplies then headed down the canyon to our monthly girls night.
Total cost for the project…$5.00!
It took me a little while to get the clothespins how I wanted them, but after that it went really fast. Well, except for the gluing the two plates together part, but we’ll get to that in a minute. You simply clip the clothespins to the clear plates, glue the plates together, then glue the mirror on and stick a pop can tab on the back. So easy.
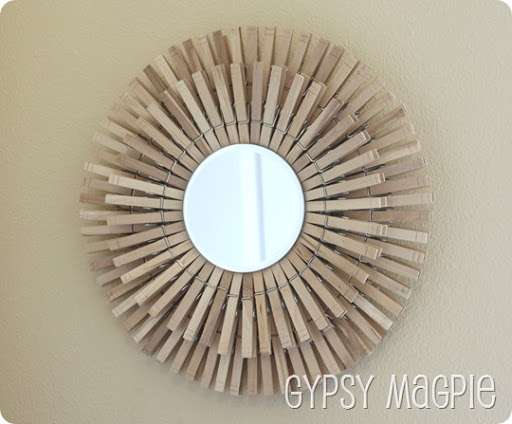
Here’s mine.
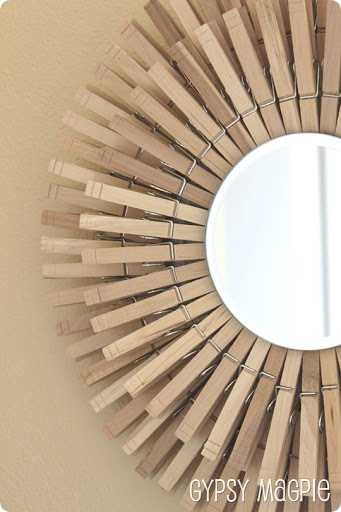
It turned out really fun and I love that it’s made out of clothespins. When I get my laundry/mudroom complete in a few months {waiting on shelving and cabinets} I’ll show you how cute it looks in the room, but for now you just get these close ups. Deal.
Here’s my two cents…
*Make sure you get flat, plain glass plates. {You could probably use HEAVY duty clear plastic plates if that’s what you had.} You want them to be clear so you don’t see them between the clothespins. And, you want the plates to be flat so you don’t have a crazy hard time trying to glue the two plates together, I learned the hard way. Note to self: ridges are a beast to glue.
*You might need a stronger adhesive than just hot glue because this gets pretty heavy once you get all those clothespins on. I tried first with hot glue but it just wasn’t cutting it, so I moved up to E6000 and it worked like a charm.
Cute, funky, fun, easy, and inexpensive.
That’s my kind of project!
Thanks to IMPARTING GRACE for the great tutorial and idea!
Make sure to stop by her blog!


Your mirror turned out great! I’m glad you were able to use my tutorial, and I really appreciate your linking to it. 🙂
You are ABSOLUTELY right about the hot glue not being strong enough to hold the hanger. I learned that lesson the hard way, too! 🙂
Wow! Thanks for stopping by! You had a great tutorial. Thanks for sharing your ideas!
E6000 that stuff if awesome! So glad you finished it, super cute 🙂
Now if only they could reinvent it without all the carcinogens!