Homemade vanilla
Welcome to my happy place of DIY, homemade, homegrown, handmade, nourished & crafted, whole hearted living. Finding magic in the mundane & growing some roots in the process.
This post may contain affiliate links. If you click on a link and purchase an item, I will receive a small commission. For more info, please see my disclosure on my Connect page.
When I was a girl, I liked to help my grandpa out in his workshop. To keep me from getting under foot, he used to give me pieces of scrap wood, a hammer, nails, and rubber bands. He taught me to hammer the nails into the wood, then showed me how to use the rubber bands to make shapes and letters. I thought it I was the greatest helper!
While brainstorming ideas for a DIY project based on Hope for Mormon.org’s #PRINCEofPEACE, the rubber band art popped in my head and the rest is history. I looked through my pile of scrap wood, pulled out some nails, and set to work.
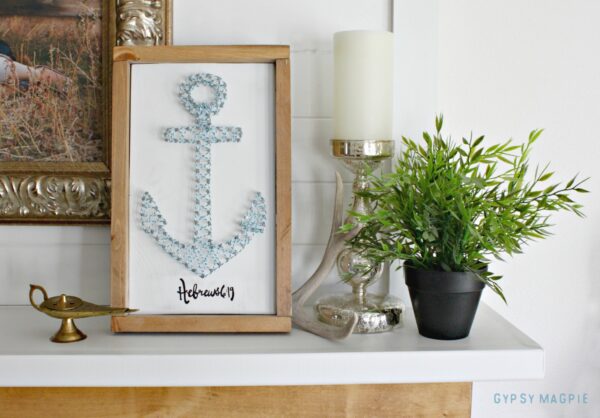
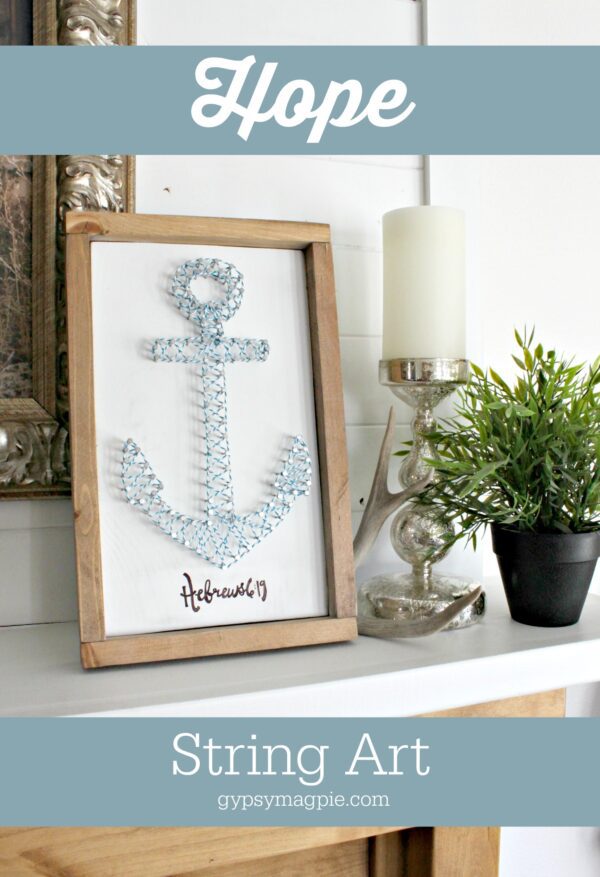
DIY Anchor String Art
This post may contain affiliate links which help me keep this creative little happy place going
See my Disclosure page HERE.
Now back to the post…
Supplies:
- 1×8 board cut to 12 1/2″ length
- 1×2 board cut 2 pieces at 12 1/2″ and 2 pieces at 8 3/4″
- sandpaper
- stain & rags
- paintbrush
- white paint
- black paint/tiny paintbrush, Sharpie, or cut vinyl
- printed anchor pattern
- hammer
- wire nails (I used 1 x 16 from my local hardware store)
- baker’s twine, embroidery floss, or string
- hot glue
- wood glue
- brad nailer or small finishing nails
- sawtooth picture hanger or Command Strips
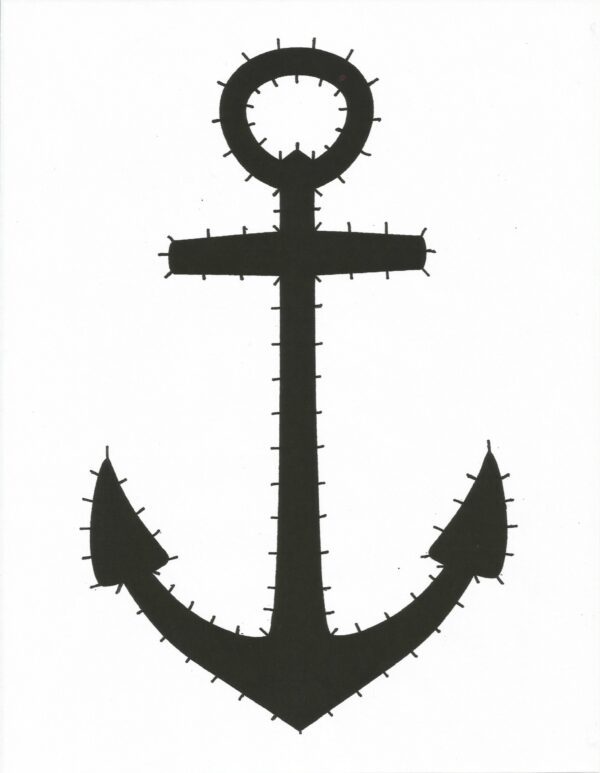
Download Free Printable String Art Pattern HERE
Instructions:
Cut boards and sand smooth
Stain to desired color (leaving the front of large board unstained)
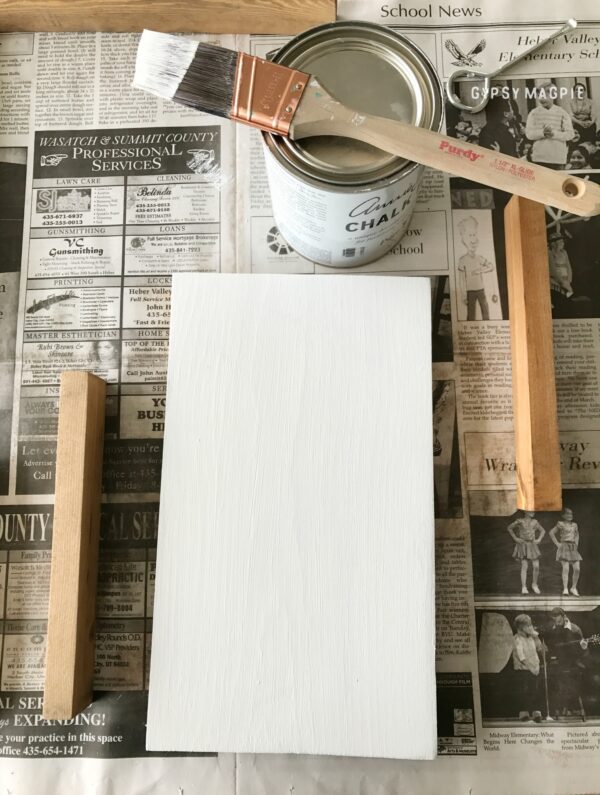
Paint front of large board and let dry
Print anchor pattern
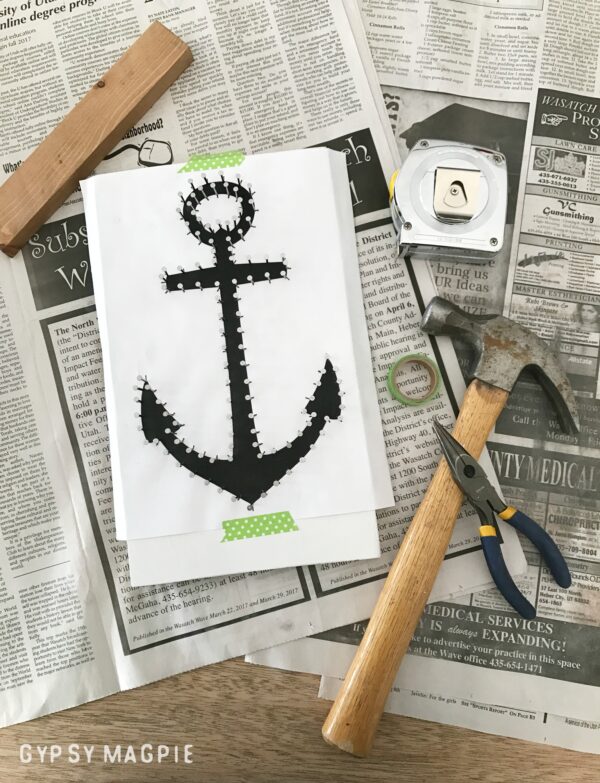
Nail around anchor pattern, spacing nails about 1/2″ apart
Rip off pattern: use a pair of tweezers to pull off any bits of paper that may be stuck
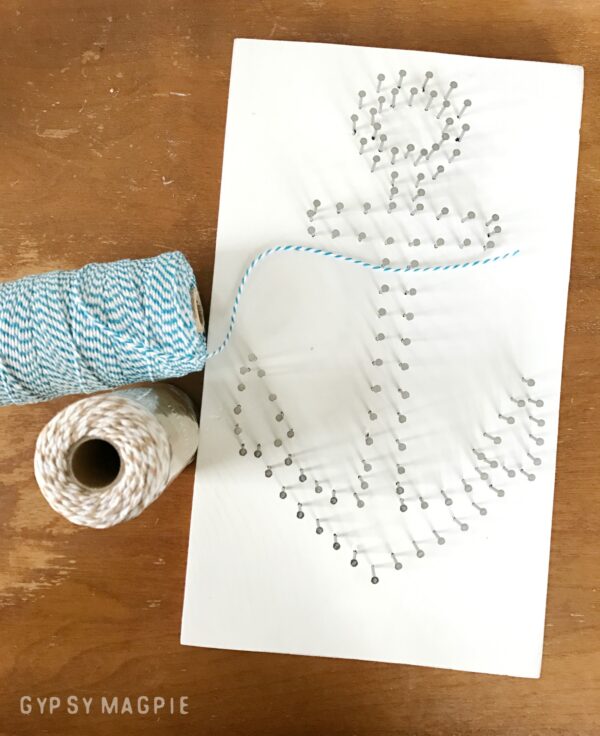
Knot off twine onto nail: Make sure to tie the knot on an inside area so that it will be hidden from view in the finished project. Also, I found it helped to add a dab of hot glue to hold the knot nice and tight.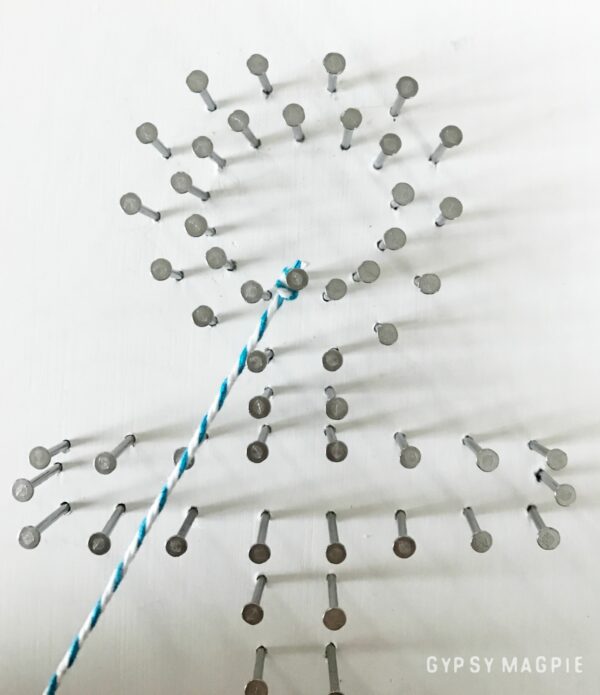
Wind twine around nails to create desired effect: I skipped every other nail and then caught those nails on the way back around the pattern. There is no wrong way, just play with the twine until you get the effect you want.
Tie off end of twine: Add a dab of hot glue then tuck the knot into the string art to hide
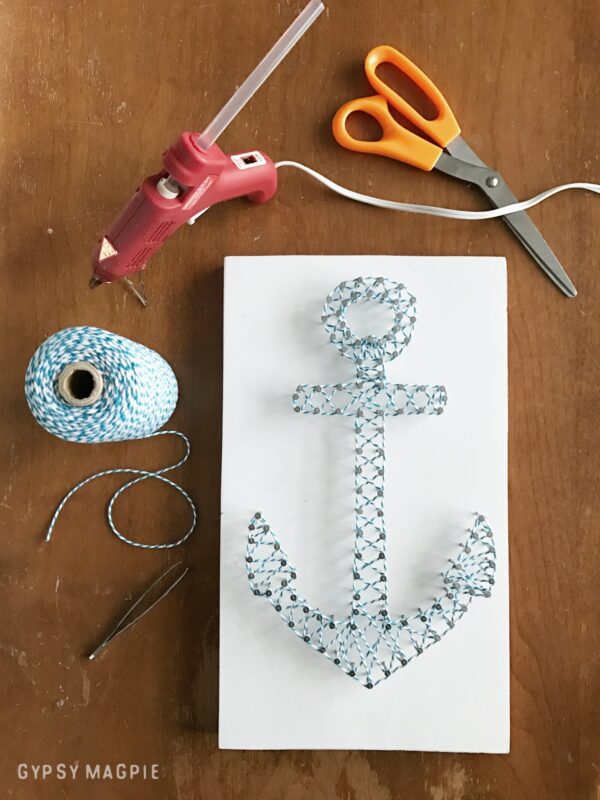
Paint or write scripture: Learn from my oopsie! Add your scripture BEFORE putting on your frame. Duh. I obviously wasn’t thinking the process through, was I? Haha! Anyway, don’t do that. Add your scripture or saying and then put on the frame.
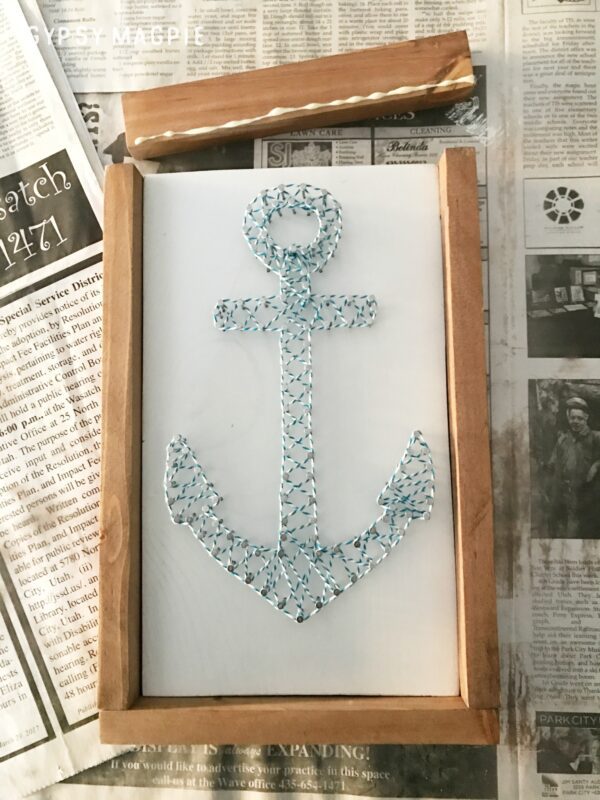
Glue and nail on long frame pieces along the outside, then glue and nail on short pieces across the top and bottom of the sign
Add sawtooth hanger or Command Strips to the back of the sign and hang
Tips and Tricks:
If you do stain the front of your board, spray it with shellac or a top coat to seal the stain so it doesn’t bleed through your white paint.
If you are having trouble while nailing the anchor shape, use a pair of needle nose pliers to hold the nail while you are hammering in tight, tricky spots.
You may have to play with the twine a bit until you find a pattern you like. Like I said above, there is no wrong way so don’t stress. Make it unique and totally you. If you have to unwind it and start fresh, no big deal.
If you want a professional look, make a vinyl stencil to paint on your scripture. It’s your string art, do what makes you happy. I made this project for someone special, so I wanted it to have my handwriting. It’s not perfect, actually, it’s crooked, but she won’t care.
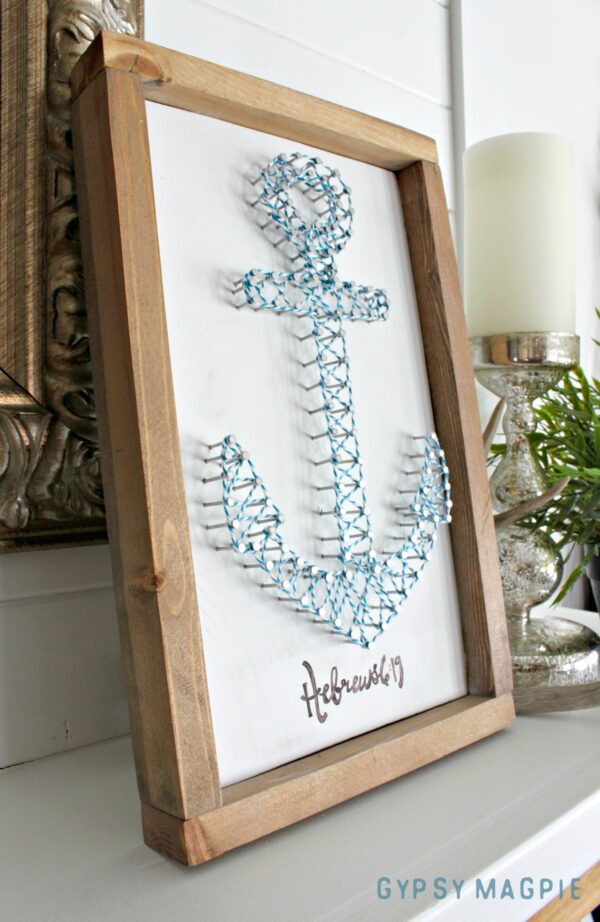
Anchored to Hope
Keep in mind, this project does take some time, but it turns out so cute. Maybe I loved it so much because it reminded me of the old Sailor’s workshop and my hours spent creating with rubber bands. Isn’t it funny how the little things one day become the big things? I’m grateful for the opportunity I’ve had to focus on hope this Easter season, it’s given me so much to think about. Grandpa and I were both so stubborn. He ran a tight ship and I always marched to my own drum. Sometimes it’s easy to remember the hard, but working on these posts helped me find a sweet peace with his memory. It reminded me of the good times that often get pushed aside or forgotten.
I have been reminded where to put my anchor… I choose hope, just like he did.
Please visit Mormon.org for more on the #PRINCEofPEACE.
And for activities, games, lesson plans, projects, and DIYs focused on this Easter Initiative,
check out The Red Headed Hostess!

Hi! I love this project, and I am planning to have a 5th&6th grade classroom make them. Could you give me an approximate amount of twine/string needed to make one completed anchor?
Thanks!
Hi Shelley! That’s such a fun school project! I am not sure how much twine I used. I really should have measured that and added it to the post, but I just had a big spool of baker’s twine and made it up as I went. I gave the string art as gifts so I don’t even have one to measure off of. I’m so sorry. I wish you and your 5th/6th graders all the best!