Homemade vanilla
Welcome to my happy place of DIY, homemade, homegrown, handmade, nourished & crafted, whole hearted living. Finding magic in the mundane & growing some roots in the process.
This post may contain affiliate links. If you click on a link and purchase an item, I will receive a small commission. For more info, please see my disclosure on my Connect page.
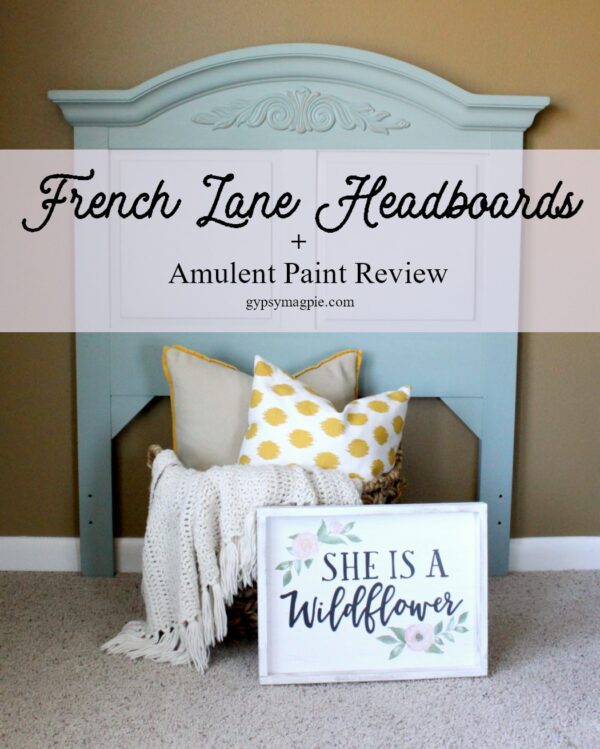
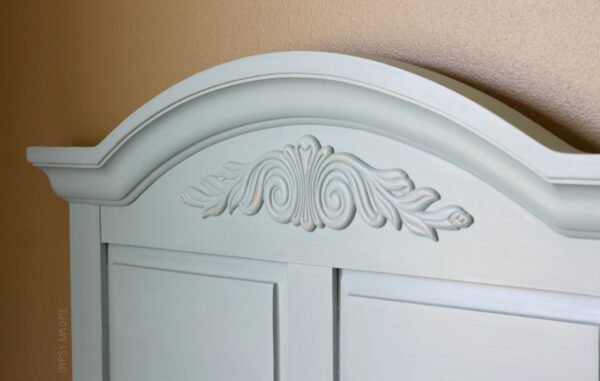
Remember these headboards from the last couple weeks of my Instastories? After some cleaning, filling, sanding, and a couple coats of watery blue-green paint they are prettier than ever. Soft, shabby chic goodness! The Chippy Barn recently launched their ceramic based Amulent paint line and sent me a couple cans to try out so I thought I’d share how fun these French Lane headboards turned out and give a little review of the paint while I’m at it.
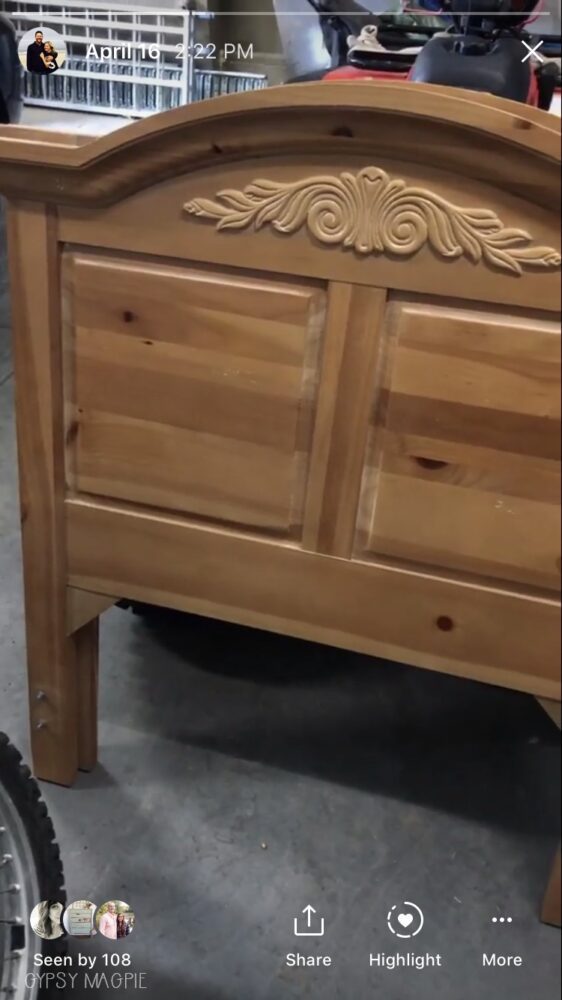
Other than some scratches and chips, the headboards were in great shape. I used some wood putty to smooth things out and rebuild a corner on one of the sides. I still haven’t found a wood filler that I love as much as Bondo. They are all so gritty and don’t sand well. If you’ve found one you like, hit me up in the comments!
Bondo is such a pain in the fanny to use and stinks so bad, I’d love if there was a simpler option.
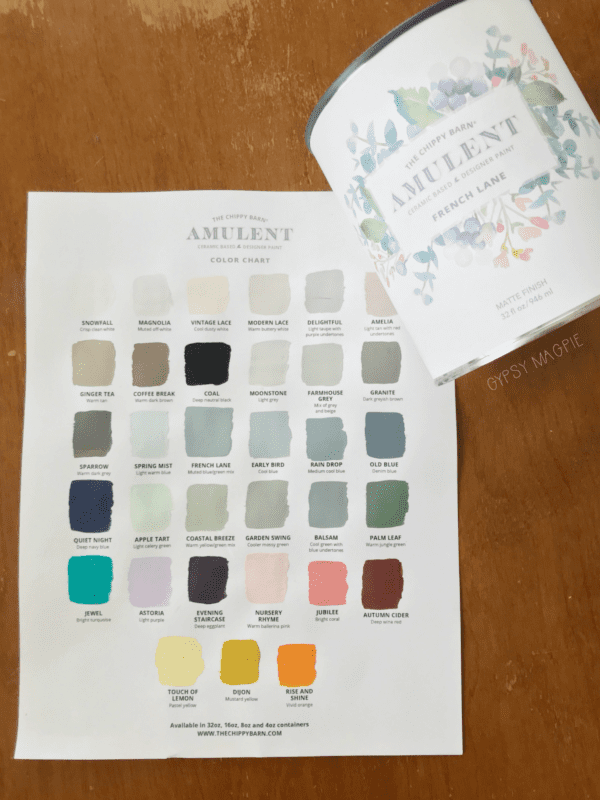
Once I had everything prepped, I pulled out the paint and had a little fun. For these headboards, I chose French Lane. It’s a gorgeous blue-green that complements the delicate appliques without being too girly. The color chart The Chippy Barn sent me is adorable and the best part is the paint swatches are actual paint so you get a better idea of what the color is like in real life. So handy!
I started out hand brushing the headboards because it’s easy and quick for me, but I wasn’t pleased with the way the paint was going on. This paint is thick and beautiful with awesome color but for me, it was showing brushstrokes even though I was using a high-quality brush. I like an imperfect handpainted look, but I don’t like lots of brush strokes. I let that first coat dry and then sanded down a bit to smooth things out. Then I sprayed on the 2nd coat. I have to tell you, this paint sprays like a dream! I watered it down about 10% per instructions on the can and it went on like butter. Lovely finish too.
Oh, and it distresses beautifully!
However I didn’t go crazy distressing these, I wanted just enough to pop the details yet remain fresh and clean.
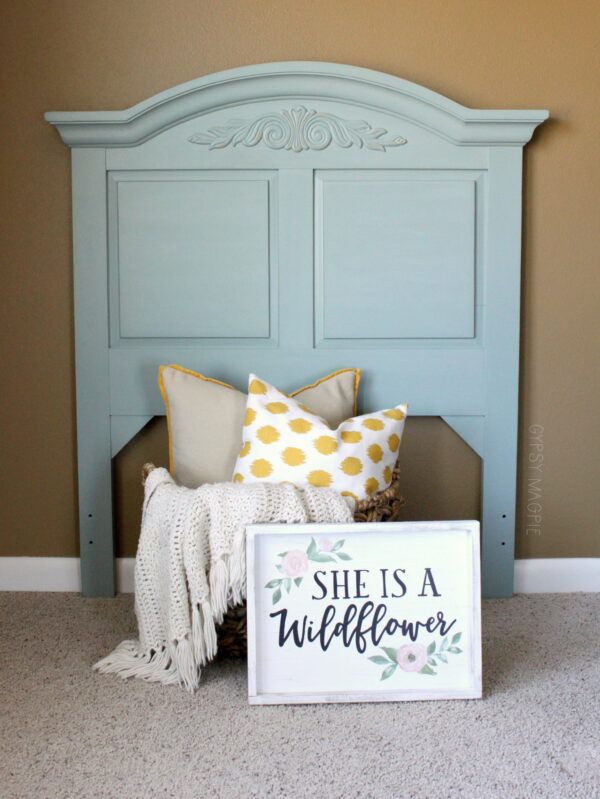
To seal the paint and add some added protection, I used Polyvine in dead flat. I wanted the French Lane headboards to have a wax-like look without the upkeep. I learned my lesson on my own bed that wax isn’t a great choice for headboards. They just get touched too much. Live and learn, I guess. Polyvine gives the look of wax but doesn’t have to be resealed down the road which is always a bonus. I won’t lie though, it isn’t an exact match for wax.
You just can’t beat a beautifully waxed piece in looks.
If only it was more durable.
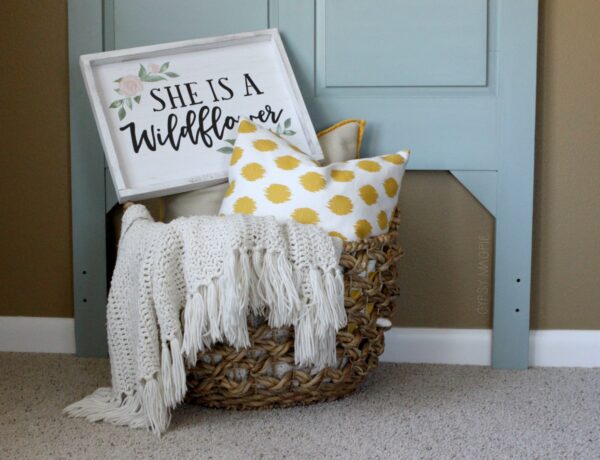
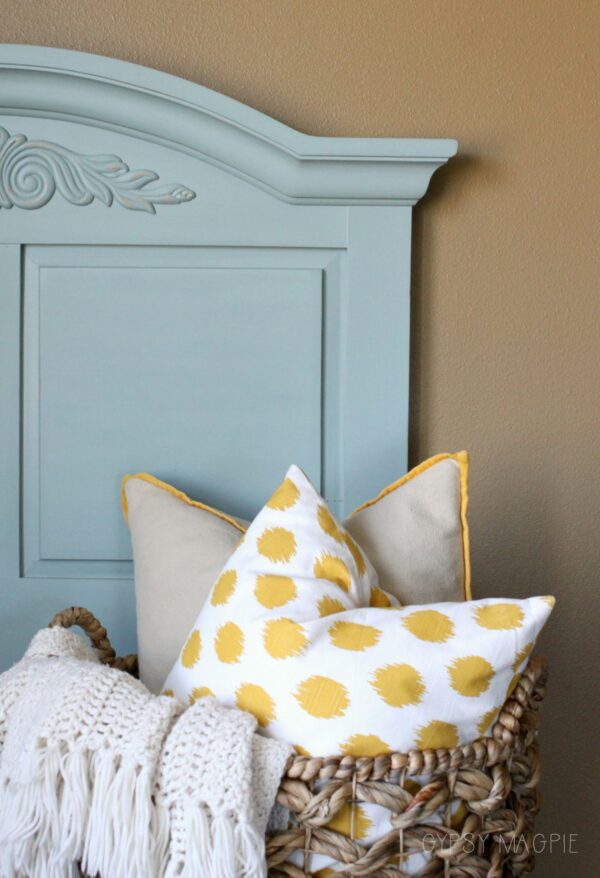
My poor photography isn’t doing this gorgeous color any justice.
French Lane is the loveliest moody blue-green.
Products Used:
- Wood Filler
- Amulent Paint in French Lane
- Polyvine in Dead Flat
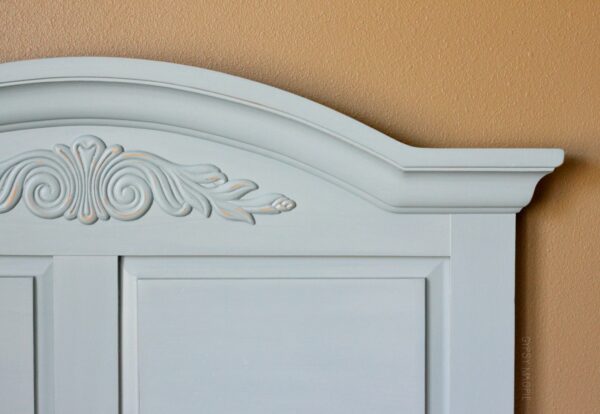

Didn’t these French Lane headboards turn out darling? I’m so happy with them! Sweet and simple. I think they’d be adorable in a shared bedroom with pops of color in bedding and accessories. I chose to stage them with yellow, creams, and pink but they’d also pair well with green or purple.
As for the paint, I will absolutely use it again. And yes, I might possibly be addicted to paint. Especially when it comes it pretty packaging and has fantastically pigmented colors! But I guess there are worse things in the world to be addicted to, aren’t there?
What color would you pair with these sweet headboards?
