Homemade vanilla
Welcome to my happy place of DIY, homemade, homegrown, handmade, nourished & crafted, whole hearted living. Finding magic in the mundane & growing some roots in the process.
This post may contain affiliate links. If you click on a link and purchase an item, I will receive a small commission. For more info, please see my disclosure on my Connect page.
I have a fun little pop-up shop scheduled in April, so for the next month I am going to be painting and creating like a mad woman. I started working on a cool wood desk yesterday which got me thinking, I’ve never done a post about furniture prep! How you prep your pieces has a lot to do with the success of your outcome. Prep = Pretty. I don’t know how to stress this enough! You could put the best products on a piece but it’ll still look half arsed if you didn’t fill, sand, or clean. I don’t care what fancy paint brand you use, if you are lazy with prep, you better believe it’s gonna show in your finished piece.
Now I know there are going to be some haters here saying, “But, I bought THIS brand and they say there is no prep work! Just paint away!” Lies, peeps. Lies. Do those brands cut down on time because you don’t have to prime? Heck yeah! But, you aren’t going to get a swan by slapping lipstick on a pig. When you take the time to properly prep a piece of furniture, you are investing in your end result.
You are in essence laying a solid foundation to build on as you move through the creative process.

Furniture Prep is messy, but good things take time.
Quality work requires effort and energy. I want my pieces to not only look beautiful (far away AND up close) but to last. I pour my heart into every project that I do and I want it to show. There are thousands of people out there flipping furniture, many simply slapping lipstick on that furniture pig as fast as they can go. I figure I have two choices, I can blend in or I can stand out. I choose to stand out by taking the time to properly prep my pieces.
My Furniture Prep Checklist
Here’s a little checklist I go through every time I start on new project.
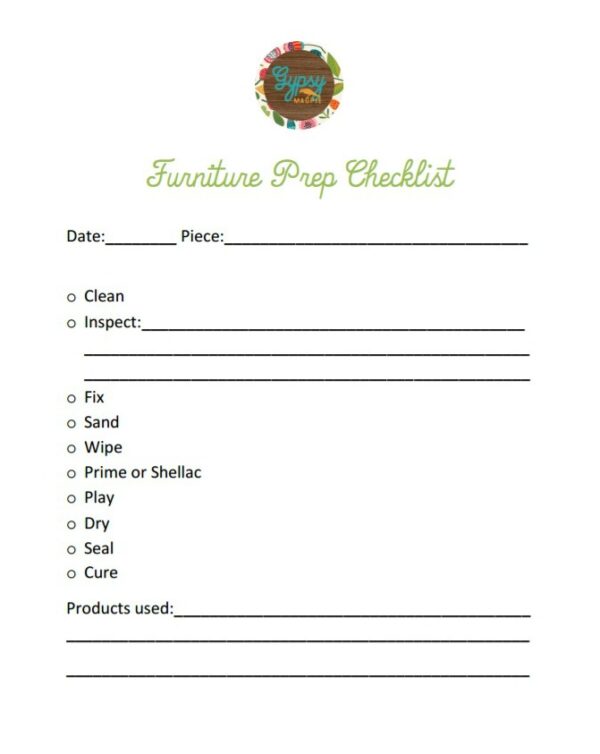
Download Free Printable Checklist Here!
Ok, let me walk you through the prep and process I go through on each piece from beginning to end.
Before we start, I want to state that my furniture prep process isn’t necessarily professional. It’s just what I’ve come to after years of trial and error. You may find something works better for you and that is wonderful. You do you.
That being said, here’s the run down!
Before
- Clean: Vacuum, scrub, scrape, wipe down. Pull out drawers. Evict the creepy crawlies. Get all the grease and grime off. Blow out the dust. There are some rare cases when you want the texture of the dirt layered in but for the most part you’ll want to start off with a nice clean canvas. I use TSP Substitute, Krud Kutter, or dish soap and water, among other things. Toothbrushes are great to get the dirt out of tiny cracks and crevices.
- Inspect: Get down on your hands and knees and give the piece a thorough look over. What is broken? Are there holes or scratches that need to be filled? Are there screws missing or nails sticking out? Make notes of what needs fixing.
- Fix: Fill holes with wood filler. Secure that wobbly leg. Glue on the broken trim. Strip old paint. (You can find a quick tutorial on how I take off old paint HERE.) Chip off the irreparable veneer. Bondo the heck out of it if you have to! Fix it right the first time so you don’t have to fix it again later. You don’t want to spend good time and money on a piece just to have it fall apart in 6 months. Take your time and do it right. This step is crazy important, peeps!
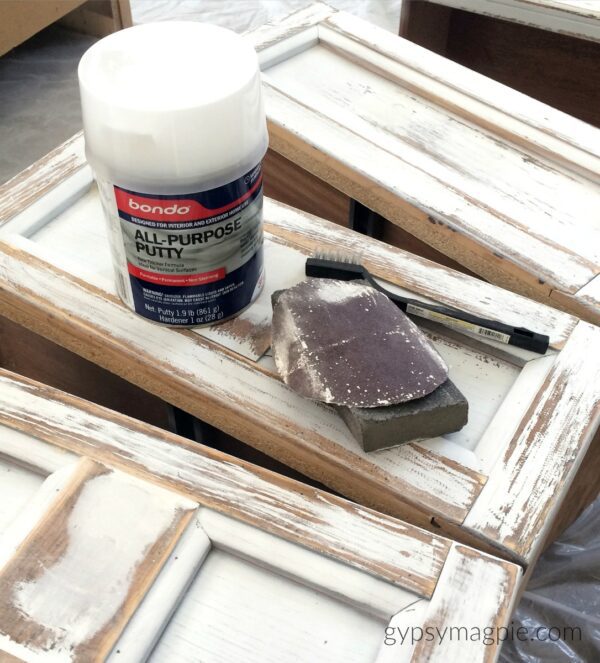
- Sand: Sand, sand, sand. Sanding smooths out the blemishes plus it gives the paint something to stick to. If you’ve filled holes or scratches with putty, it’s especially important to go back and sand over those areas to create a level surface. You wouldn’t leave a chunk of zit cream on your face when you have a hot date, would you? I’m not saying you have to completely sand down to the open wood, especially if you are painting, just make sure the lumps and bumps are at a minimum. If you don’t, you WILL notice them once the paints on, it’s a given. If there is finish on a piece that you are painting, lightly sand to give the piece some tooth. If you are staining, plan some extra time. Unless you are using a gel stain, you’ll want to take it down to raw wood in order to get an even, smooth, pretty stain. If you don’t, you risk uneven-ness and blotches. Start with a coarse grit and then work your way down to a fine grit. Be careful when using electric sanders as they can leave rings and lines. I love my palm sanders but after I use them I always go over everything with sandpaper or a sanding block by hand. That way I can be sure that everything is nice and smooth.
- Wipe: Get the dust off however you like. I usually blow the dust off with my shop-vac then I go over the whole thing with a tack cloth. Oh, and if you’ve just sanded, it’s a good idea to sweep or blow the sawdust out of your workspace before you start anything else. You don’t want dust in your paint or finish. Trust me!
- Prime or Shellac: Depending on the type of material and the kind of paint, you may want to prime or Shellac before painting. I use primer when I’m not planning on distressing or having the wood show. I use Shellac when I want the wood to peek out under chippy layers. If you’re painting a cheaper laminate piece or one with plastic veneer, unless you are using a chalk style paint, you’ll most likely want to prime. If your piece has oil stains or odors, you’ll want to prime. If you are painting a mahogany piece, you’ll want to prime or Shellac to seal in the tannins so you don’t get bleed through. I’ve had the best luck with Shellac when it comes to mahogany, just FYI. I know it feels like an extra step, but it’ll save you big in the long run if you’re working on a tricky piece. There is nothing so frustrating as finishing a gorgeous white buffet only to have yellow bleed through show up hours later! Shellac is also my go-to under milk paint. It seals in while allowing the wood to still show through. I prefer spray Shellac since it goes on fast, dries quick, and there’s no cleanup.
During
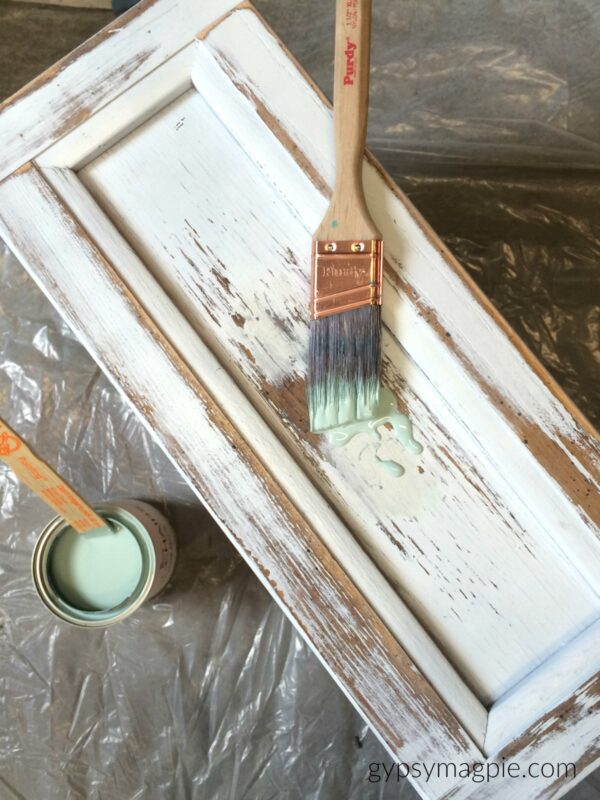
- Play: Paint, stain, and layer to your heart’s content. A beautiful piece of furniture is art to me. Be creative and have fun. I have used all types of paint and they all have their pros and cons. You can hand-brush, roll, and even spray on your paint. It’s up to you. Do some research to decide what paint and application method is best for the style and feel you are wanting then have a blast with it! Painting is totally therapeutic for me.
After
- Dry: Allow proper dry time between coats and layers. This will add durability. It’ll also save you from stress later. Nobody wants their paint peeling or their gel stain freaking out because they didn’t let things dry. This is especially important if you are layering oil based products and water based.
- Seal: There are some projects that don’t require sealing. I rarely seal a picture frame or other home décor items that won’t be touched much. And there are some types of paint that don’t require a top coat which is rad. But for the most part, you’ll want to add a top coat, especially on heavily used pieces like dressers and dining tables. Chalk and milk paints need to be sealed. I use several different products depending on what look I’m after. My usual arsenal includes wax, top coat (non-yellowing), hemp oil, and polyurethane. Someday I’ll tell you all about the ones I love and how I use them.
- Cure: Paint and finish need time to cure. While you can gently use most pieces shortly after drying, give your piece a good 21-30 days to fully cure. Just plan on being extra careful for the first month after painting or refinishing a project. I know this is annoying, but it’s absolutely crucial. Once your piece is cured, you are good to go! That being said, keep in mind that no painted piece is forever. Eventually, there will be wear and tear that shows up but if you’ve let your piece cure, you’ll have years rather than months.
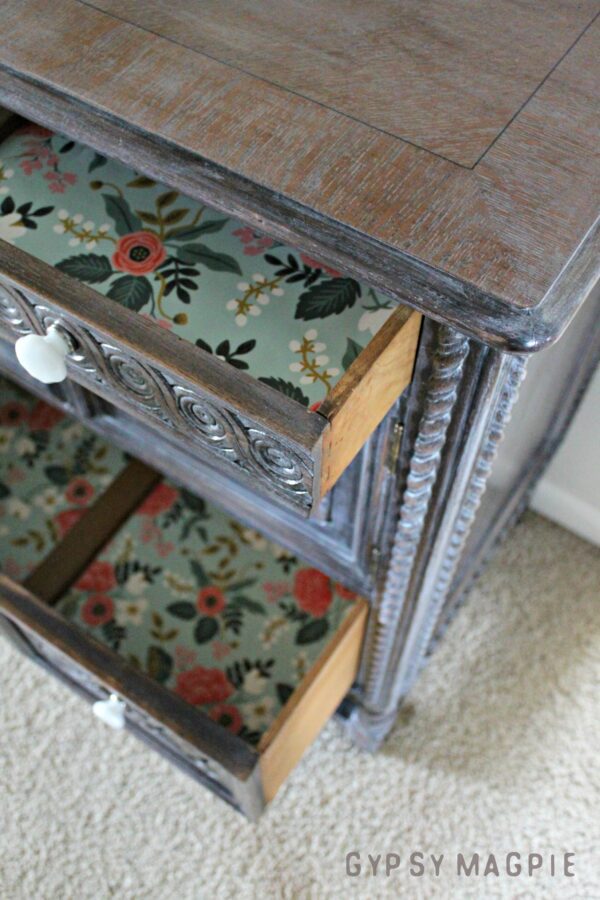
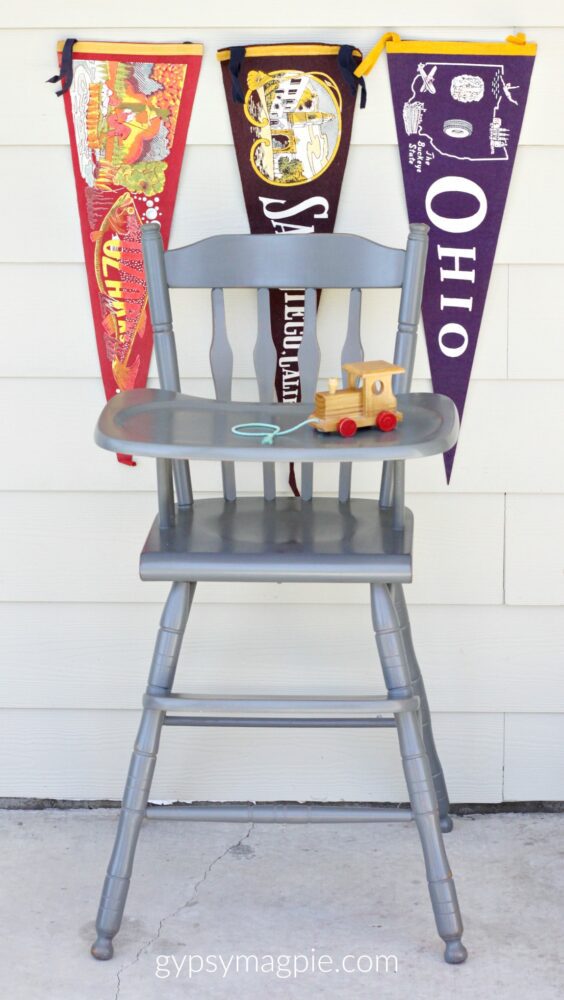
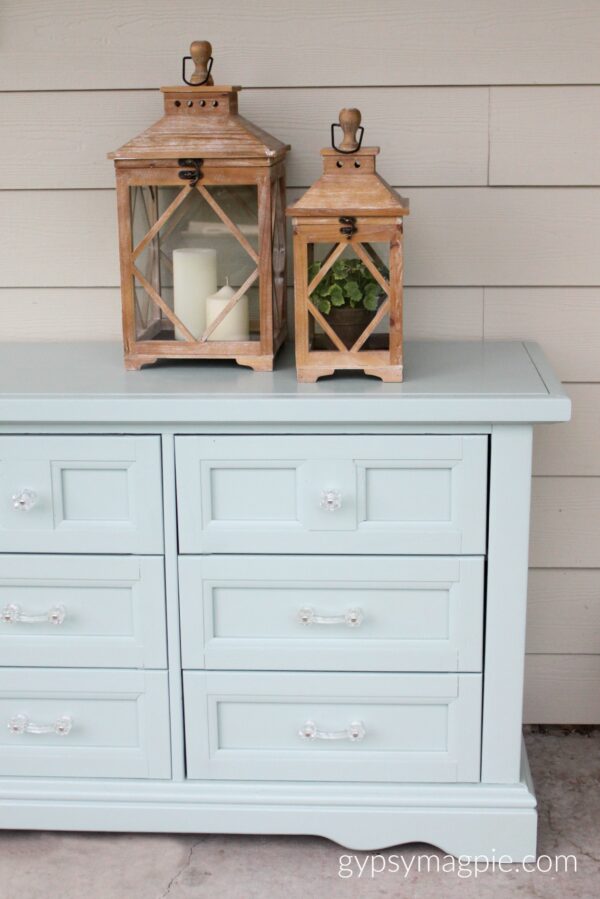
I know prep seems boring, and it can be a lot of work, but it is so worth it in the end. It’s all about the details, my friends.
I hope this furniture prep checklist proves handy for you on your next project! Now I’m off to go put some stuff together for my pop up! I may have bitten off more than I could chew, but oh well. Sometimes a girl needs a swift kick in the fanny to refocus and get herself in gear. Life is good and creativity is fun.
Live creative, y’all.
If you have any questions about furniture prep or why I do what I do, feel free to leave them in the comments below.
Hi! Your furniture prep list is pretty exhaustive! Can’t say I wood like to add anything here:) A prep-list in the beginning helps throughout the project.