Homemade vanilla
Welcome to my happy place of DIY, homemade, homegrown, handmade, nourished & crafted, whole hearted living. Finding magic in the mundane & growing some roots in the process.
This post may contain affiliate links. If you click on a link and purchase an item, I will receive a small commission. For more info, please see my disclosure on my Connect page.
You guys, it has been raining for weeks!
I know it’s spring and all, but I live in Utah so this rain thing is feeling really out of place. I can’t paint anything, I can’t plant anything, and I sure shouldn’t be taking blog photos but a girl has got to get something done. I’m starting to get a little stir crazy. I shouldn’t complain about all the water though, because after the snow-less winter we had around here we need every drop we can get!
So, long story short, excuse the dark photos a blogger has to do what a blogger has to do. I seriously need to make myself a light box.
I really should get on that.
Squirrel.
I’ve been working on my office/craft room for a couple weeks now. Yes, I should be done and cleaned up already, but things don’t work like that around here. My goal is Thursday, but let’s be real, it’ll be done when it’s done.
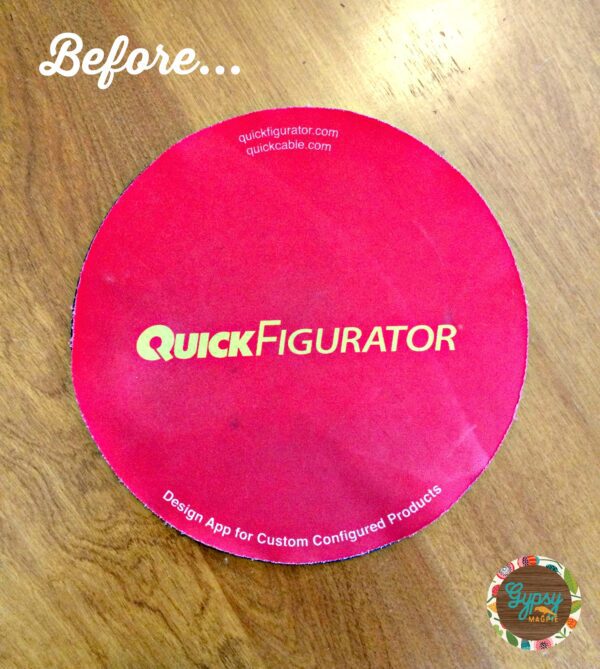
I refashioned myself a little desk for our giant, ugly laptop but when I got it all put together and set up, the old nasty mouse pad looked incredibly out of place.
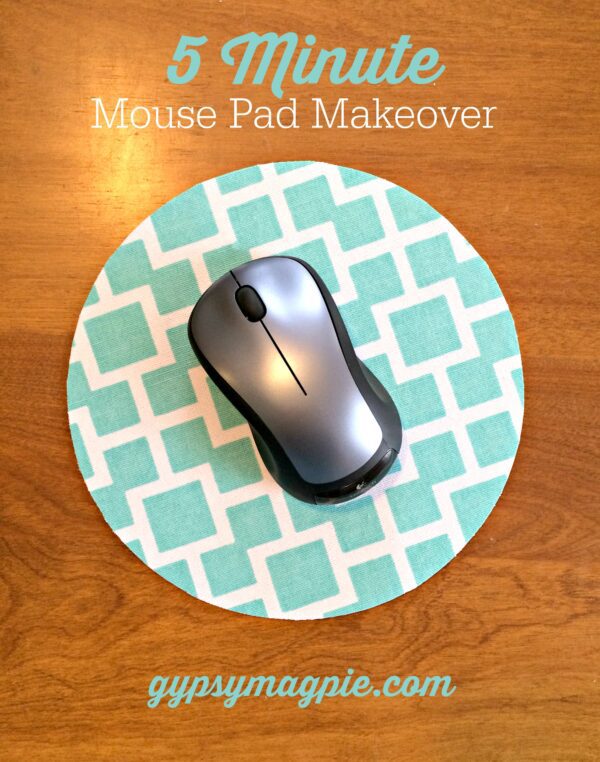
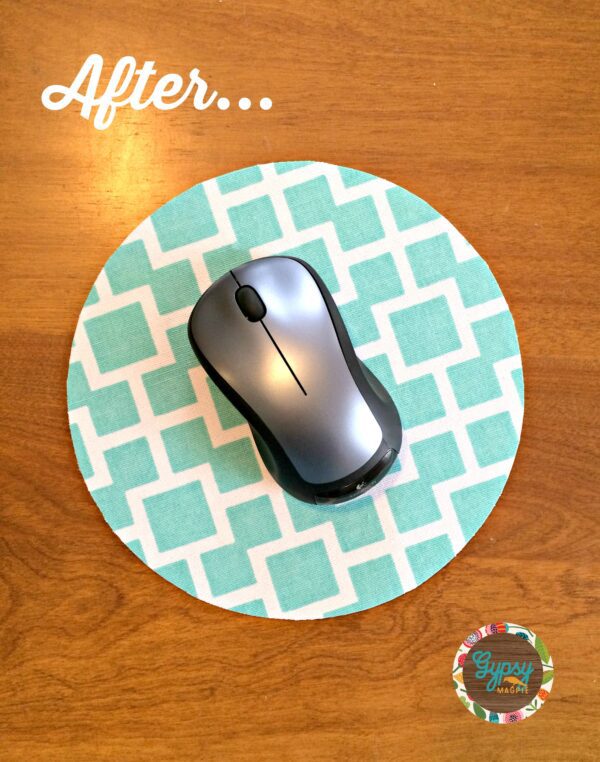
I didn’t feel like going to the store or spending any money, so I grabbed a scrap of fabric and did a little mouse pad makeover.
We are talking 5 minutes and finished.
Why did I wait so dang long?
All you have to do is:
- Rip off the ugly ad on an old mouse pad
- Grab a scrap of fabric
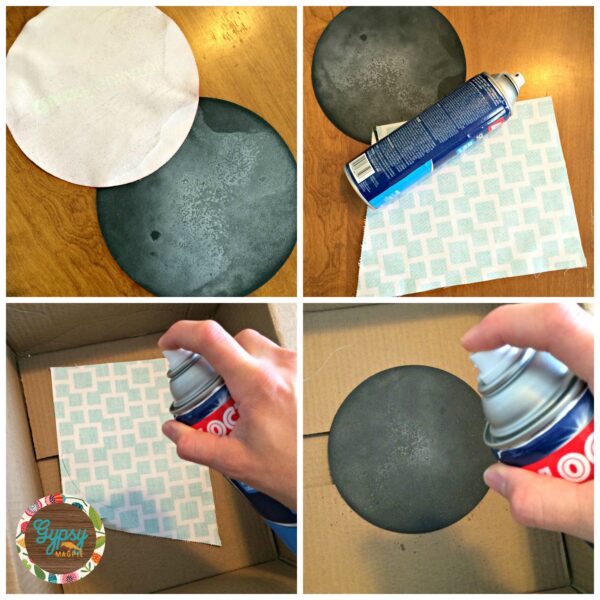
- Spray the back (wrong side) of the fabric with adhesive
- Spray the top side of the mouse pad.
It seems redundant to spray both pieces but if you do you’ll get a nice strong bond. - Stick the fabric onto the mouse pad and press together, smoothing out any wrinkles as you go.
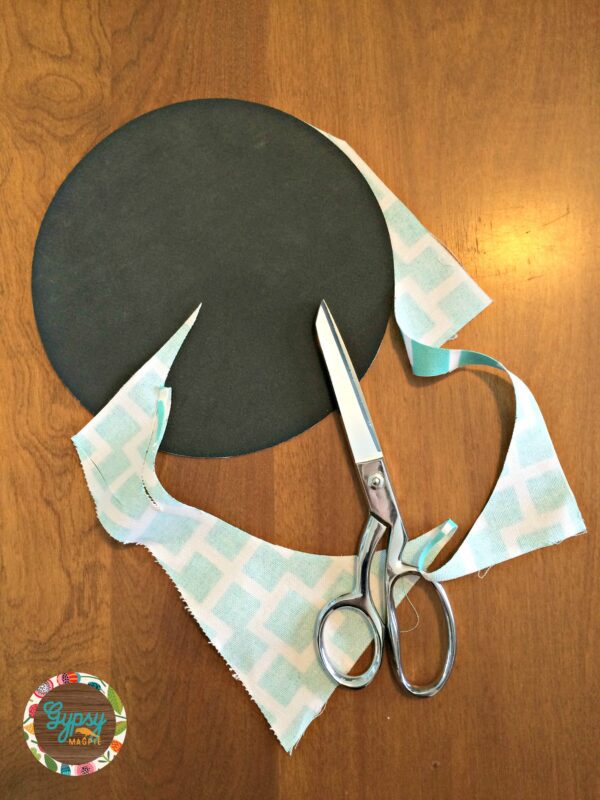
Once it’s all glued into place, simply turn it upside down and trim off the excess fabric.
Then, if you are feeling it, treat the edges with a little fray product just to seal off the raw edges.
I used Aleene’s.
Yep, that’s it.
You’re done.
Easy, right?
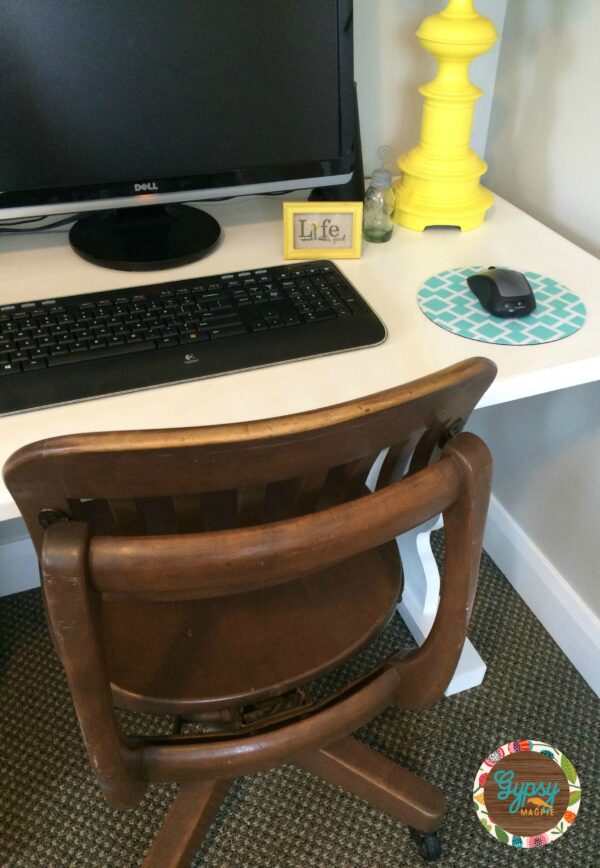
Here’s a little sneak peek of what it looks like on the dining table turned computer desk that I hacked the heck out of:
What do you think?
I love simple, fast fixes that don’t cost a dime!
